Quick & Obvious Texturing Tutorial – Dragon Skull
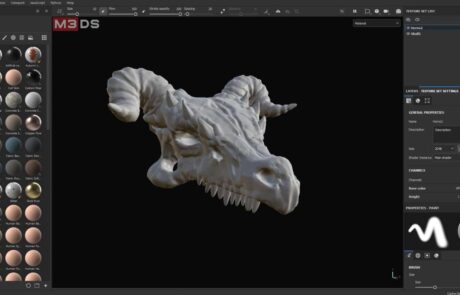
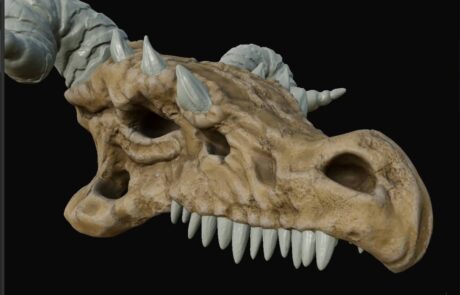
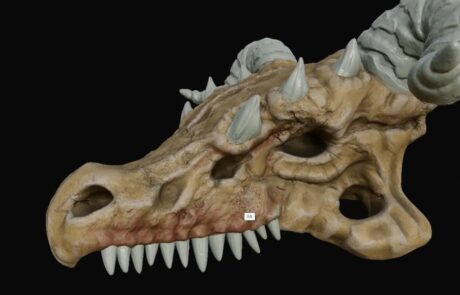
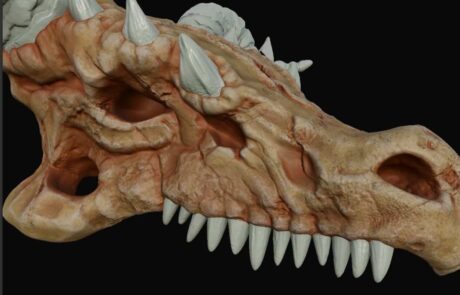
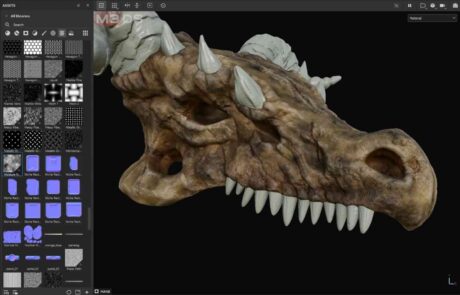
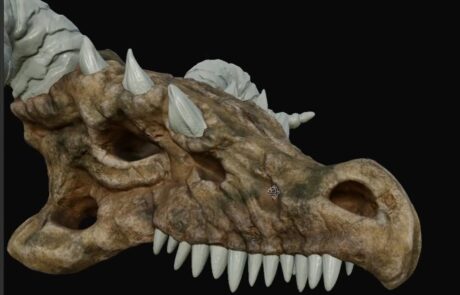
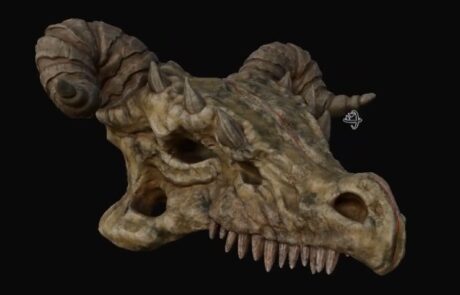
This texturing tutorial focuses on a dragon skull with 2k and 4k texturing resolution for baking. It emphasizes base colors, generators, and detail balance.
Creating variations for frequently used props like logs and rocks is efficient for diversity.
Efficiently achieve ripped fabric effects using opacity maps in Substance Painter and Unreal Engine. Export textures with clear naming, prefer PNG for detail, and consider JPEG for space savings.
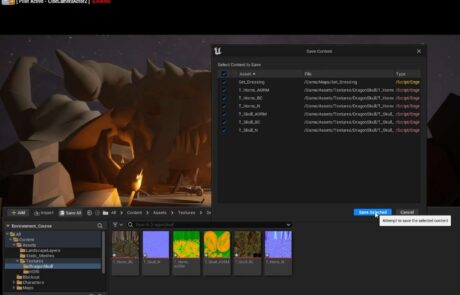
Migrating the master material into Unreal streamlines integration. Import textures, organize with folders, and assign to slots while disabling sRGB for specific maps. Grouping meshes under one material instance saves resources.
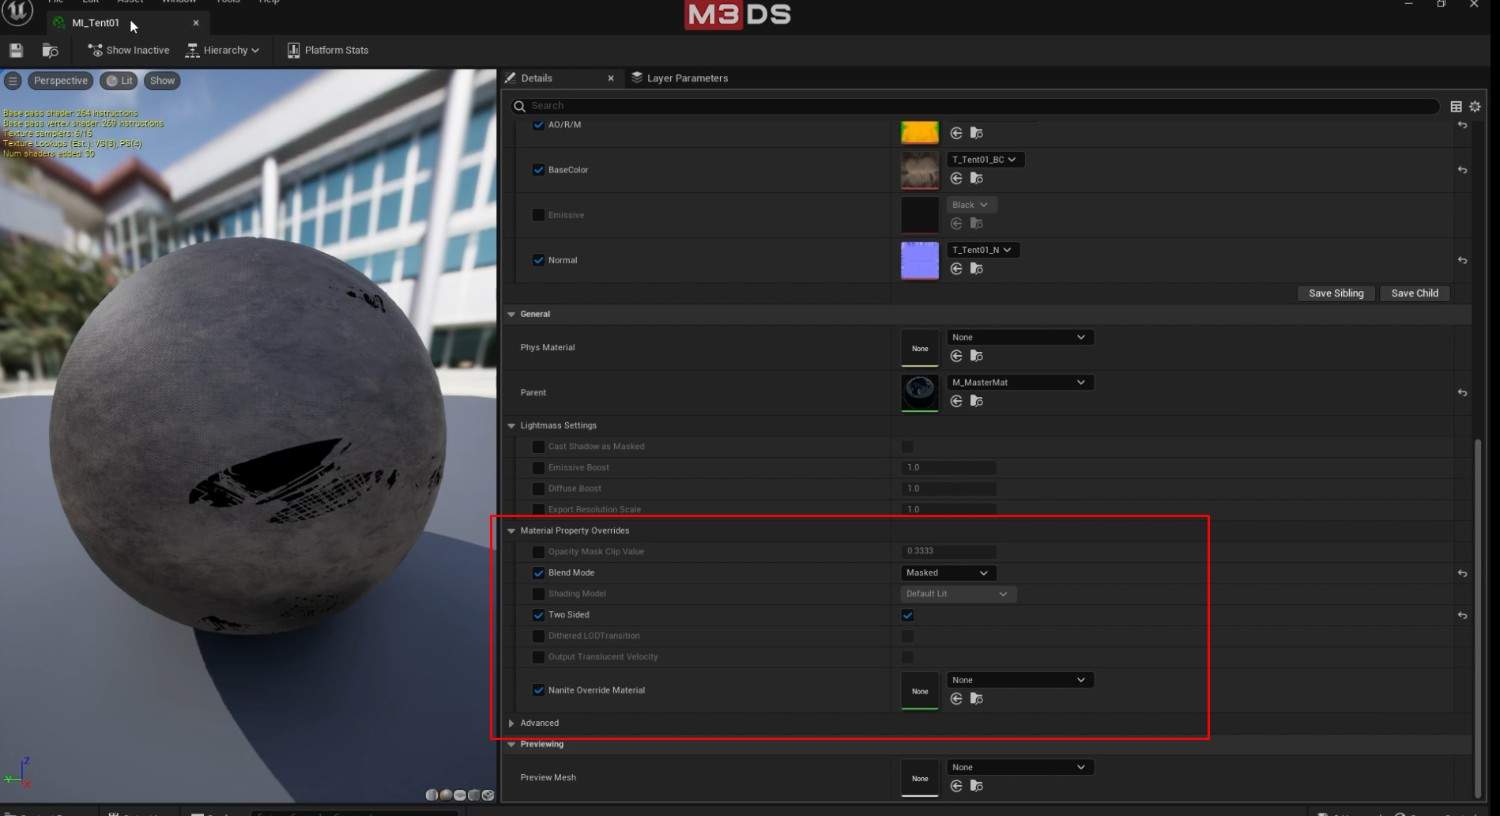
For materials with opacity maps, use two-sided materials and switch the blend mode to “masked” for realistic effects with alpha masks.
Texturing Tutorial – Workflow
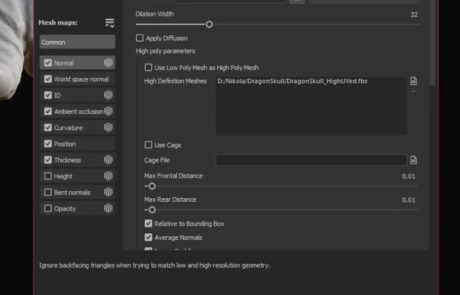
- Import the low poly mesh in Substance Painter and bake the high poly onto it.
- Choose a resolution you want the mesh to be baked in, the higher the resolution the better for this case.
- When creating a showcase piece that isn’t going to be used for animation or games, can have a bit higher resolution to its textures.
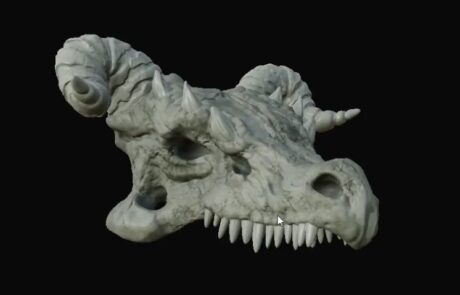
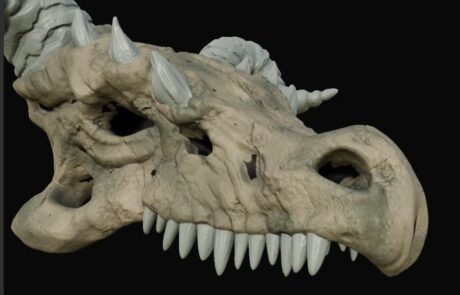
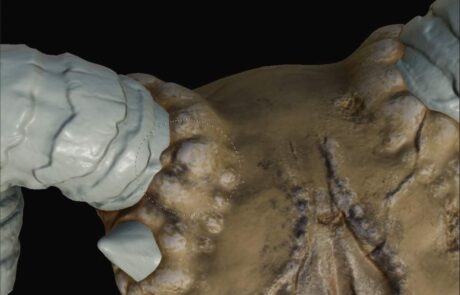
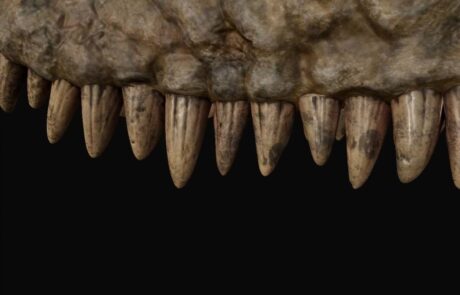
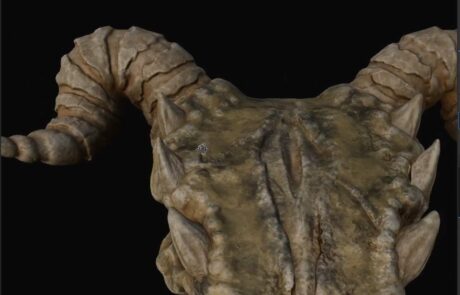
- From the references gathered, we’re going for a more dirty version of the skull.
- The color and texture all depend on the environment that the skull is in.
- If it’s in a dry terrain, the skull will be more yellow and the dirt won’t be a darker color.
- We’re primarily going to be adding generators to texture the skull and using the already existing alpha textures inside of Substance Painter to create the scratches and dirt.
Variations
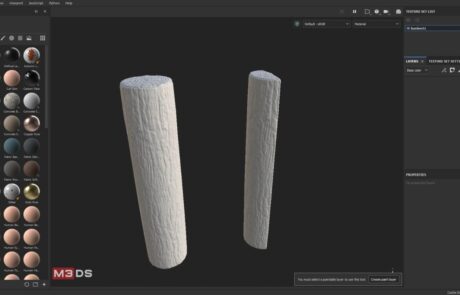
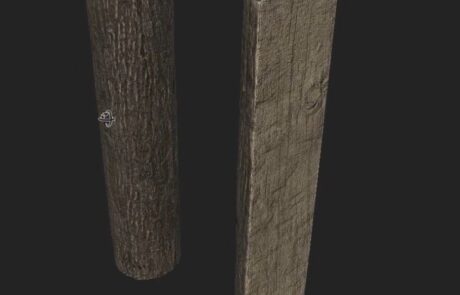
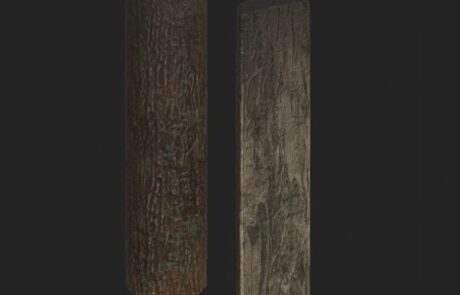
- It’s important to add more variations in the textures on the same prop or props.
- This will help add more diversity among the props in the scene without having to make new props altogether.
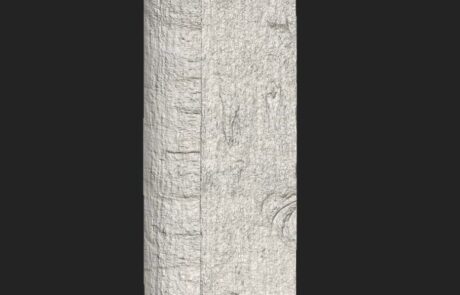
- In this case, we’ve added different height maps, and textures to the logs to make some appear dry while the other ones have moss on them.
Opacity Mask
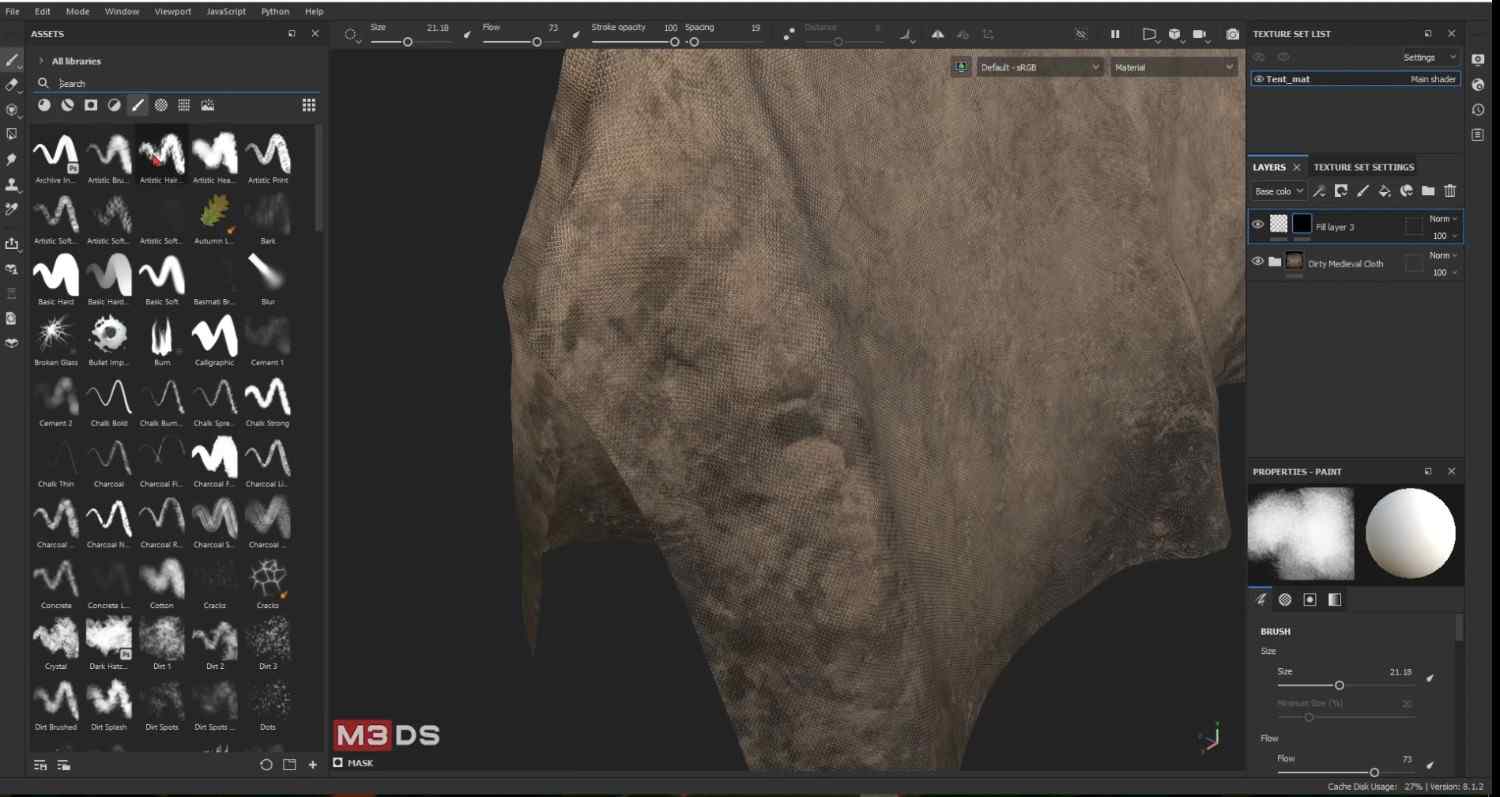
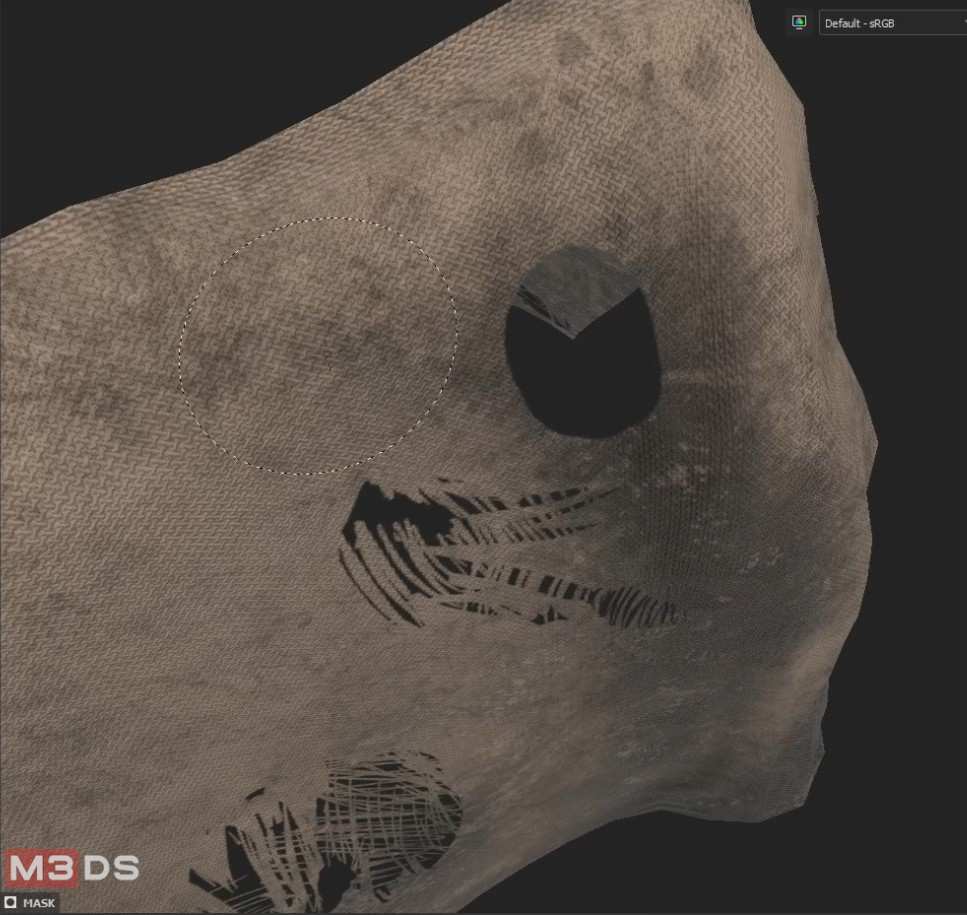
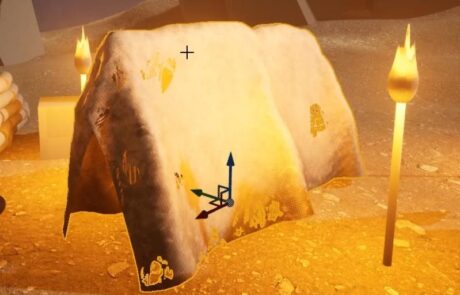
- To make things look more worn out and create tears in cloth or foliage can be achieved with the opacity mask in Substance Painter.
- This channel needs to be added from the Texture Set Settings.
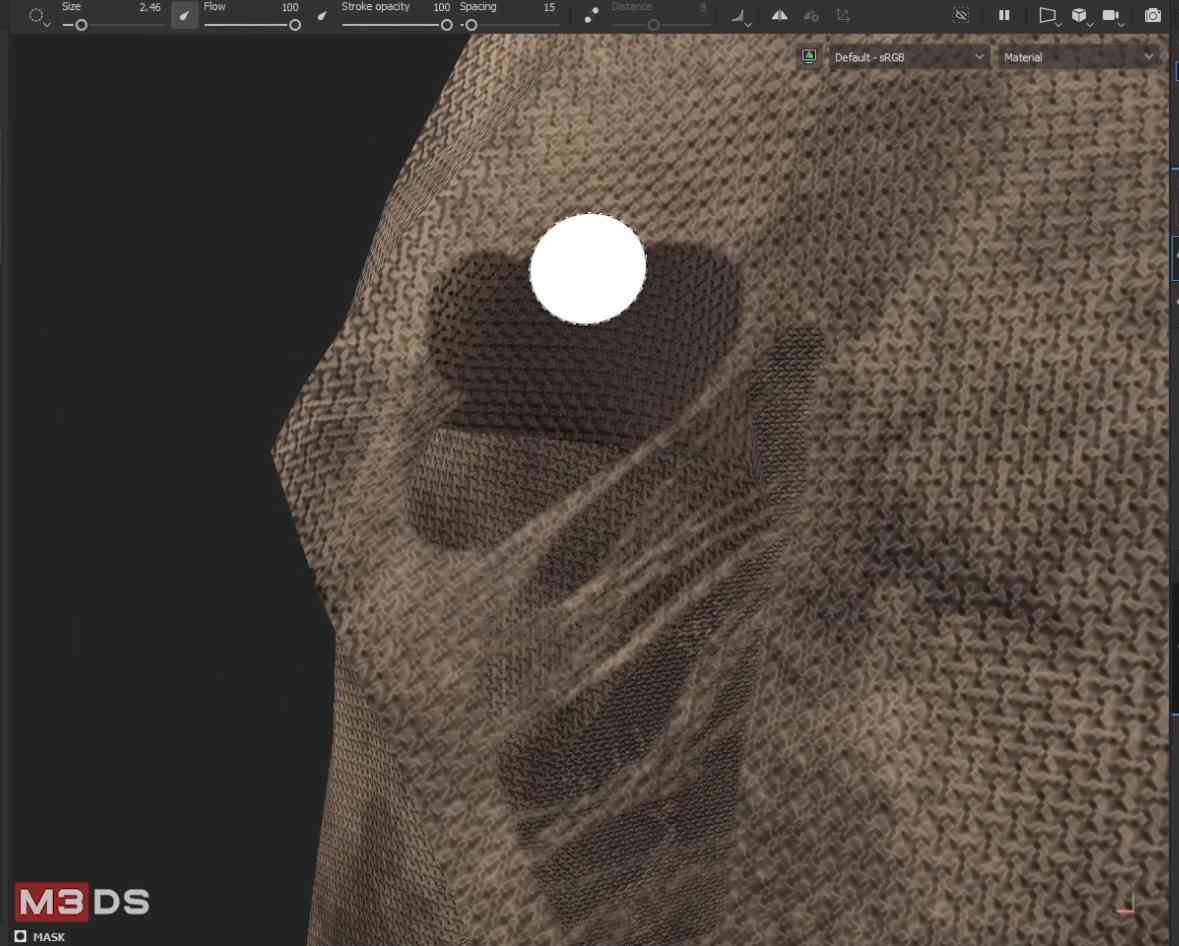
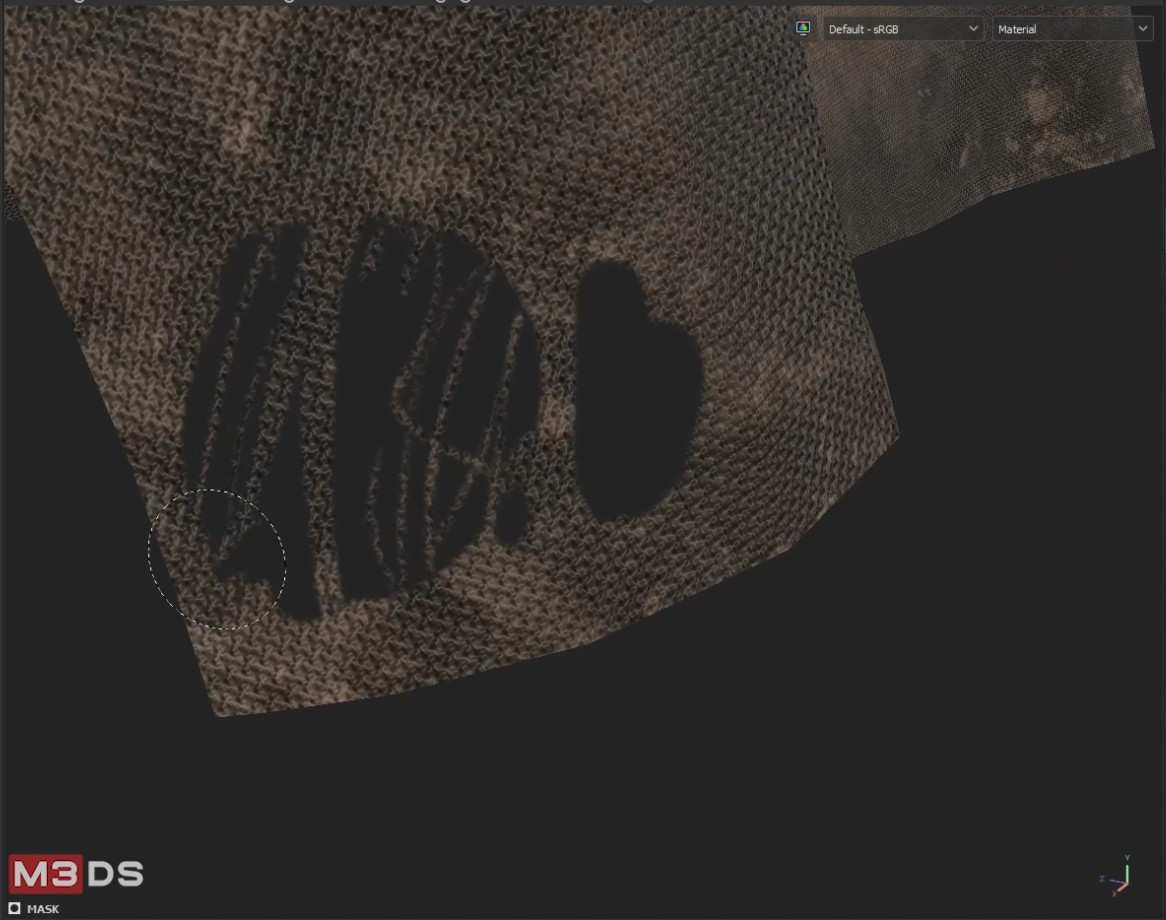
- After the channel has been added, create a new fill layer on top with only the opacity channel on, decrease the opacity value, and use any brush to draw out where you want the texture to be transparent.
- Doing this will create tears in the fabric even if it isn’t on the model itself.
Exporting From Substance
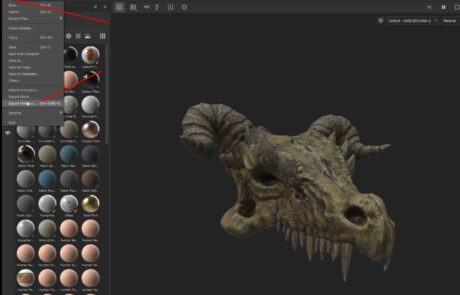
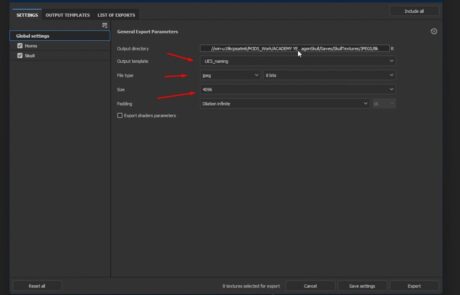
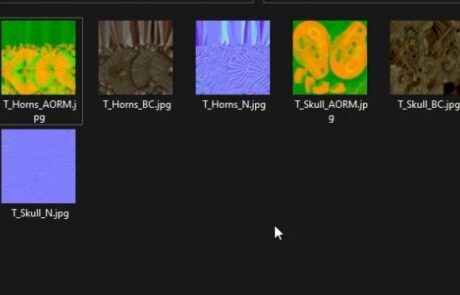
- When you’re done texturing your asset, export the textures, using a template, file type, and resolution for the texture.
- Since we’re going to import them inside of Unreal Engine, we’ve set the output to UE5.
- The file type depends on how big you want your texture maps to be in size.
Master Material
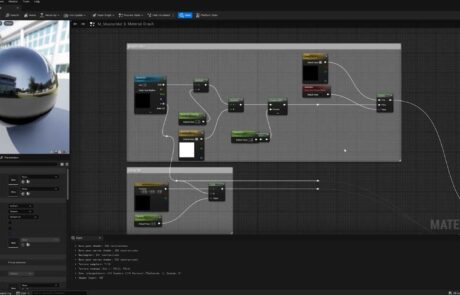
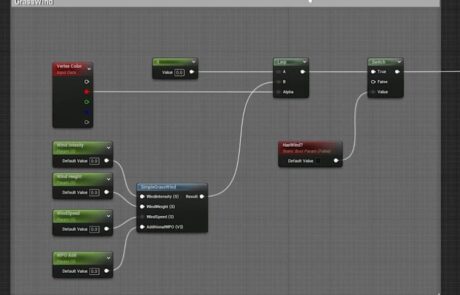
This is the material graph for the Master Material created for this project.
Master Materials are made to create the Material Instance.
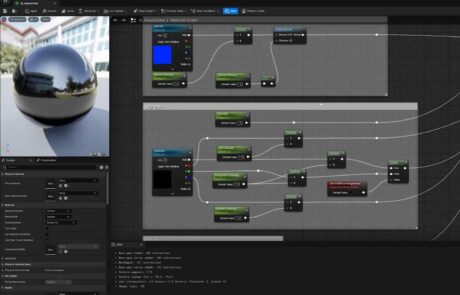
The Material Instance makes it easier to control the textures if changes need to be made.
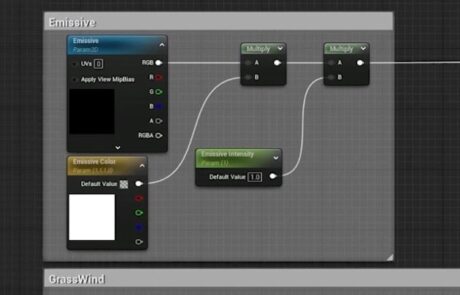
The Material Instance will allow you to change the hue, saturation, opacity, Normal and AORM map, emissive, and wind intensity.
Assigning Textures
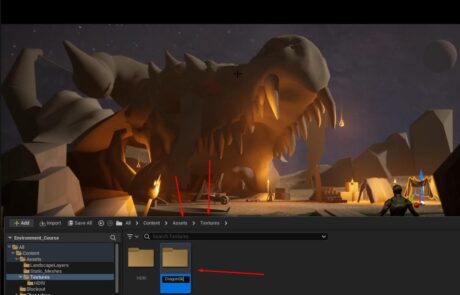
- For each asset, create a folder for their textures inside the main Texture folder.
- Drag and drop the texture maps for that asset insist their texture folder.
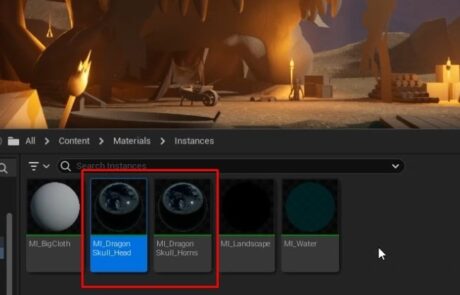
- Create Material Instances from the Master Material and then place them into the Instance folder.
- Organization is key so that it is easier to navigate through the folders inside the content drawer.
- Create a Material instance for each part of the asset and each asset in general.
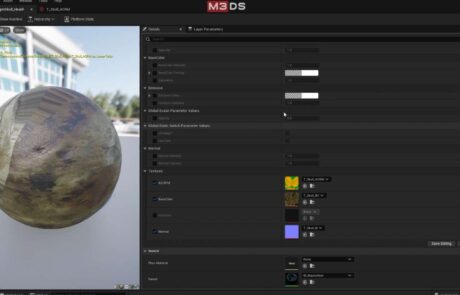
- Inside the MI, drag and drop the textures in the Textures tab.
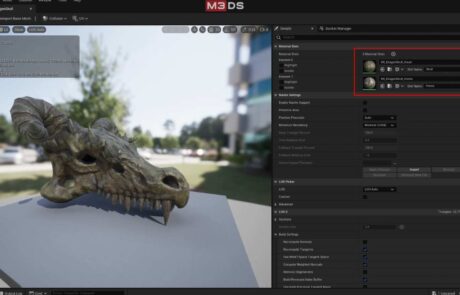
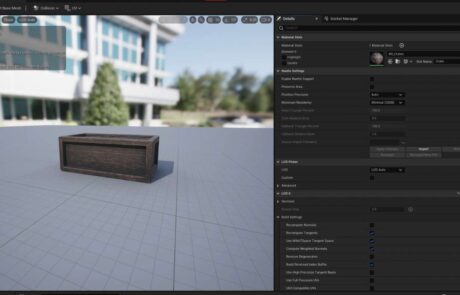
- In the asset itself, double-click on the asset to open the menu shown in the screenshot, and assign their MI in the Material Slot.
- Do this for each asset so that when it is placed inside the world, it will have its texture on it.
- Inside the MI, there is a place to put the opacity mask for the tents that have tears in them.
Conclusion: Master Your 3D Texturing Skills
In conclusion, this texturing tutorial process for 3D assets is both an art and a science. By following a structured workflow, from importing meshes into Substance Painter to create master materials and organizing textures in Unreal Engine, artists can achieve high-quality, realistic results that enhance the visual appeal of their projects.
For those looking to further hone their skills in 3D art and game development, M3DS Academy offers a range of courses, masterclasses, and mentorship programs designed to take your abilities to the next level. Whether you’re interested in learning more about Substance Painter techniques, mastering Unreal Engine, or exploring the full pipeline of 3D asset creation, our academy provides the resources and support you need to succeed.
Explore our Academy Program, dive deeper with our expert-led Masterclasses, or join our Courses for personalized guidance on your creative journey. M3DS Academy is committed to helping you achieve your goals in the ever-evolving world of digital arts. Join us today!!!

