Marvelous Designer Dress: Step-by-Step Creation Guide
Creating a Stylish Marvelous Designer Dress for a Female Avatar
This tutorial will walk you through creating a stylish Marvelous Designer dress for a female avatar. We’ll start with the basics—designing a shirt and skirt—and then add some unique details to give the outfit a polished, professional look. Don’t miss out on the practical exercise of expert design techniques in creating shirts and pants in Marvelous Designer.
1. Setting Up Your Project
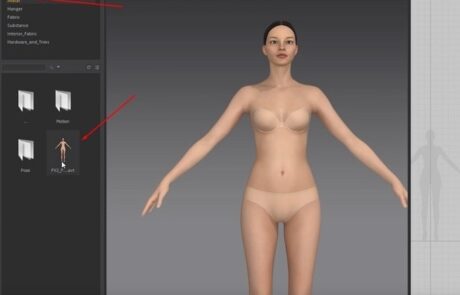
Add the Female Base Model:
- To get started on your project, import the female base model.
2. Designing the Shirt
Create the Shirt Pattern:
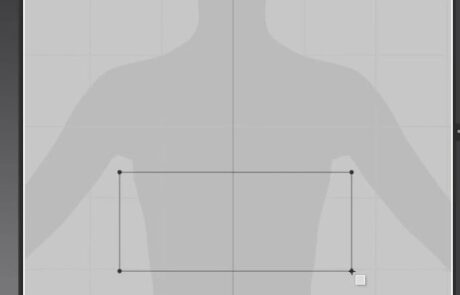
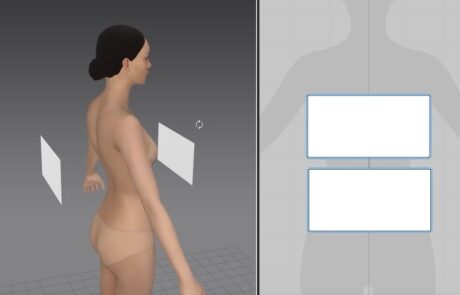
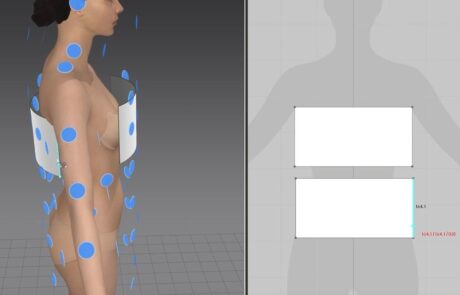
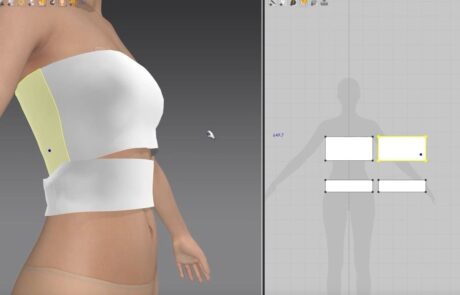
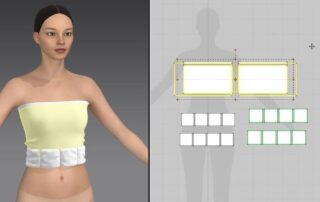
- Create a rectangle around the bust area using the Rectangle tool (S) in the 2D Window
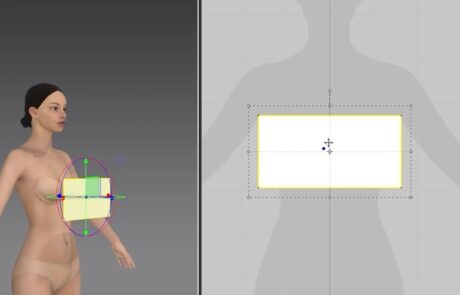
- Put the pattern on the model in the 3D Window.
Duplicate and Position the Pattern:
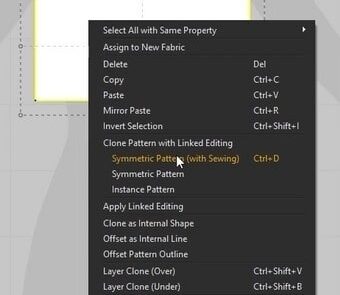
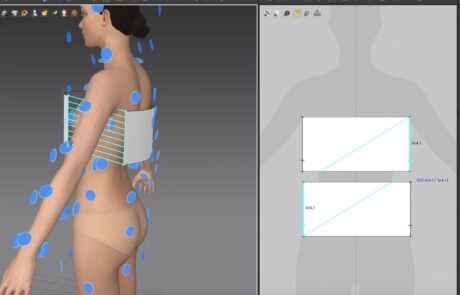
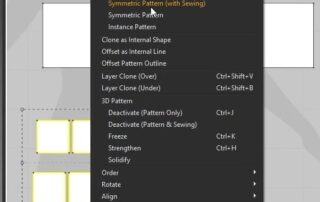
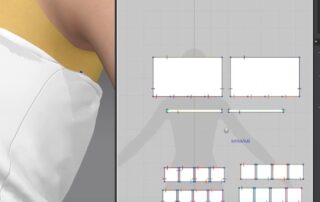
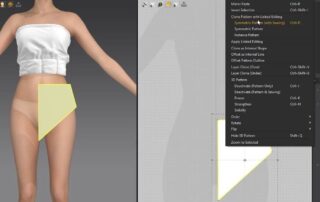
- Duplicate the pattern by right-clicking on it and choosing “Symmetric Pattern (with Sewing).
- Move the duplicate behind the model
Activate Arrangement Points:
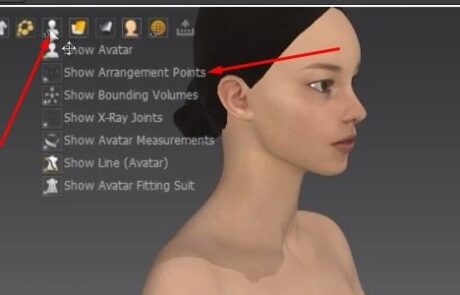
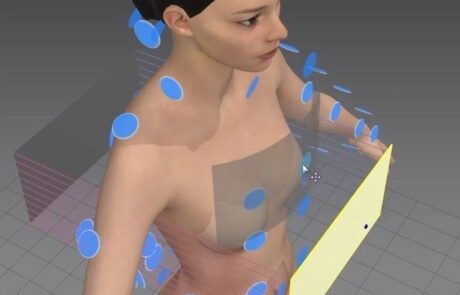
- Turn on “Show Arrangement Points” in the 3D Window.
- Hovering over the points shows where the pattern will stick during the simulation.
- Click to activate them. Do this for both front and back patterns.
Adjust Pattern Orientation:
- If patterns face the wrong way, right-click and select “Flip Normals.“
Fix Overlapping Sewing:
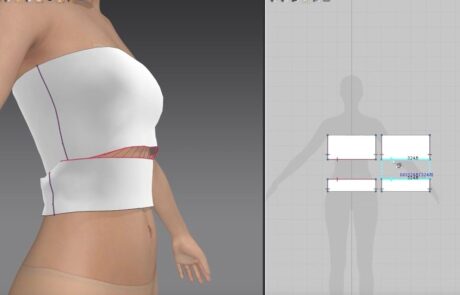
- Press B to get rid of any sewing that overlaps.
- Use N to sew these areas correctly.
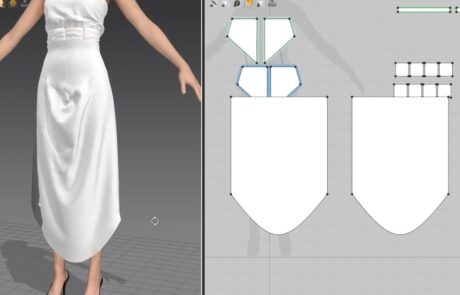
Adjust Pattern Sizes:
- Resize the bottom pattern smaller by duplicating patterns (Ctrl + C; Ctrl + V) using Z
- Using Z will resize the bottom pattern smaller.
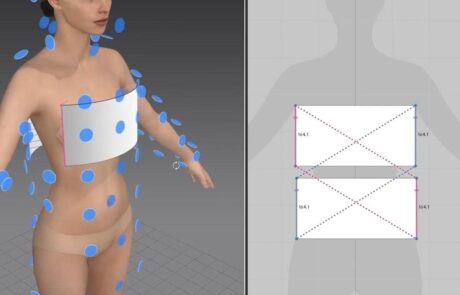
Sew Patterns Together:
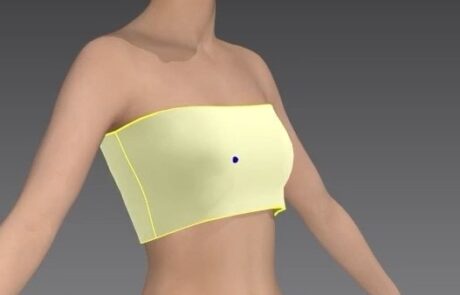
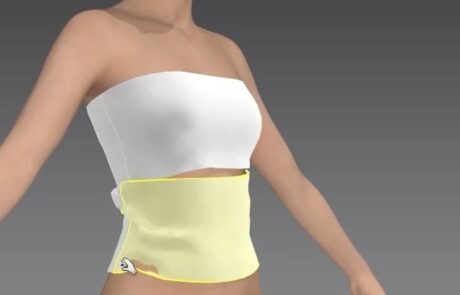
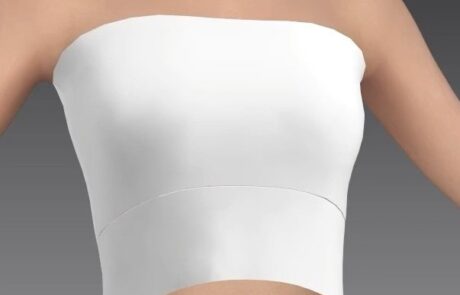
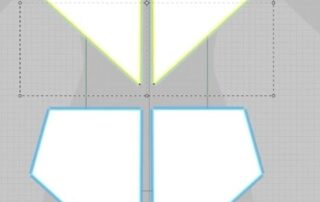
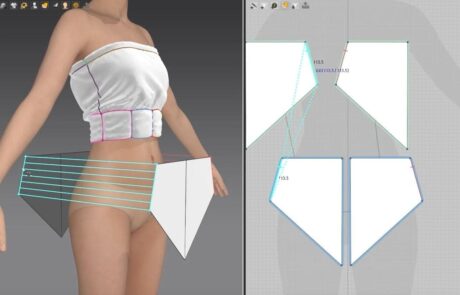
- Tighten the dress around the waist by connecting top and bottom patterns
3. Adding Details and Elasticity
Create and Adjust Patterns:
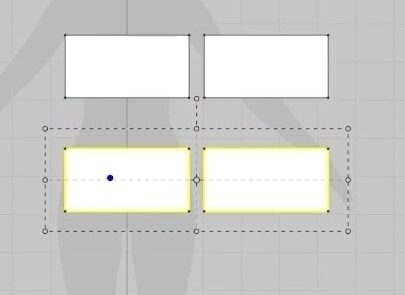
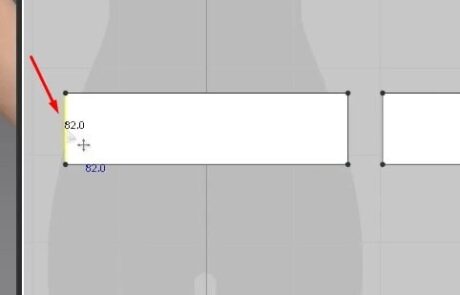
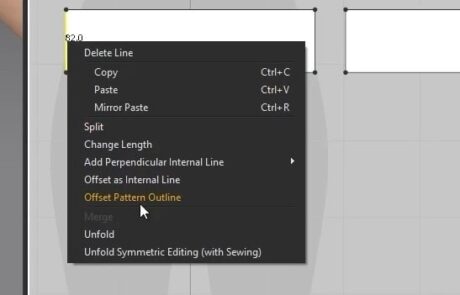
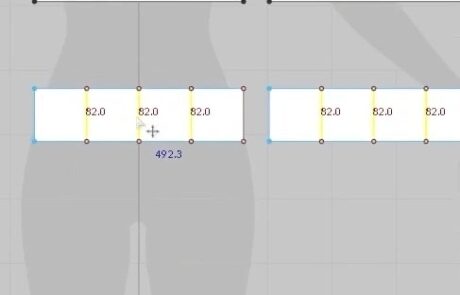
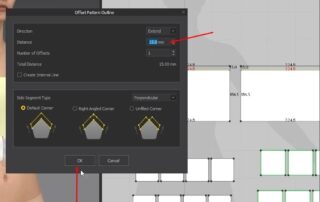
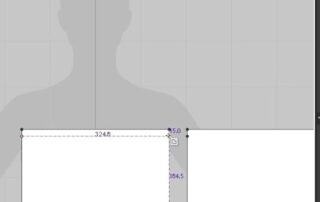
- Begin by adjusting the smaller rectangle pattern. Select its end edge and use the “Offset Pattern Outline” tool to divide this edge into equal segments.
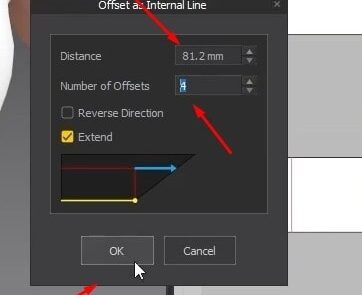
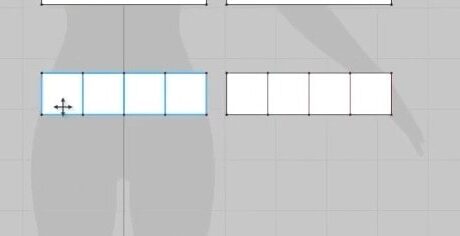
- Input the measurement of the edge, choose to create four offsets, then click “OK”. Repeat this process for the larger rectangle.
Cut and Sew Details:
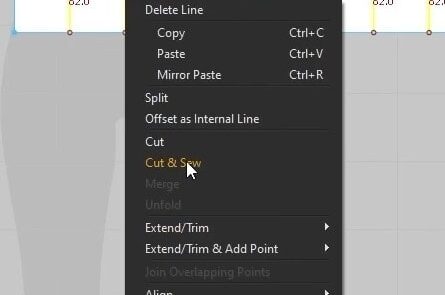
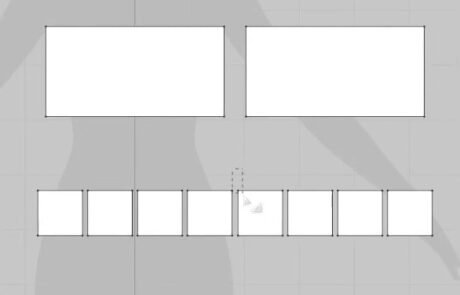
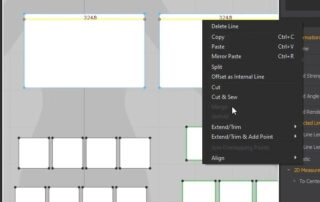
- Select the middle edges of both patterns and “Cut and Sew” them.
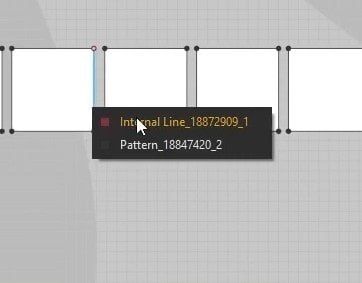
- Remove internal lines.
Make Elastic Patterns:
- Choose the middle edges of both patterns to add seam allowances and remove internal lines.
- Disable Linked Editing on the copied patterns and slightly increase their size.
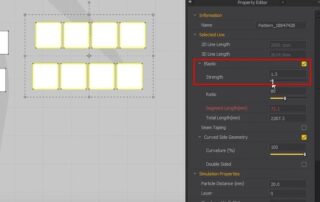
- Enable Elastic for these patterns and lower the strength.
Add Details to Top Patterns:
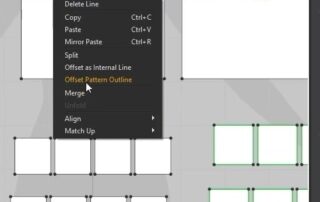
- Right-click and pick “Offset Pattern Outline” from the menu that appears; enter 15mm as your offset distance before confirming changes by pressing Enter or clicking OK.
- Use the Internal Polygon/Line tool whenever two points need to be joined with a straight line inside an outline.
Adjust Pattern Pressure:
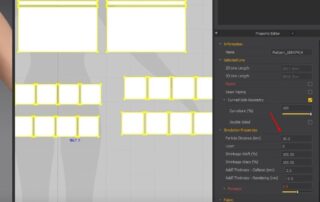
- Increase Particle Distance settings to 10 units for all pattern pieces.
- If you want some areas of garment components to look more inflated than usual — as if they’ve been filled with down — apply pressure to those sections: resize front squares if necessary so there is enough room on their outer edges (nearest seams) for effects to be visible.
- Resize the font patterns if necessary.
Sew Additional Details:
- Attach rectangles from step one onto side edges.
4. Designing the Skirt
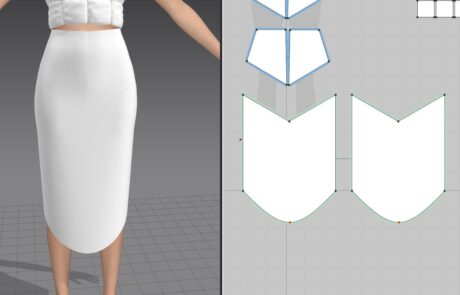
Create Skirt Patterns:
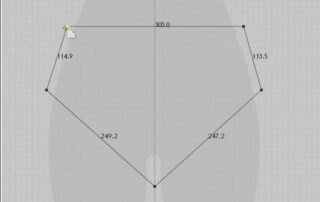
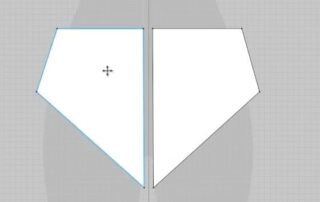
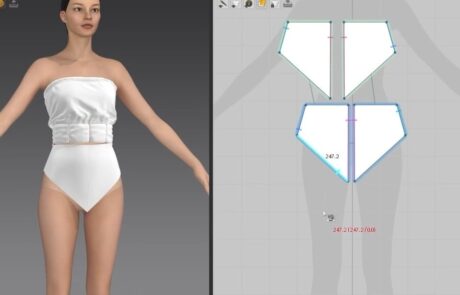
- Use the Polygon tool to shape a pattern around the hips.
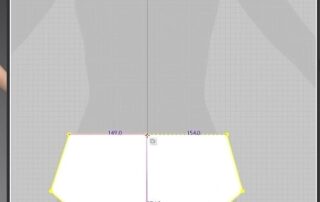
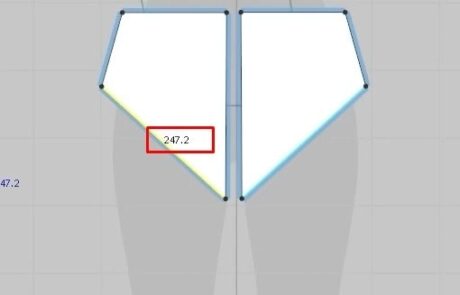
- Make sure there is symmetry by putting an edge in the middle. Cut and sew along this edge, then delete one side.
Duplicate and Position:
- Right-click on what remains of the side you just deleted and pick “Symmetric Pattern (with Sewing)”.
- Place one copy at the front and another at the back of the hips.
Sew Skirt Pieces:
- Join these patterns’ sides together and then their middles.
Final Adjustments:
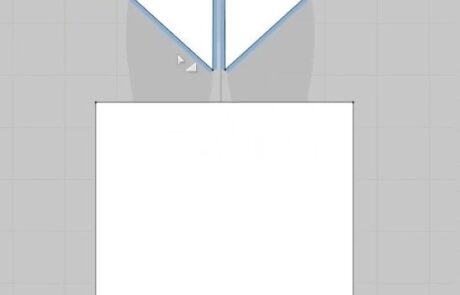
- Measure one of the edges, double that value, and use the Rectangle tool (S) to create the lower part of the skirt pattern.
- Copy these rectangles too; place them both at the front and rear hems.
- Use Alt+Z to curve the bottom edges of these rectangles.
Complete the Marvelous Designer Dress:
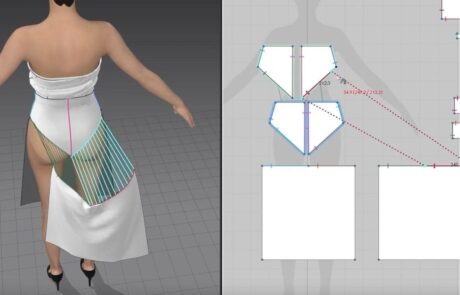
- Sew all skirt patterns together.
- If bunch-up occurs select tops of folds, make straight equally spaced cuts, and pull down – this will form a V shape when the simulation smooths out creases.
Conclusion: Practice Makes It Perfect
In summary, boost your creativity and skills with this Marvelous Designer dress creation task. If you want to improve virtual fashion design, this guide is for you. In it, we take a comprehensive look at how to create a stylish Marvelous Designer dress – and explain everything from start to finish. With the skills learned here, you’ll be able to make clothes that look realistic; plus, our instructions are specifically tailored towards female avatars (characters).
What if there was more? Well, now there is! Introducing our Game Development Academy Years Program: an intensive deep dive covering advanced MD techniques enabling participants to unlock their full potential within the field… Look at our courses for different courses for software expertise or masterclasses held by industry experts revealing their success practices.
Act now so as not to miss out: join up today to gain access to the community of like-minded individuals harnessing unique powers to enhance digital realms around us all.

