Animation with ZooTools Pro—Autodesk Maya
ZooTools Pro is a powerful plugin for Autodesk Maya, streamlining the workflow for animation and rigging. It makes the job easier by having intuitive sets of tools that are going to enhance productivity, making complex tasks like scene management, rigging, and animation layering easier to handle. ZooToolsPro enables artists to employ their talents in a much more creative manner while efficiently handling the technical details of 3D animation. ZooToolsPro can be a powerful tool for beginners in the art and for expert animators who need to bring efficiency into their projects using Maya.
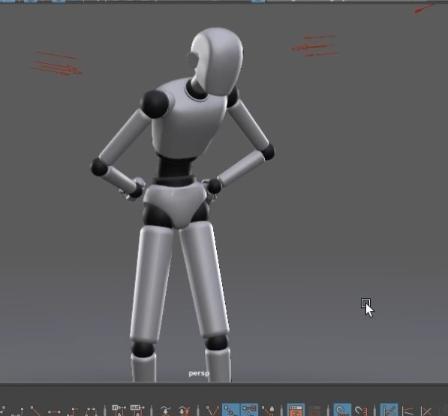
🔴Learn to rig and animate your first character with Zootools Pro rigs.
🔴Some of the essential techniques of animation that are covered in this tutorial: from setting up an idle animation to adding layers for animation depth.
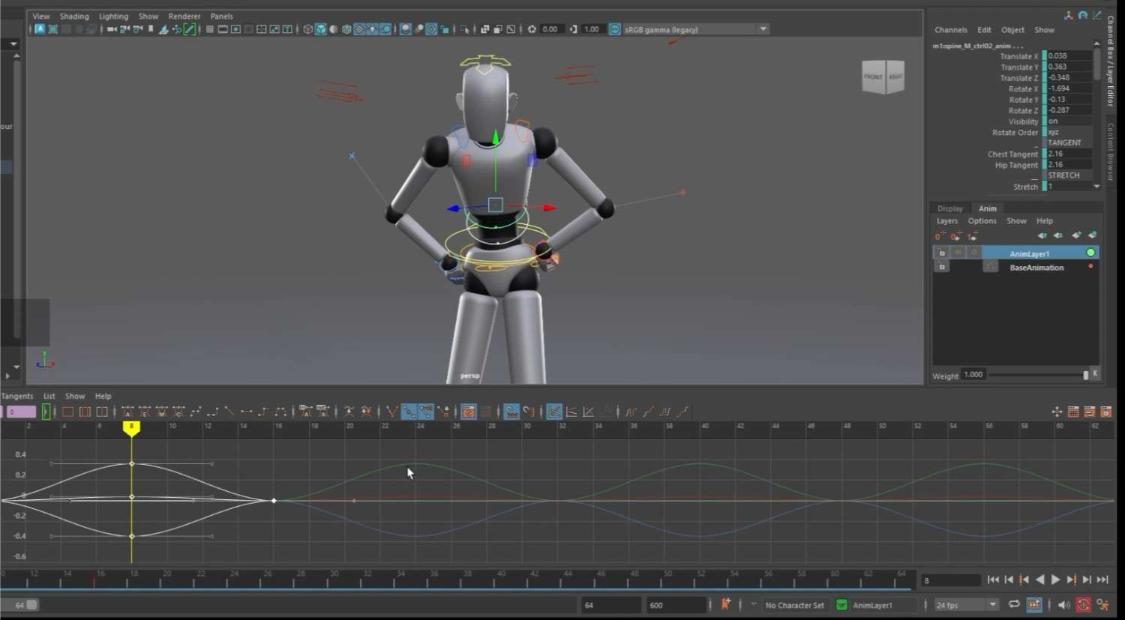
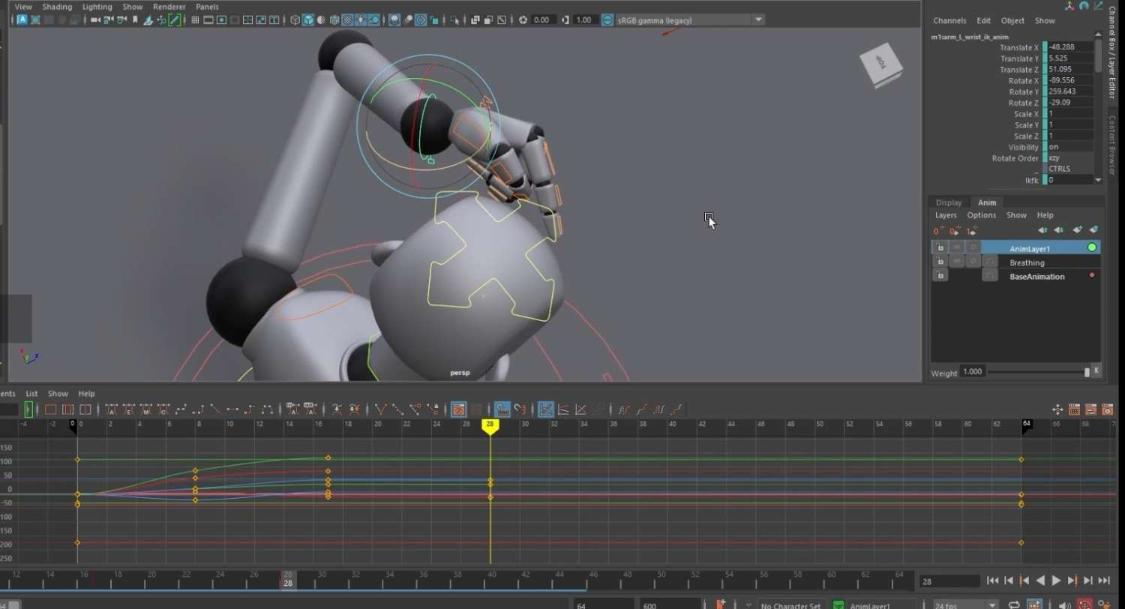
🔴Now, on top of the primary animations, there are secondary animations like breathing or scratching one’s head, which are created through animation layers and add a little variation to our character’s idle state.
Workflow and Step-by-step guide
Setting Up the Scene in ZooToolsPro
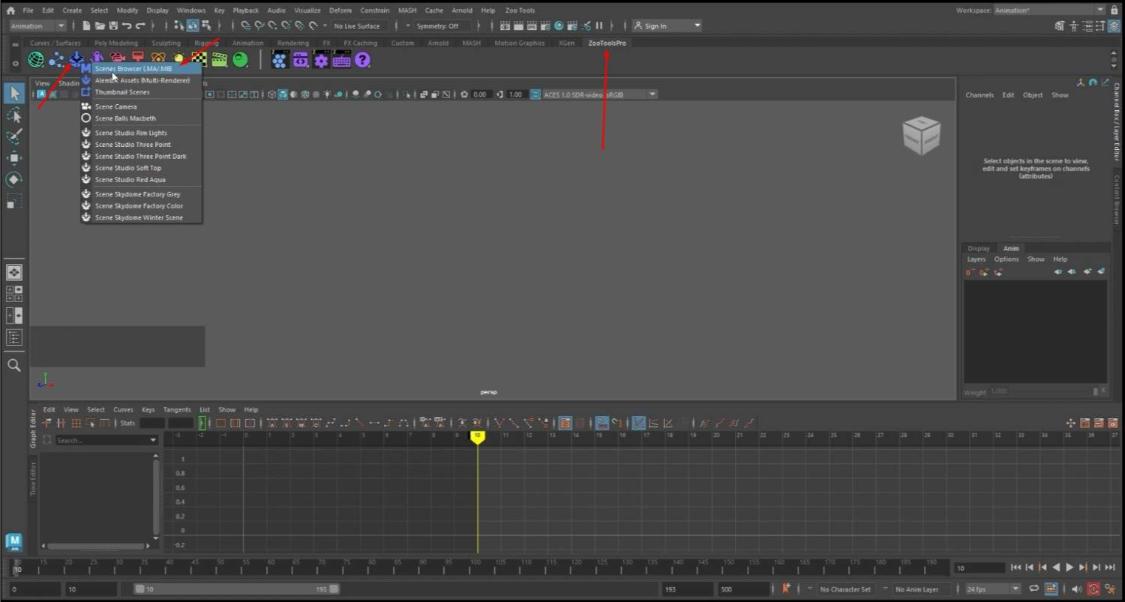
- In the ZooToolsPro submenu, open the Scene Browser.
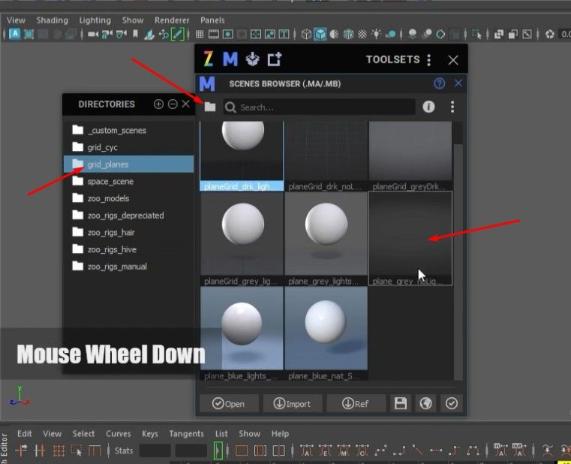
- (Optional) Add a new scene from the Browser.
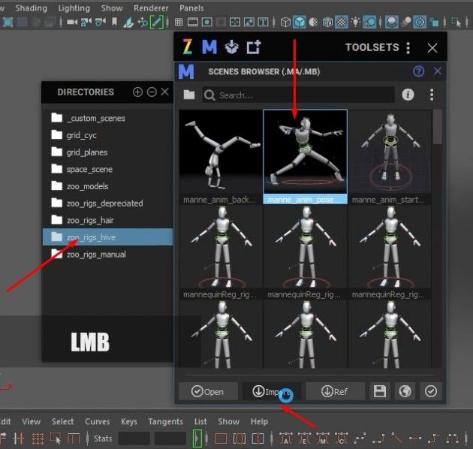
- In the zoo_rigs_hive folder, import the manne_anim_pose.
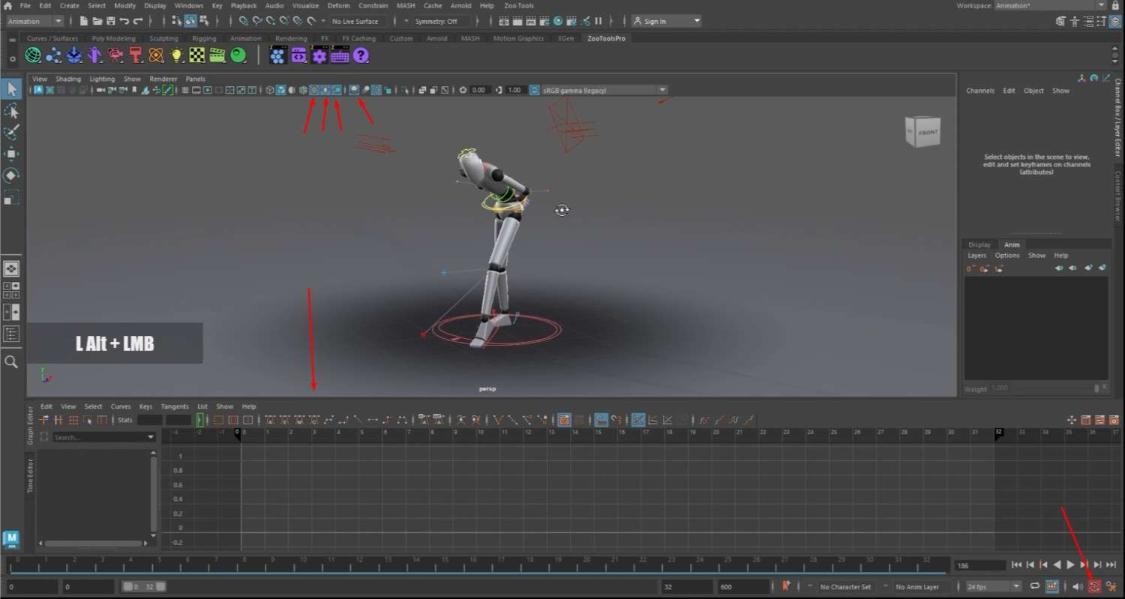
- If you imported a new scene, activate texture, light, shadows, and ambient occlusion.
Working with the Graph Editor and Timeline
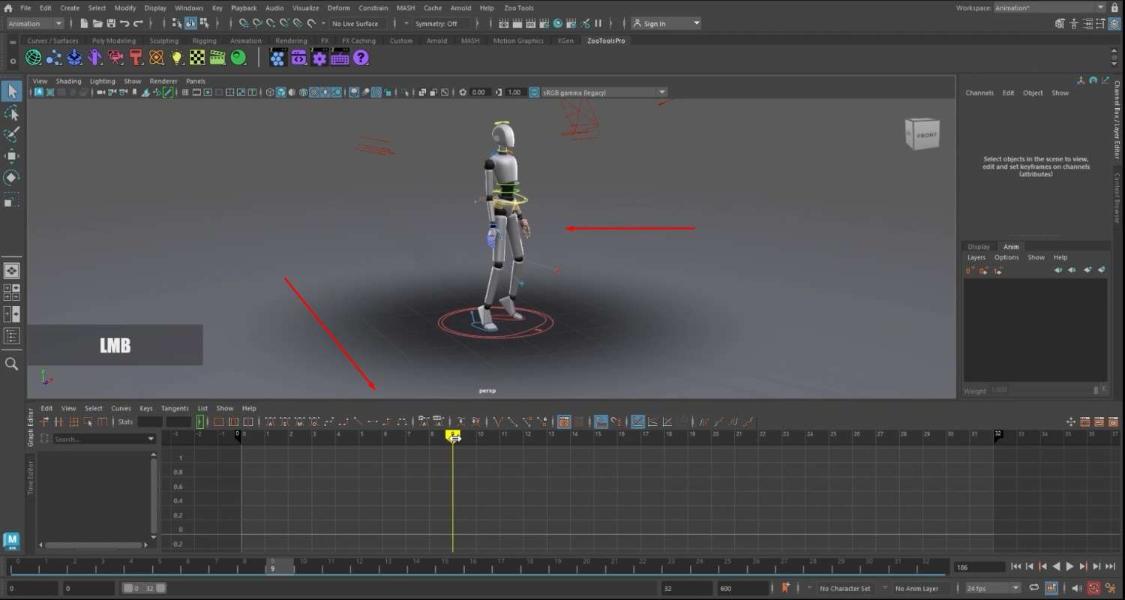
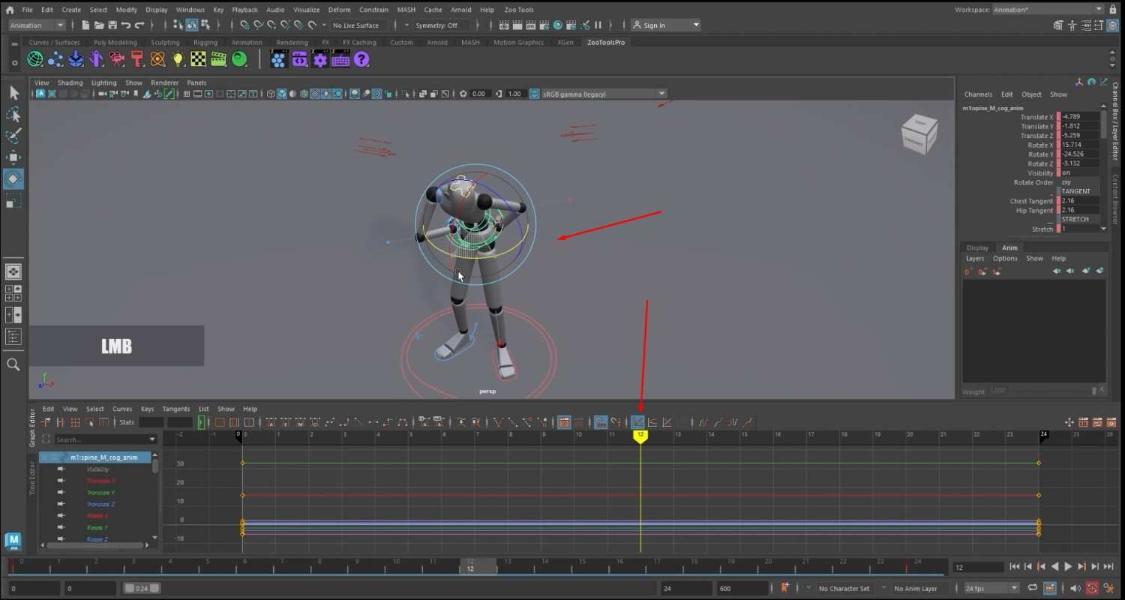
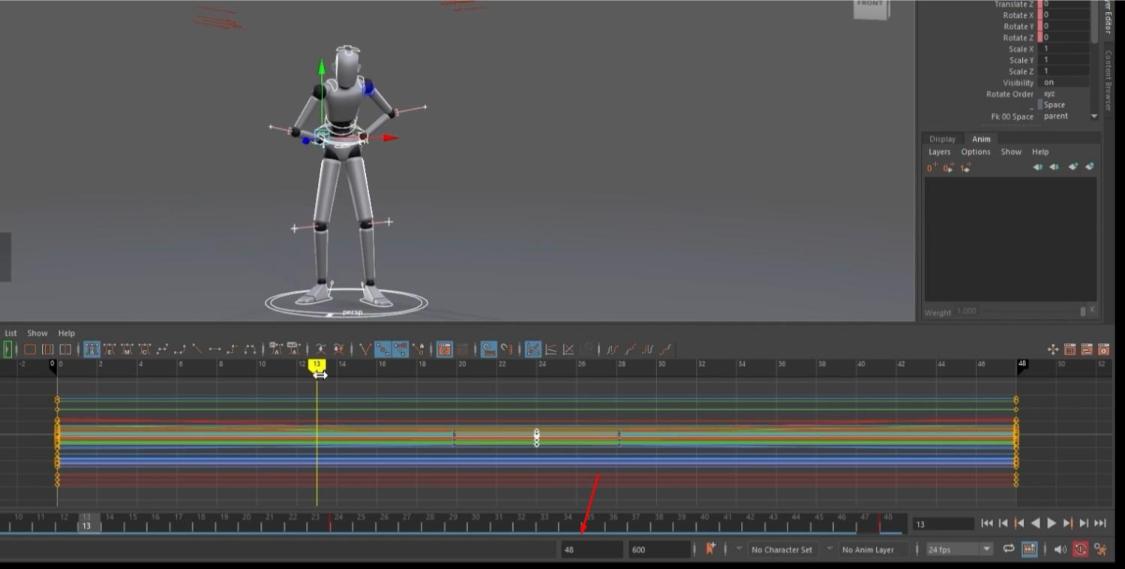
- Dock the Graph Editor above the Time Line.
- Open the Graph Editor by going to Windows > Animation Editors > Graph Editor.
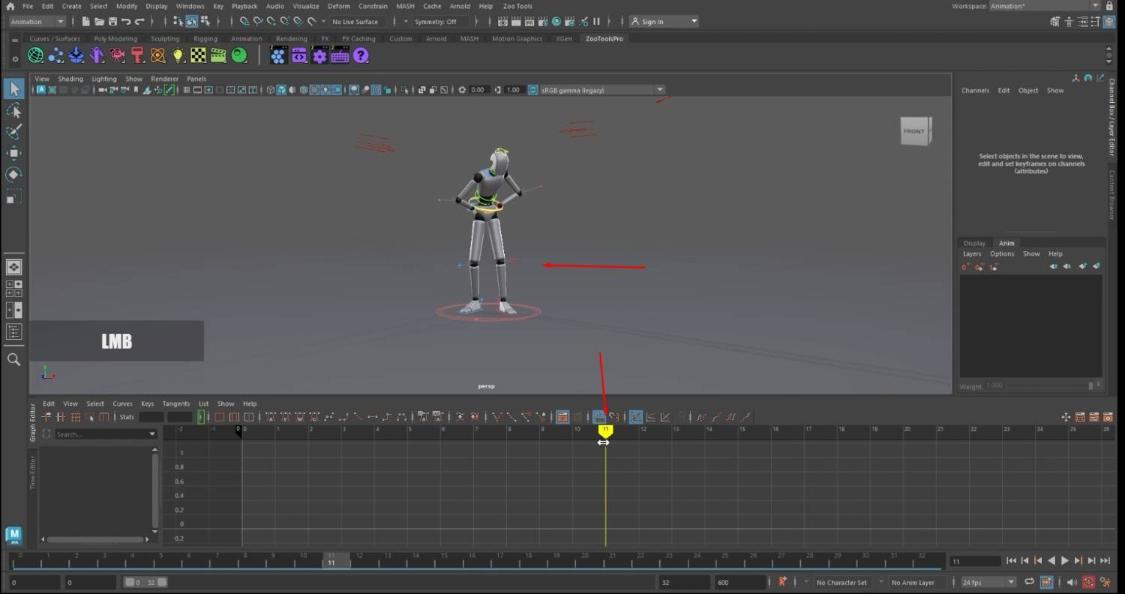
- Turn on Auto keyframe below the play and pause buttons on the Timeline, This is so a keyframe gets added automatically when moving a control on the rig.
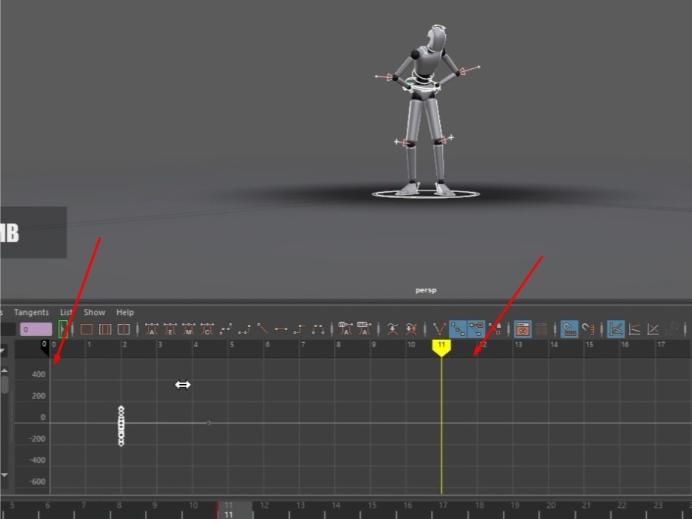
- Use the Timeline or Graph Editor to change the pose; select the 11th pose.
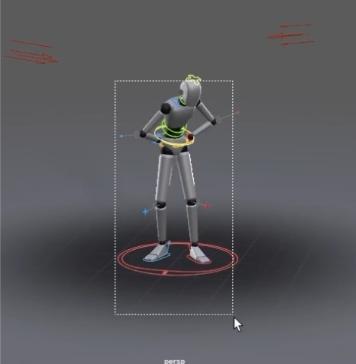
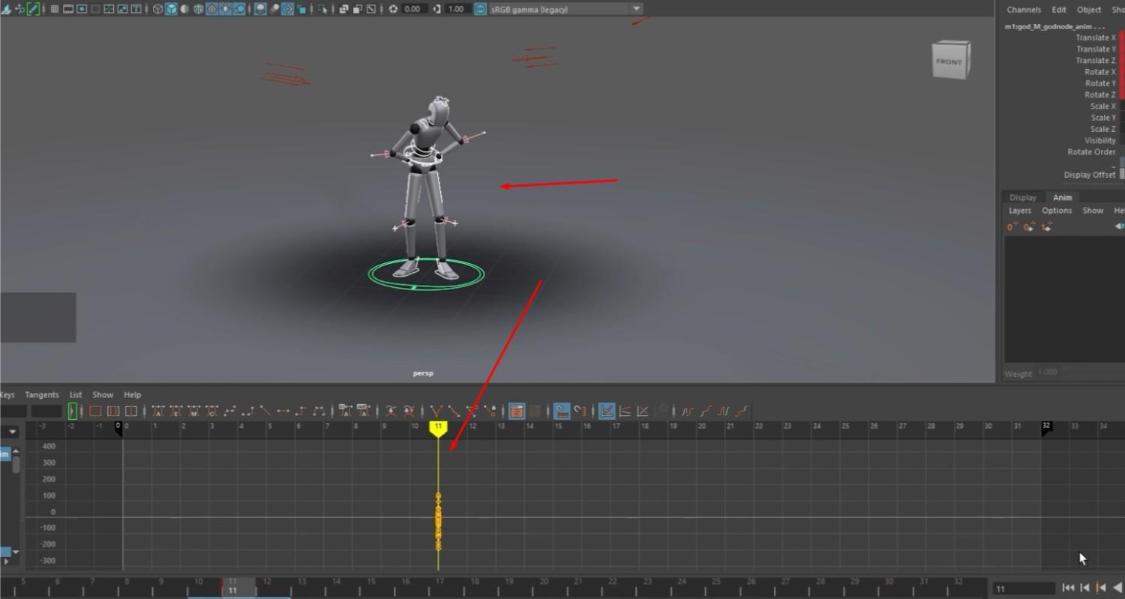
- Select the entire rig; in the Graph Editor, delete all keyframes except for the 11th one.
- Drag the remaining keyframe to 0 using Shift + Middle Mouse Button.
- Set the number of frames for the animation (suggested: 30 to 48).
Refining and Adding Animation Layers
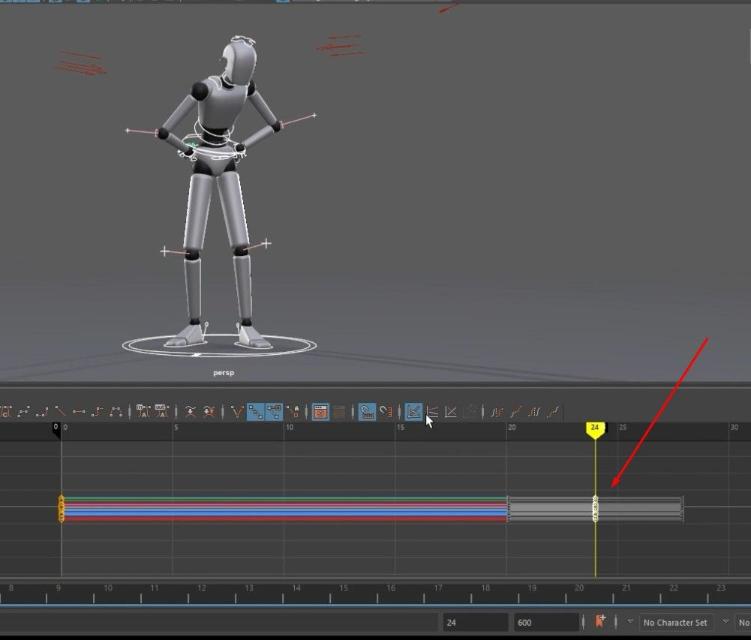
- Copy and paste the first frame to the end of the Timeline for a loopable animation.
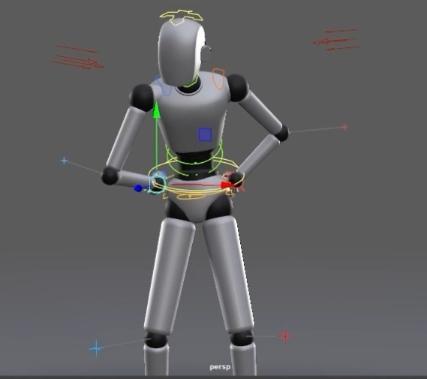
- Begin making the animation by moving the controls starting from the torso and adjusting the arms.
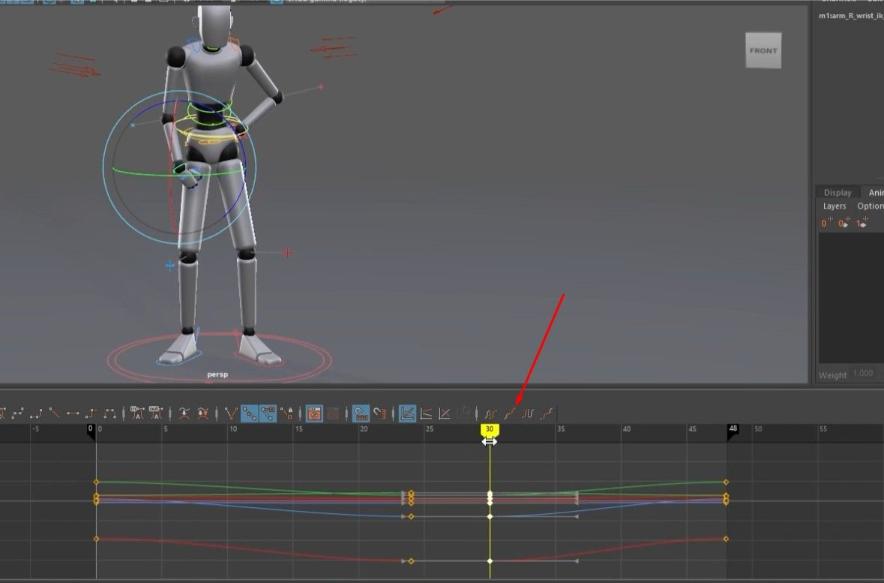
- Use three keyframes as mainframes and create in-betweens for smoother motion.
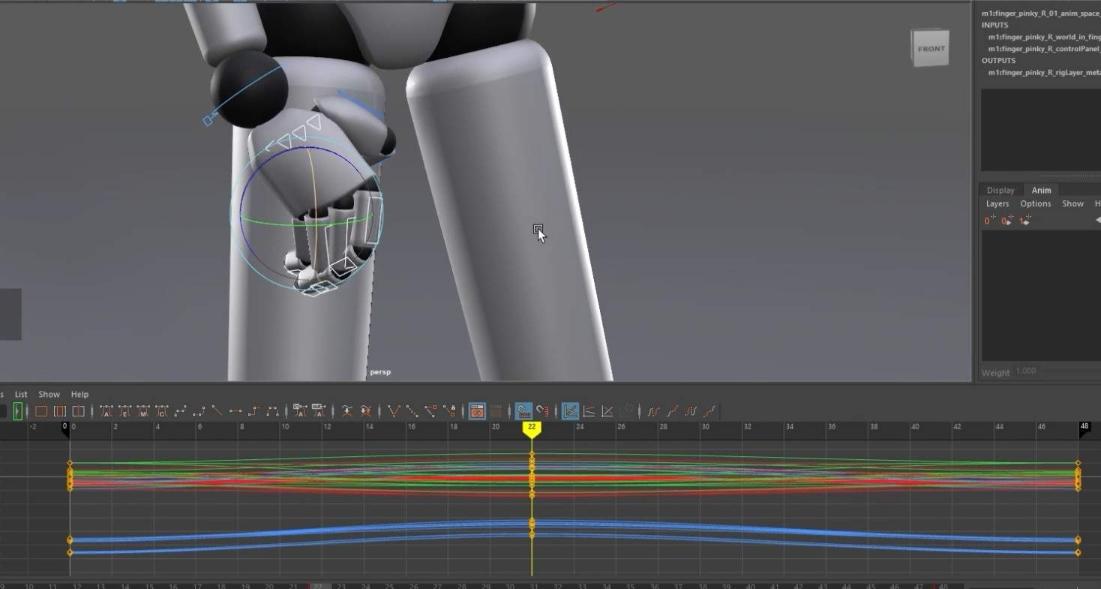
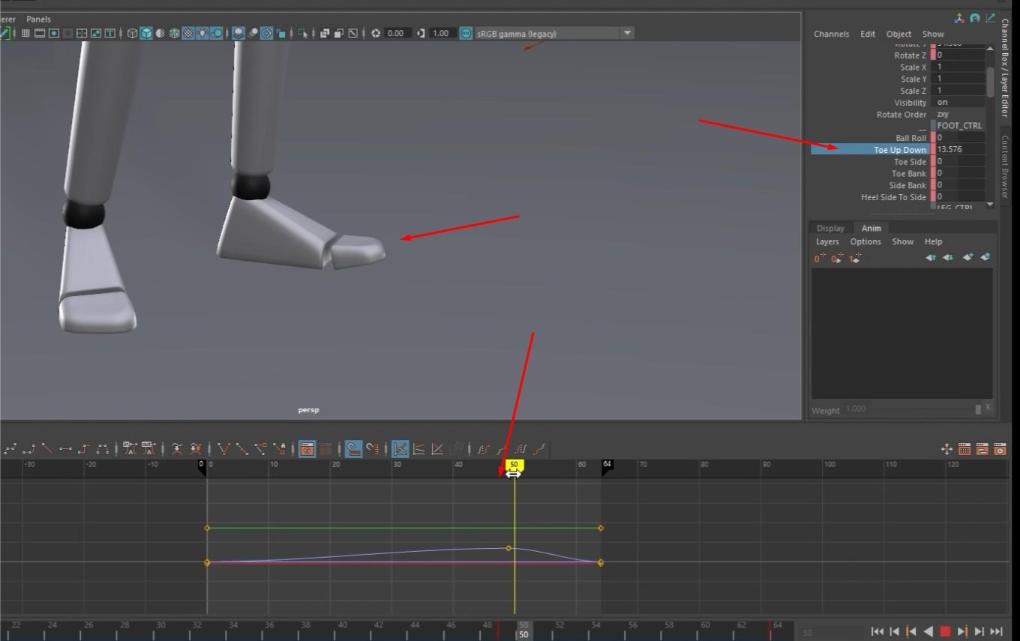
- Add details: The character leans up, the arm moves slightly forward, the fingers reach out, and the feet tap the ground.
- Activate Post and Pre Infinity Cycles in the Graph Editor to loop short animations.
- A useful tool to use when animation is the Animation Layer.
- This layer adds another animation on top of the Base Animation.
- Both of them work together.
- This is helpful so things don’t get too crowded in the graph editor.
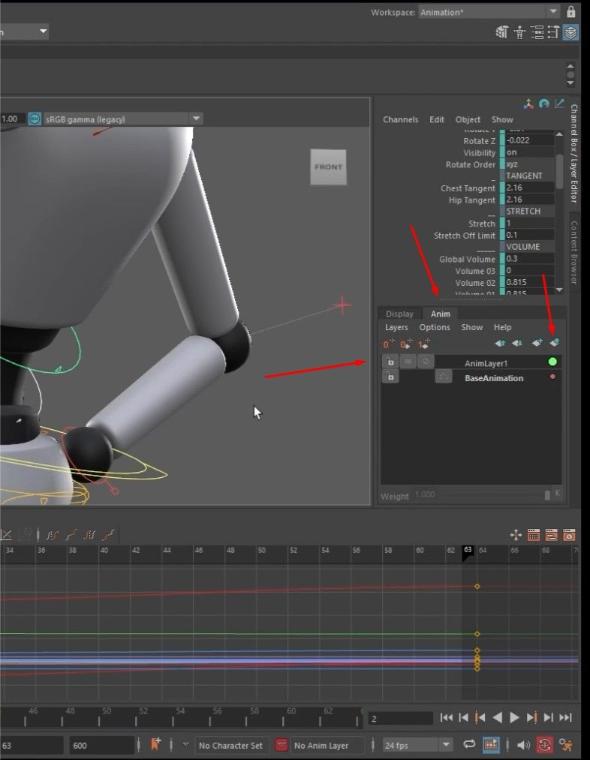
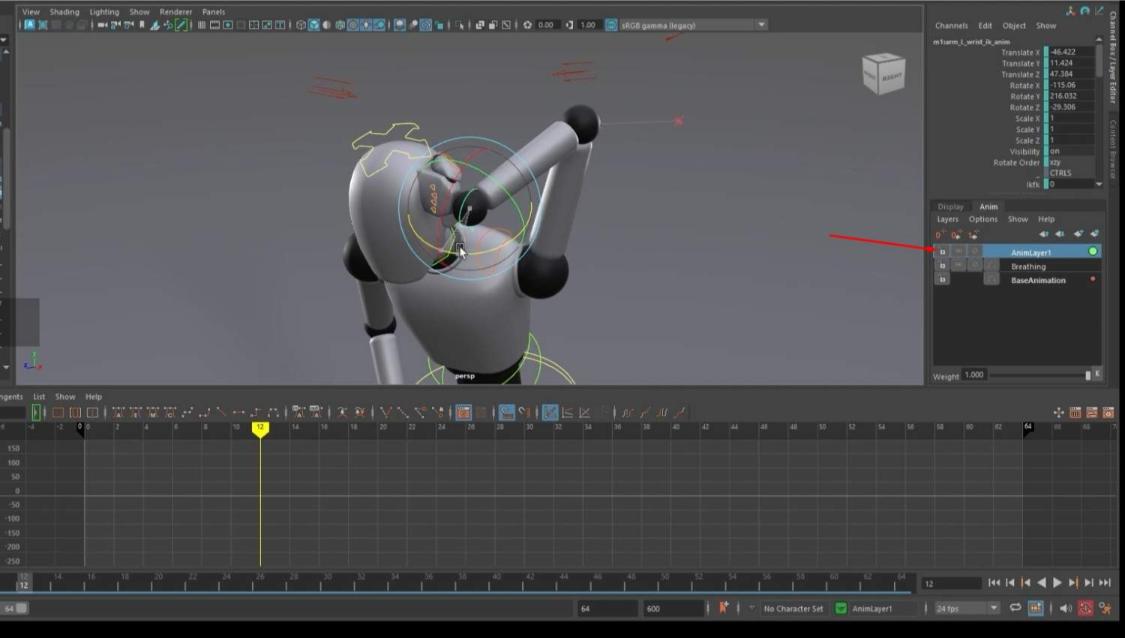
- To add an Animation Layer, in the Anim tab, click on the create Layer button.
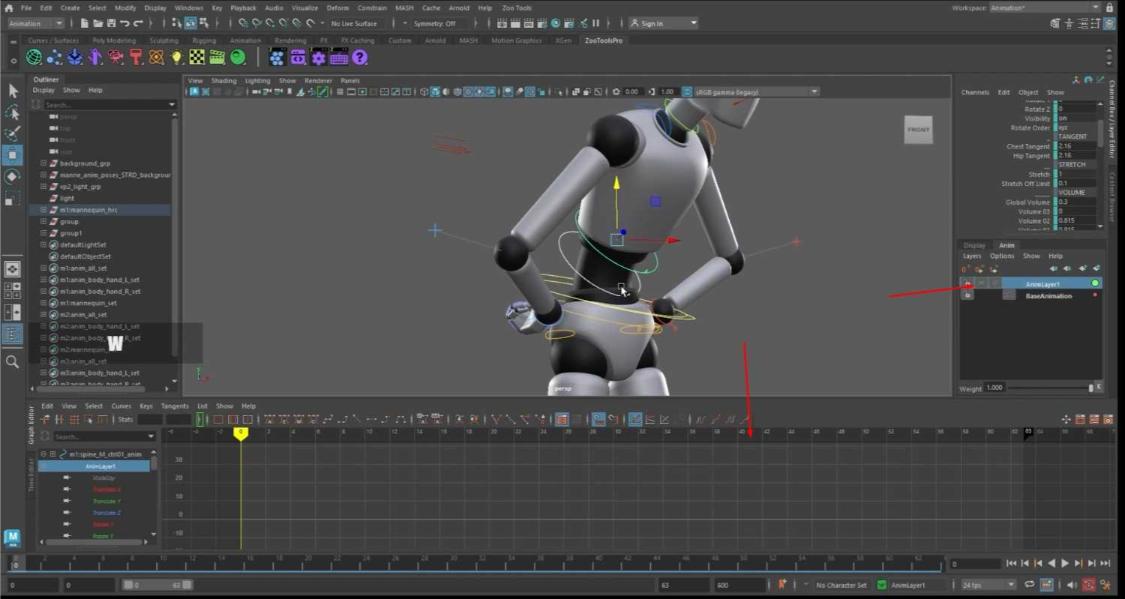
- You can switch between the animation layer and the base animation in the layer display.
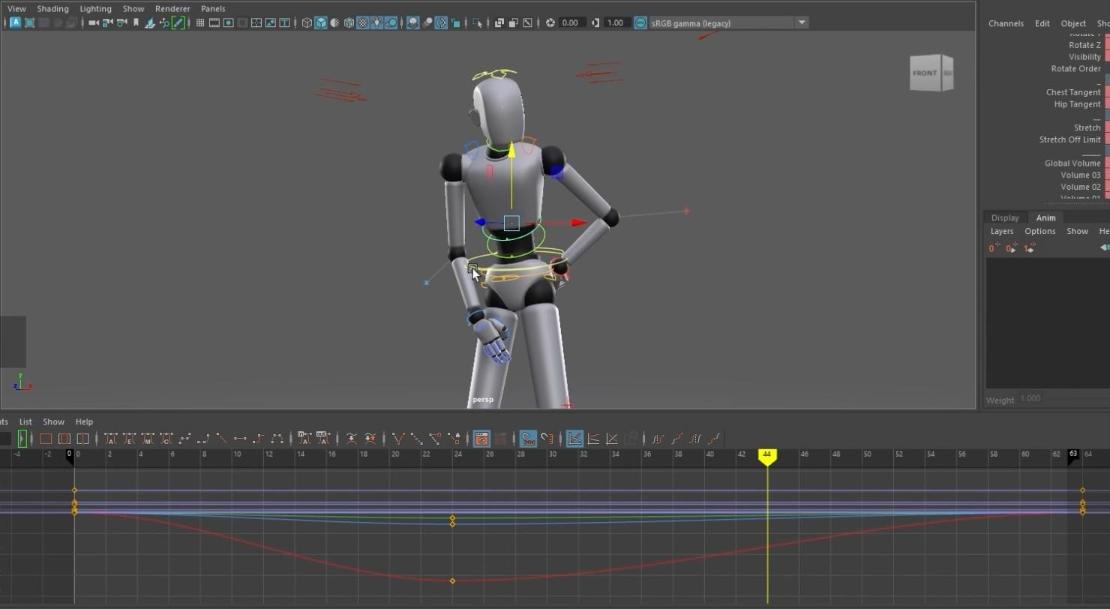
- In the animation layer, make a simple breathing animation where the torso goes up and down slightly.
- You can rename animation layers by double-clicking on the name.
- If you want, you can add another animation layer where the other hand scratches his head when the model turns.
Conclusion: Master Animation with ZooToolsPro
You will be incredibly efficient and creative in ZooTools plugin for Autodesk Maya if you make it a part of your animation pipeline. You’ll learn how to rig, animate, and polish your characters by adding depth to them with secondary animation and using the animation layers. If you want to advance even further and take the advanced class, look for our course offerings regarding Autodesk Maya and ZooToolsPro here at the academy. We encourage you to join us and push your skills to the next level!
When ready, feel free to visit the enrollment & finance area online anytime, 24/7, because you can start your learning process immediately by becoming a top-notch creative pro.

