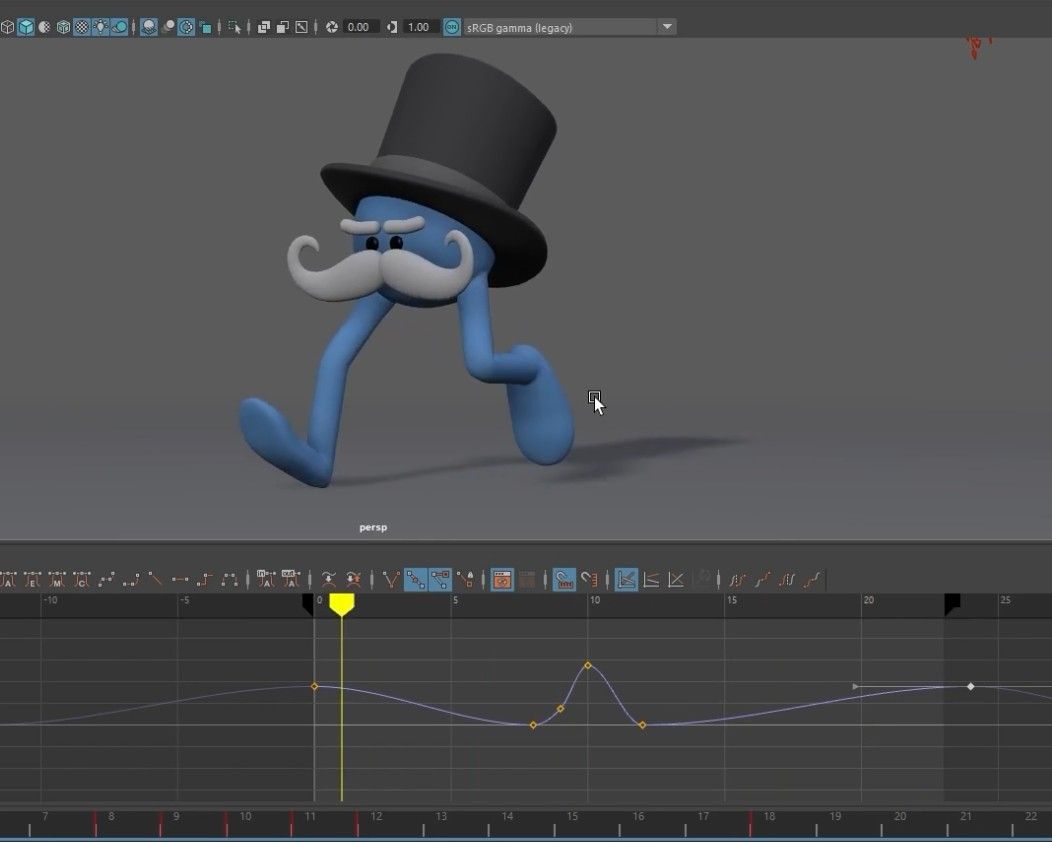
Autodesk Maya Walk Cycle Animation: Add Life & Personality
With this detailed Autodesk Maya animation tutorial, you will discover how to build a styled walk cycle, rig characters, create fluid animations, and give your animations more personality and life.
The following sections will outline the workflow for the animation.
Walk Cycle Animation Setup
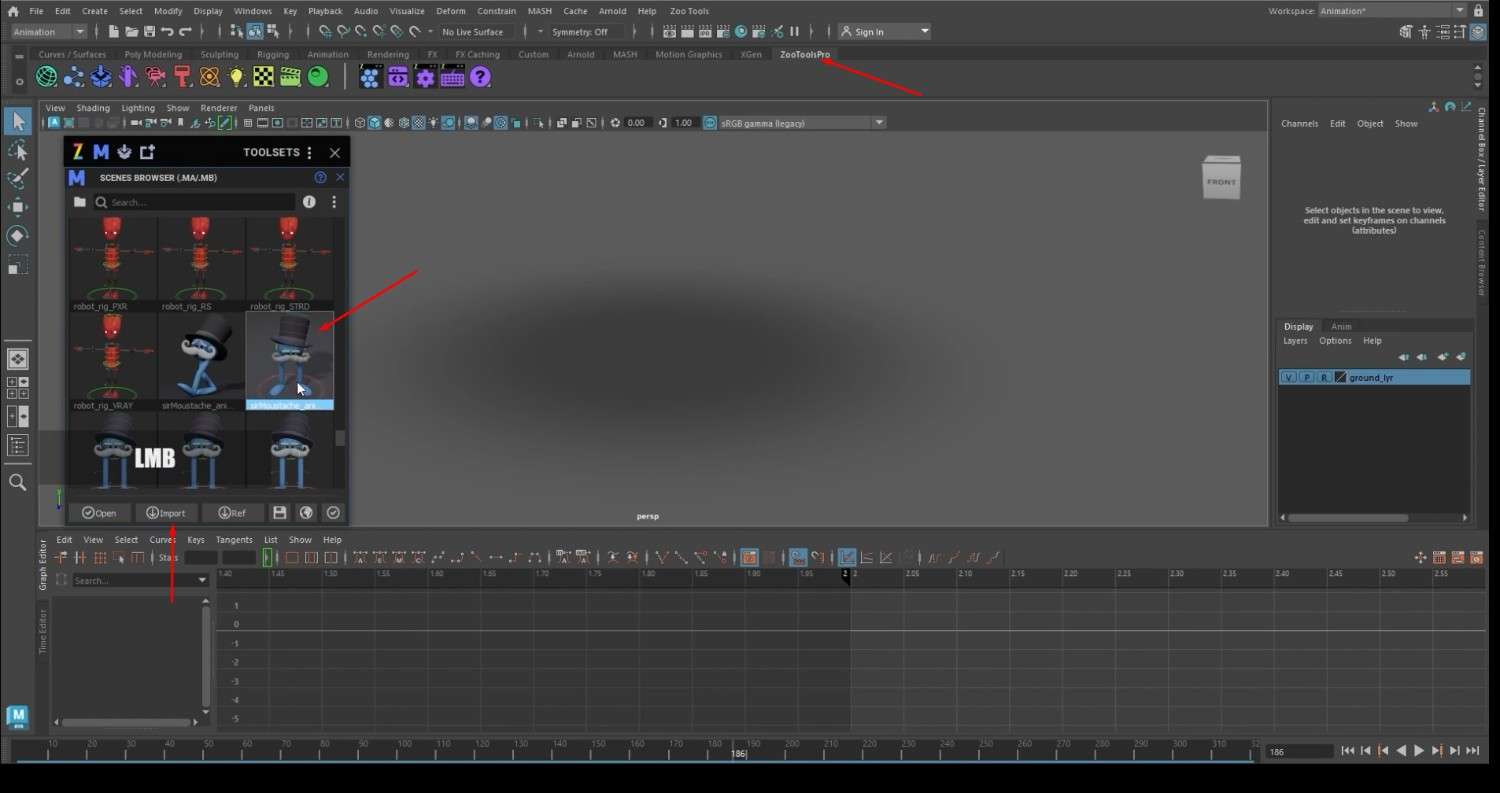
- In the ZooToolsPro submenu, open the Scene Browser and import the Moustache Man animation template.
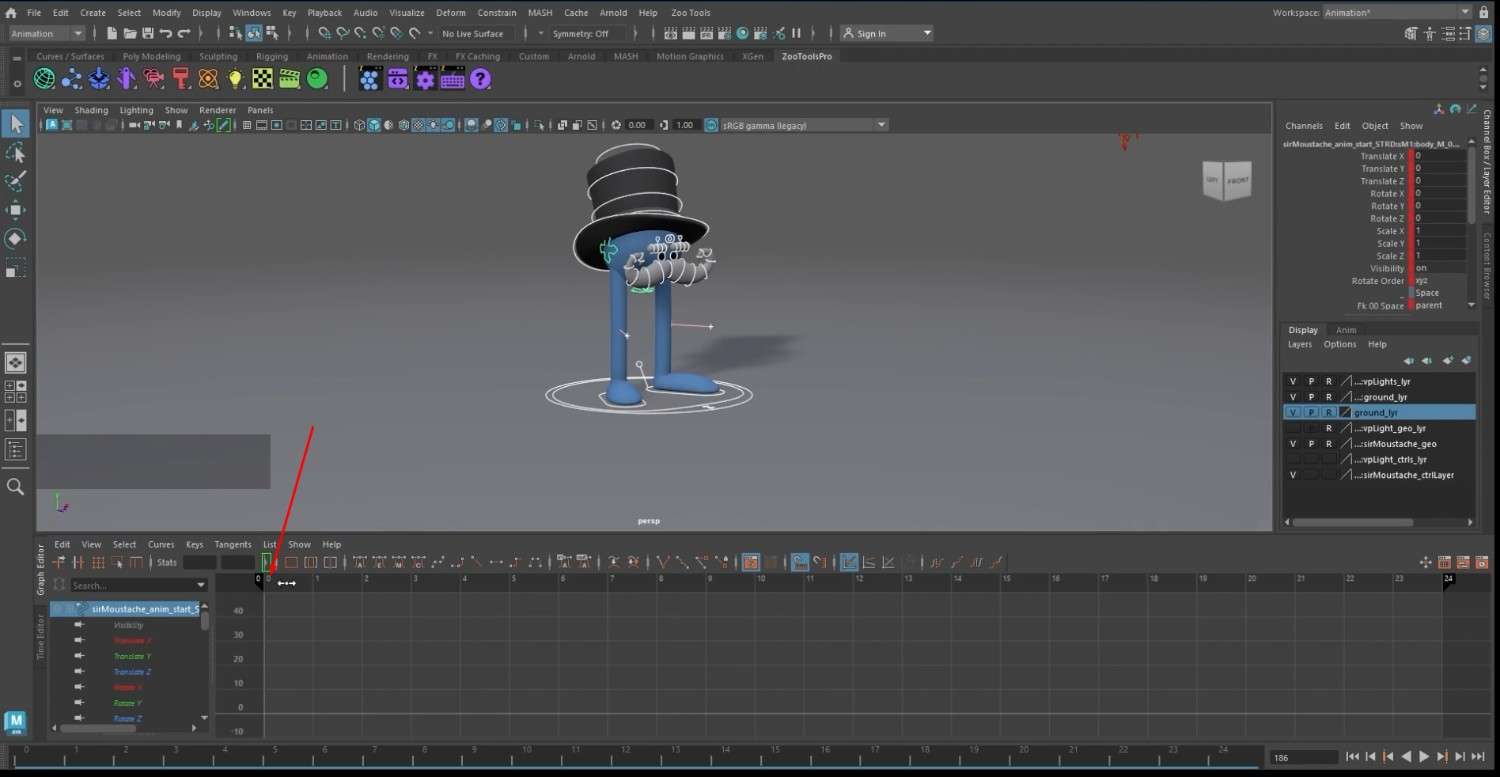
- In this tutorial, we will be using 24 frames.
- Add a keyframe to the first frame after selecting the complete rig.
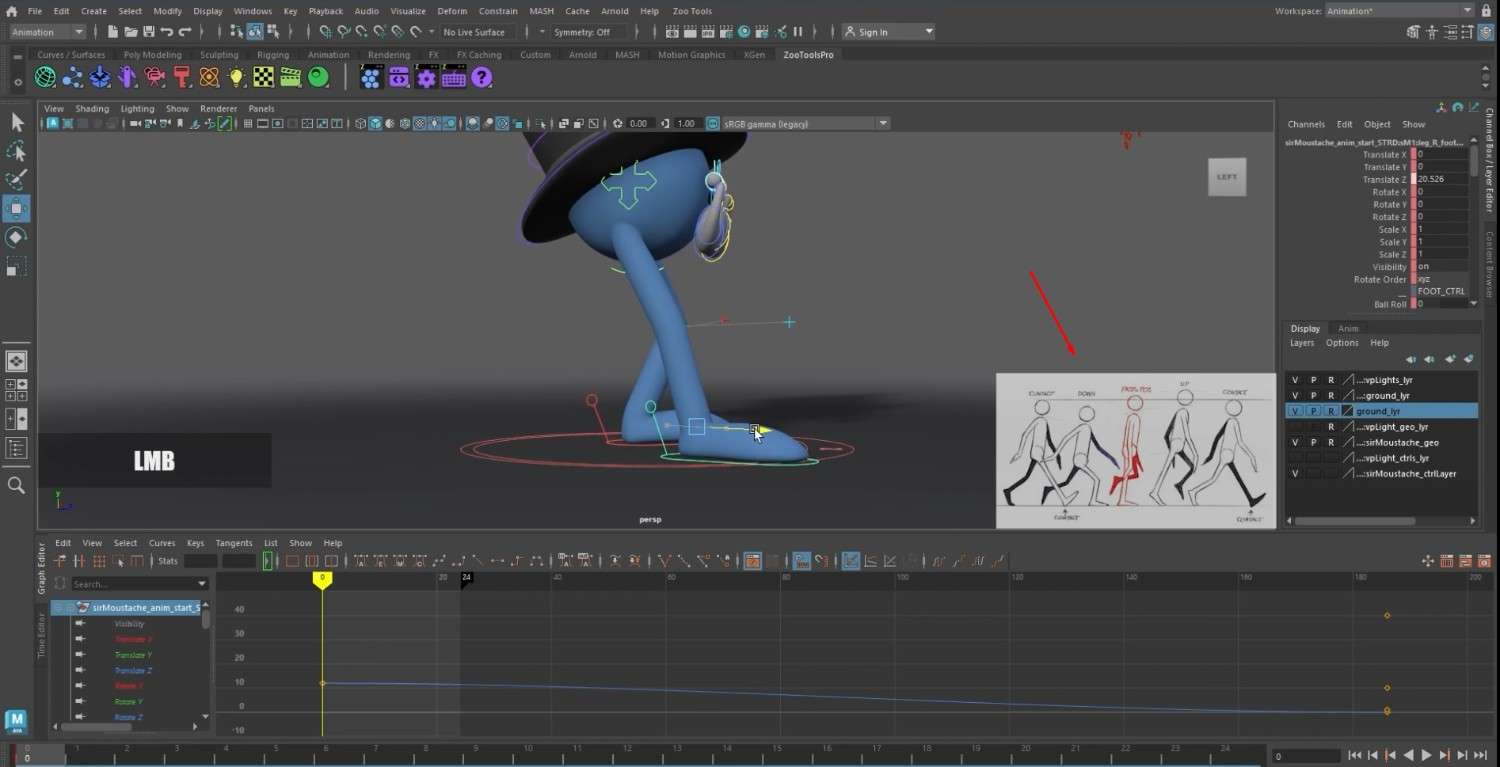
- Legs should be adjusted to fit the initial step of the walk cycle on the same frame.
How To Create The Frames?
- You can use an illustration of what a walk cycle looks like with the main and in-between frames.
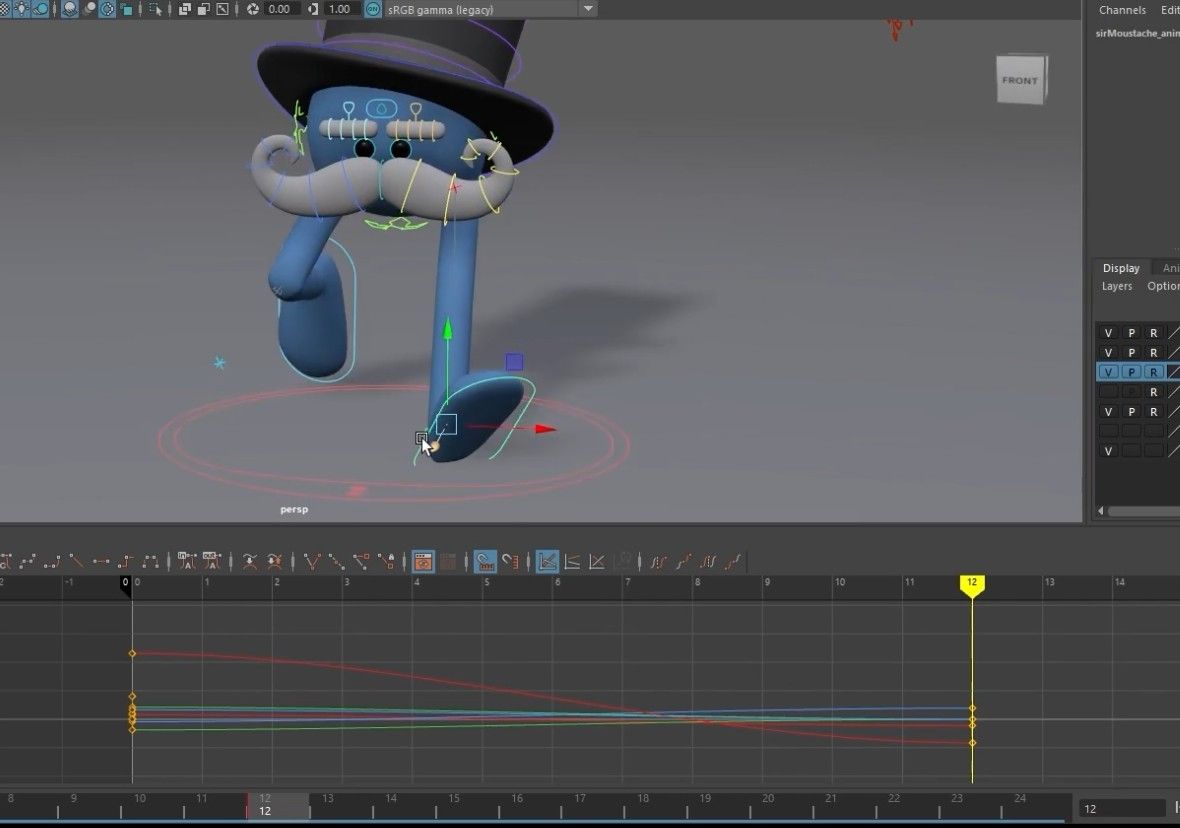
- Copy the first frame and paste it on the 12th frame.
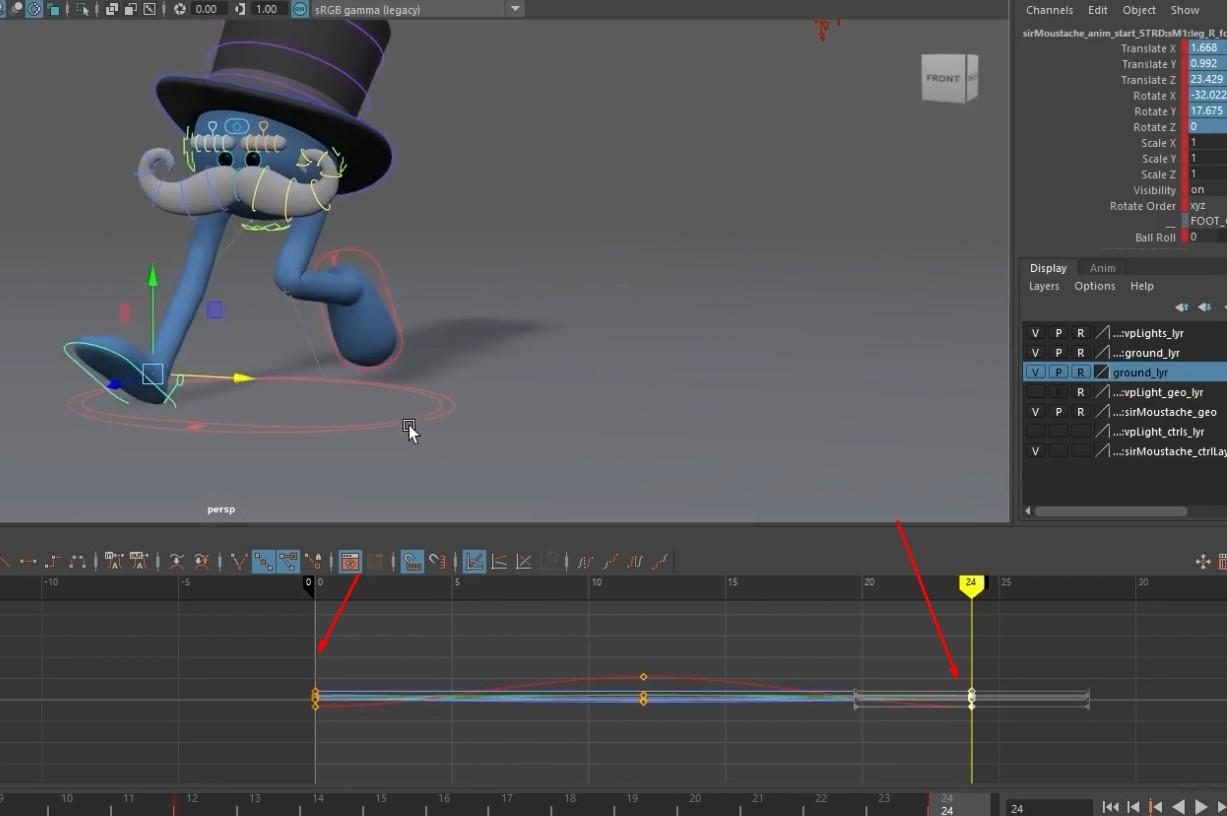
- To create the last frame, copy and paste the first frame.
- By doing this, the animation’s perfect loop ability is guaranteed.
- In this frame, pose the legs the opposite way than before.
Walk Cycle Animation Enhancement
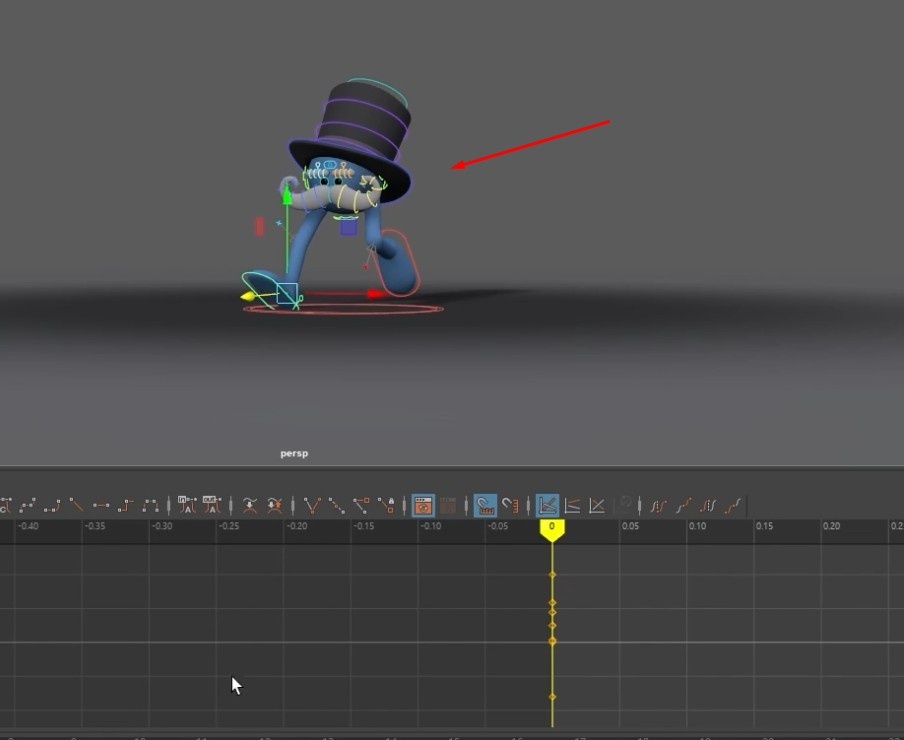
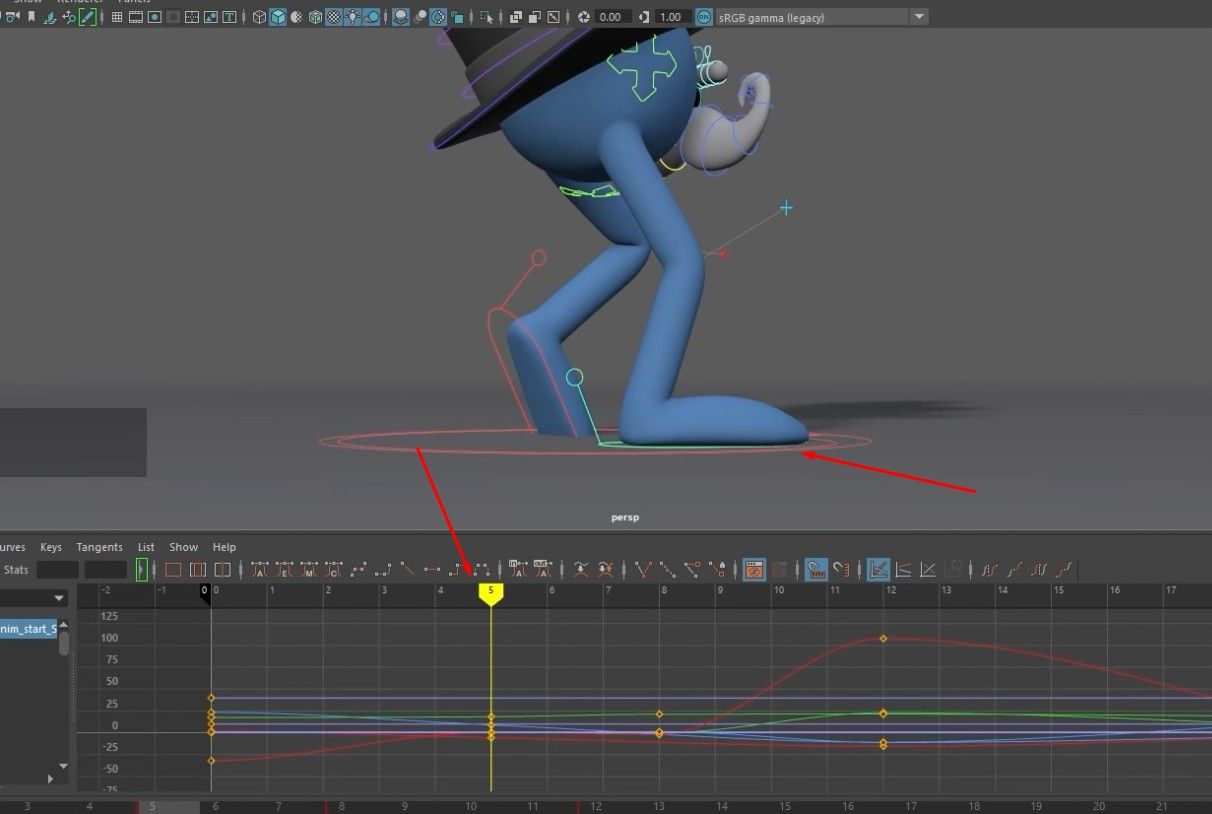
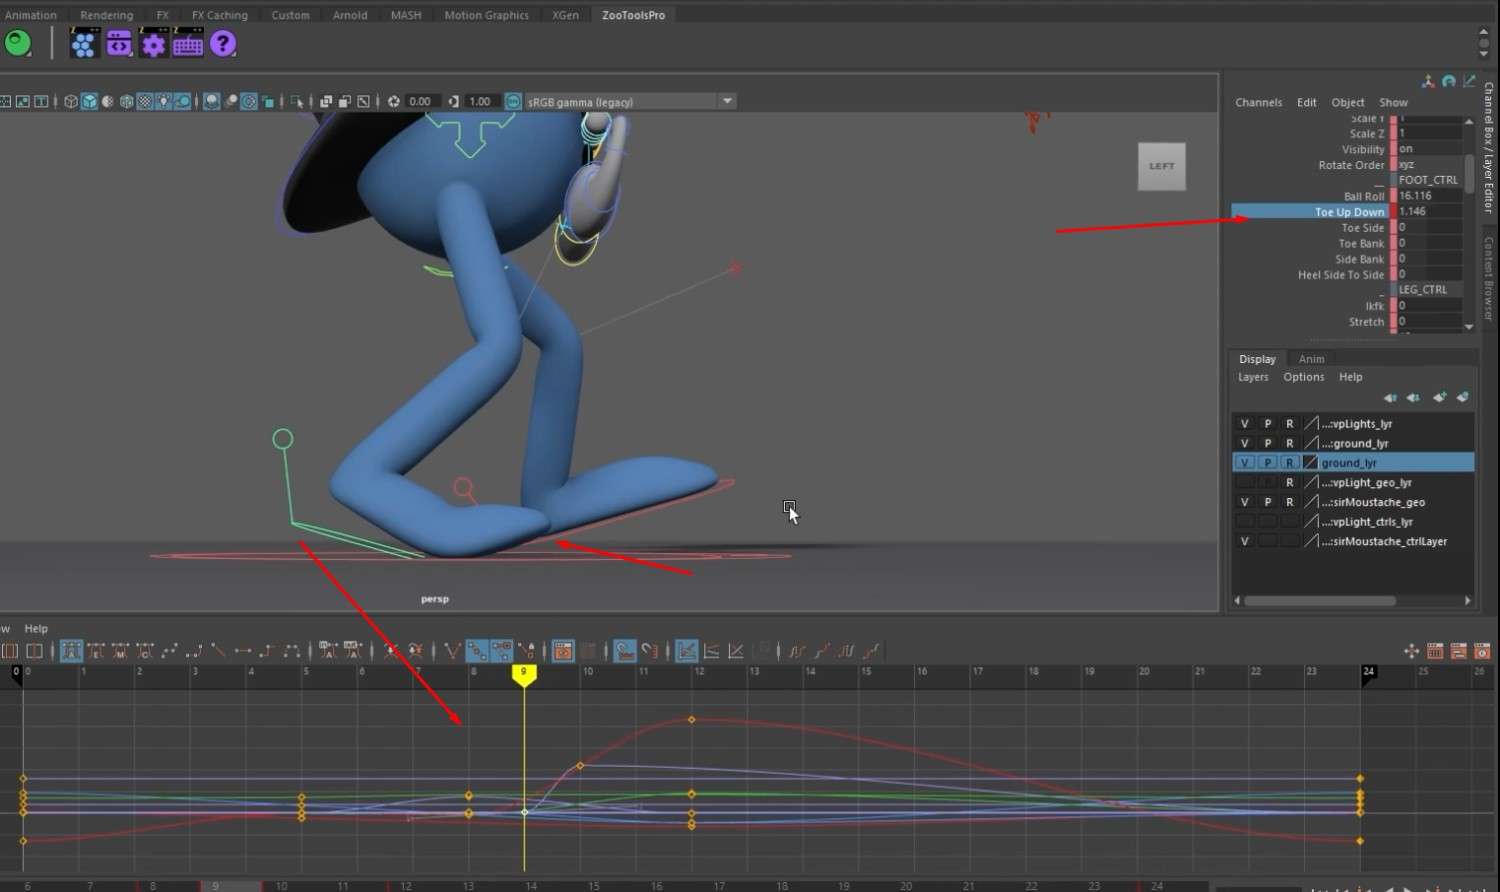
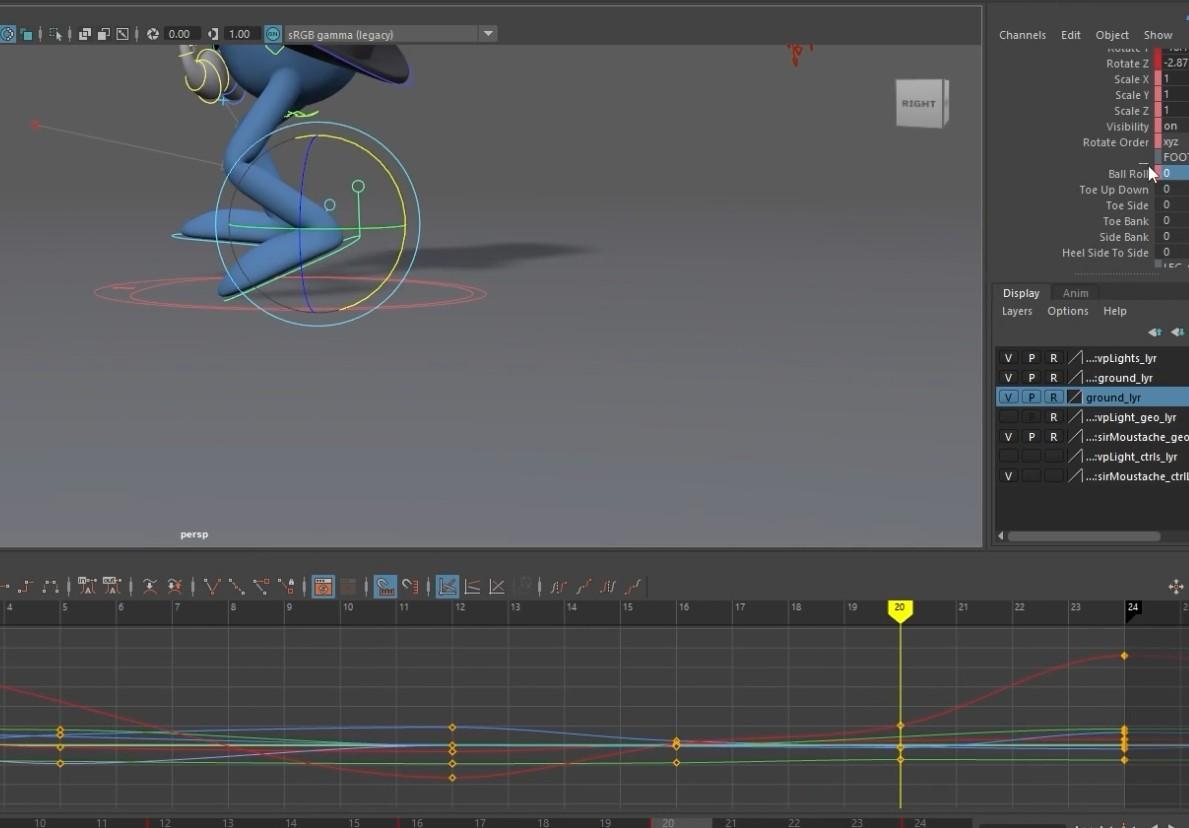
- Now that all the keyframes have been added, start adding the in-betweens and perfecting the animation, specifically the feet since they are clipping in the ground.
- We want to avoid parts of the model cupping or going below the ground because this would be noticeable in a game or animation movie.
- Using the blend shapes on the side, curve the toes of the feet.
- Apply this to both feet.
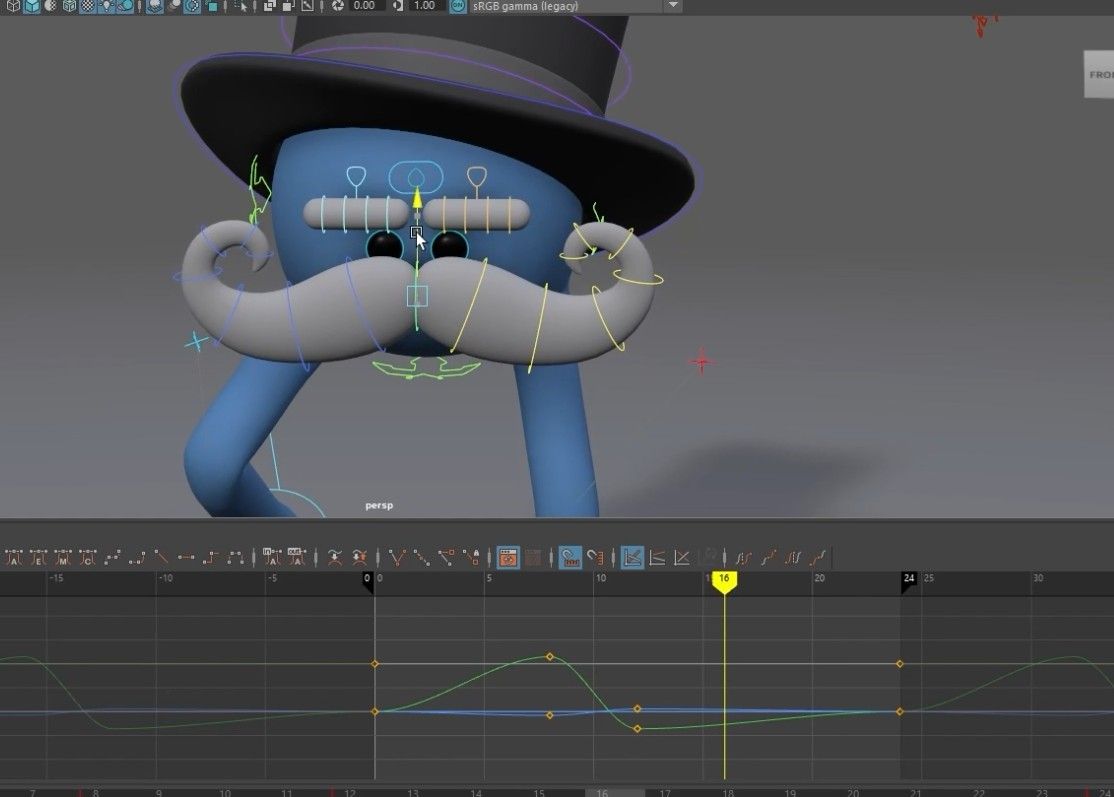
- To add more movement and character to the walk cycle, make the head/body of the character bounce up and down while the hat bounces slightly back and forth.
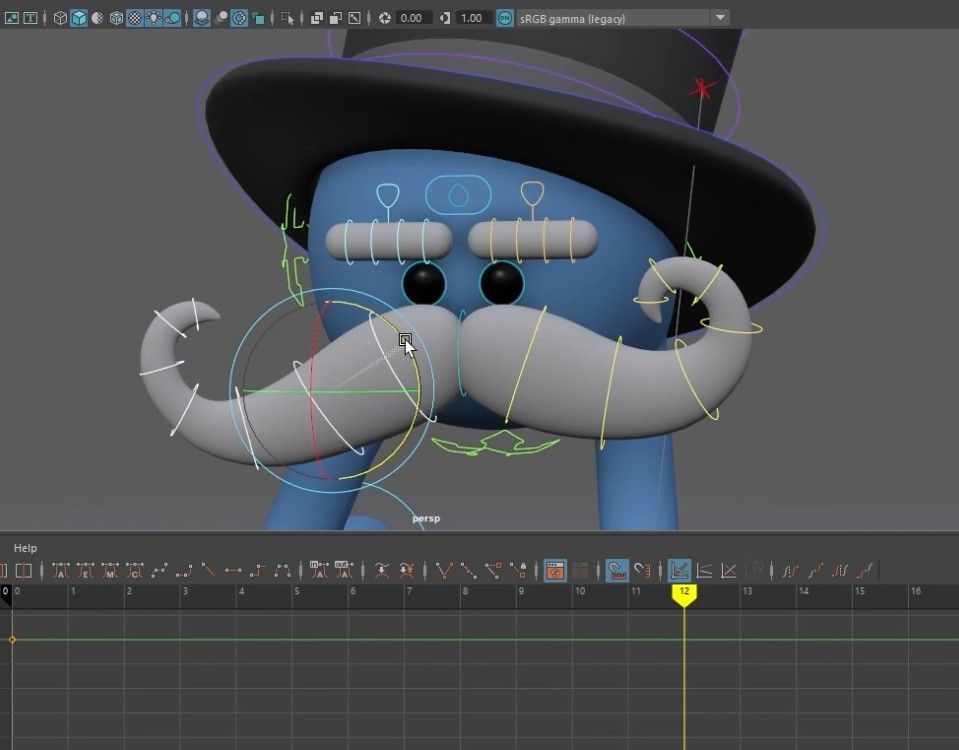
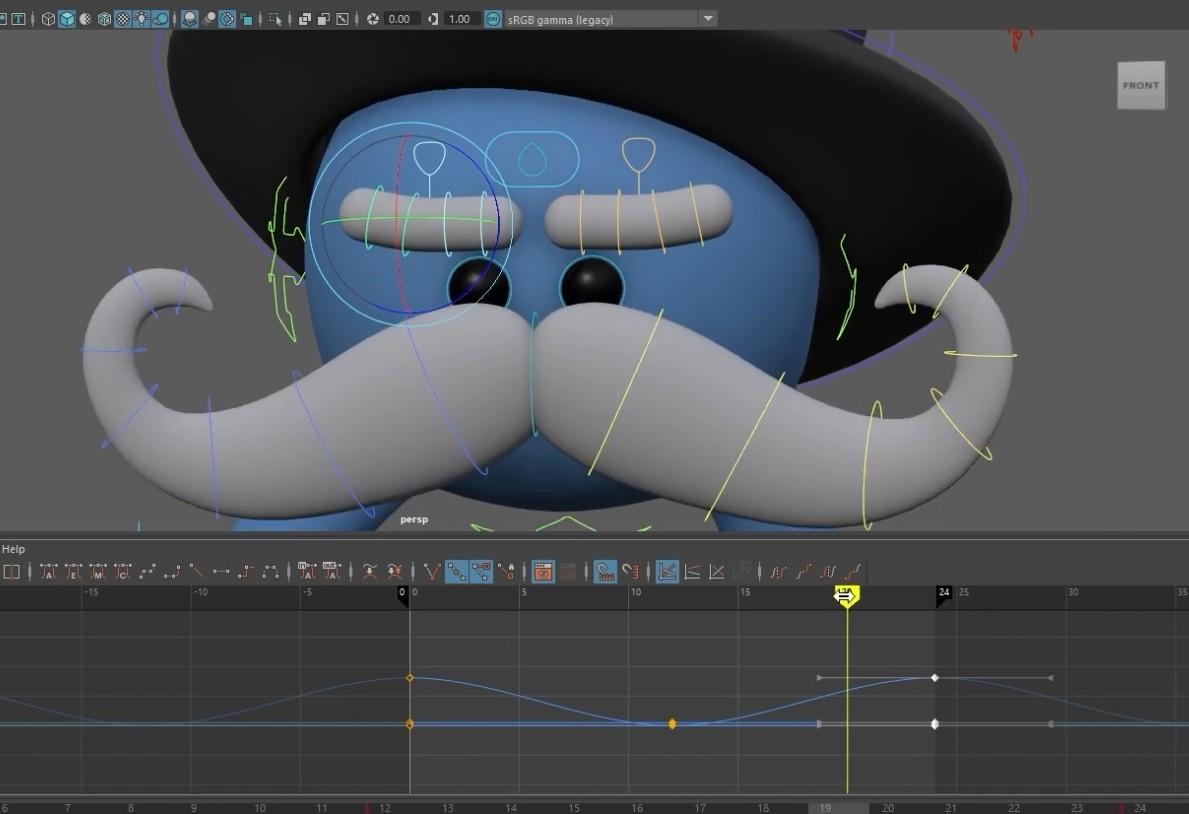
- The mustache can fold in on itself and unfold since it has controls all over it.
- Animate the mustache folding and unfolding as the character walks.
- Don’t forget to make slight movements to the eyes and eyebrows.
Conclusion: Bringing Your Autodesk Maya Animation to Life
This tutorial taught you the essential steps to create an appealing walk cycle animation in Autodesk Maya. From setting up your character with the Moustache Man template to refining the keyframes and adding personality through details like facial movements and character bounce, you now have the tools to make your animations more dynamic and engaging.
For those aiming to refine their expertise and develop a professional portfolio, M3DS Academy’s Autodesk Maya course offers hands-on experience and one-on-one mentoring tailored to the needs of aspiring 3D artists.
And don’t forget to check out what other educational approaches M3DS offers: academy programs, individual software courses, and masterclasses from industry professionals—those folks know their stuff! When ready, feel free to visit the enrollment & finance area online anytime, 24/7, because you can start your learning process immediately by becoming a top-notch creative pro.

