Create Advanced Animation Techniques with Autodesk Maya AnimBot
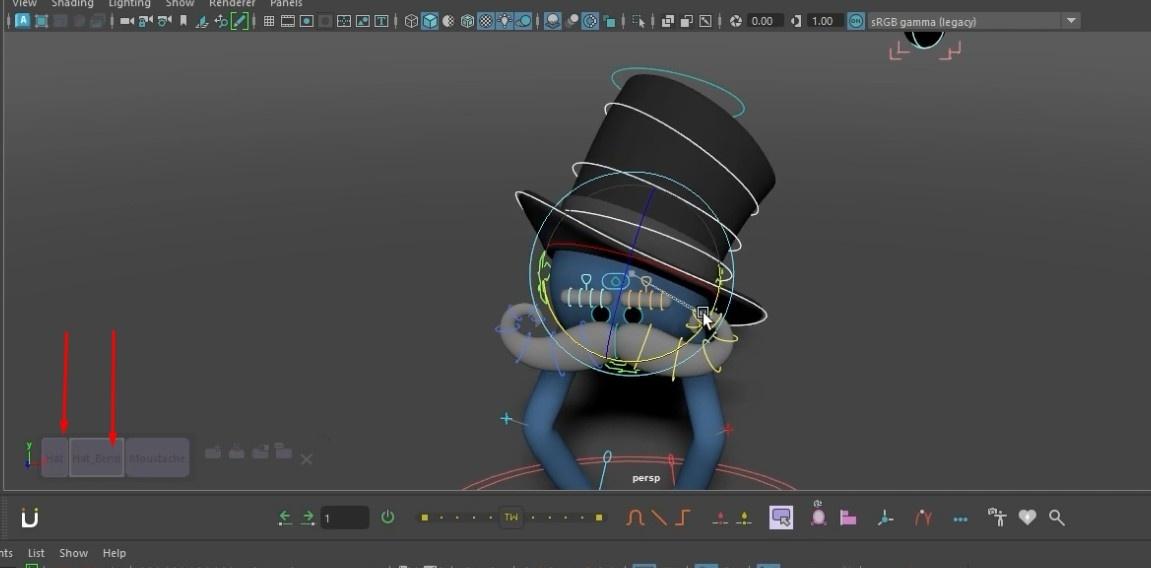
Discover complex camera advanced animation techniques, keyframing, and character rigging approaches with AnimBot. With this plugin for Autodesk Maya, you can quickly reset poses, arrange selection sets, and auto-mirror animations for efficient character rigging. Pay attention as we animate a dynamic tapping and jumping sequence, modifying timing and build-up for more effect.
Workflow: Advanced Animation Techniques with AnimBot
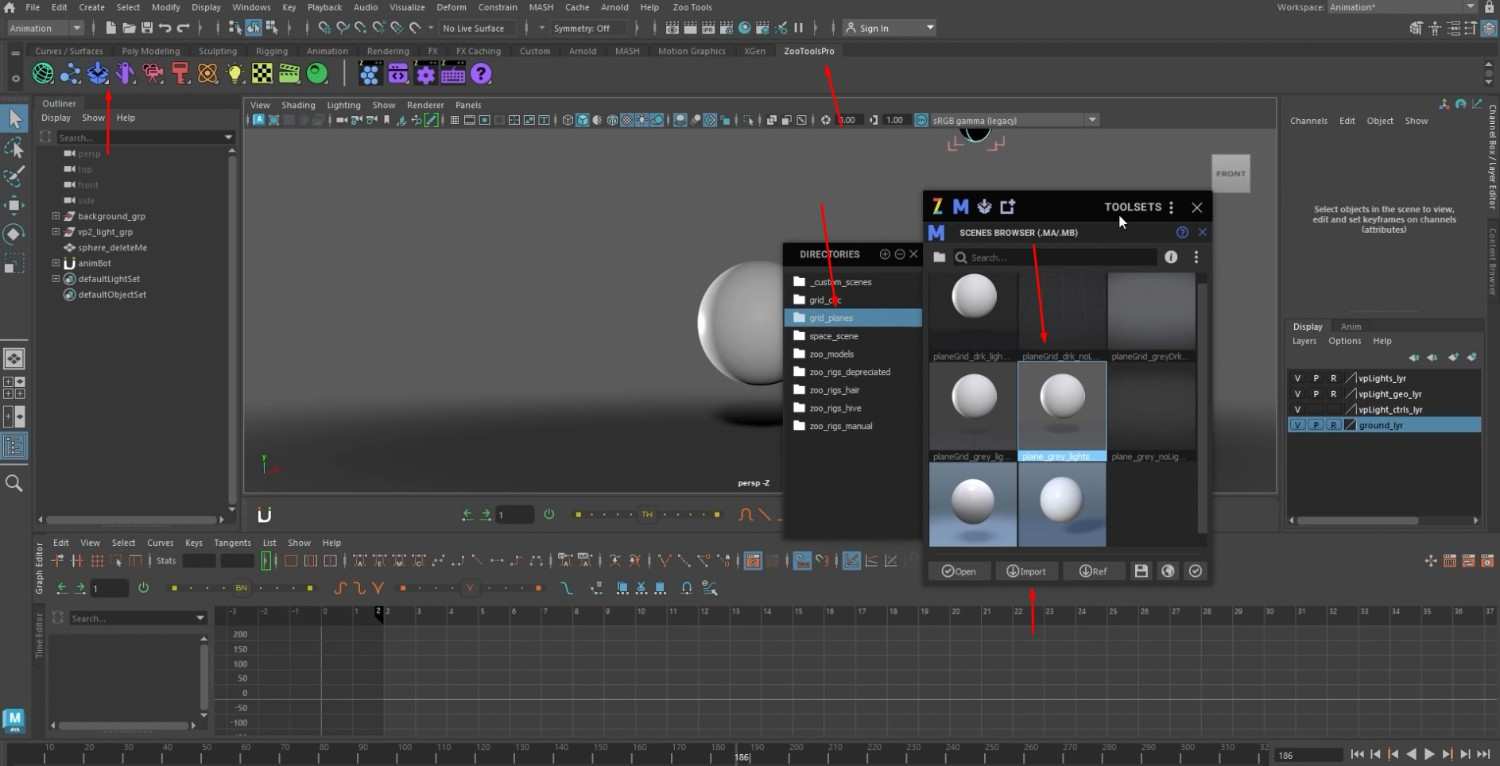
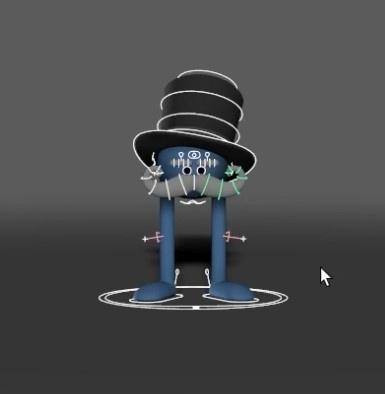
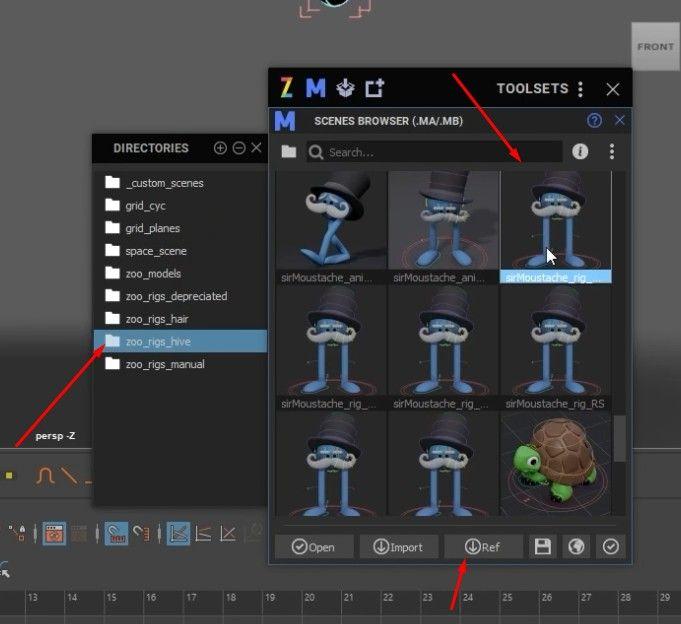
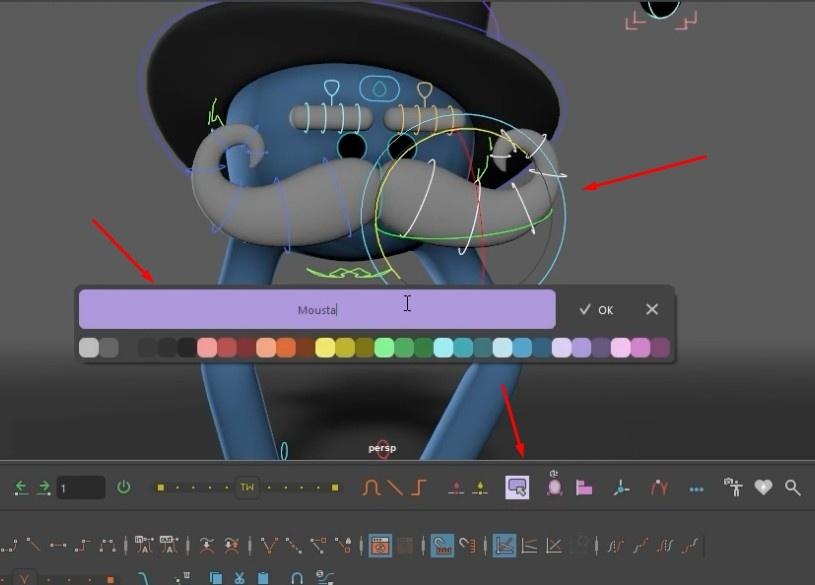
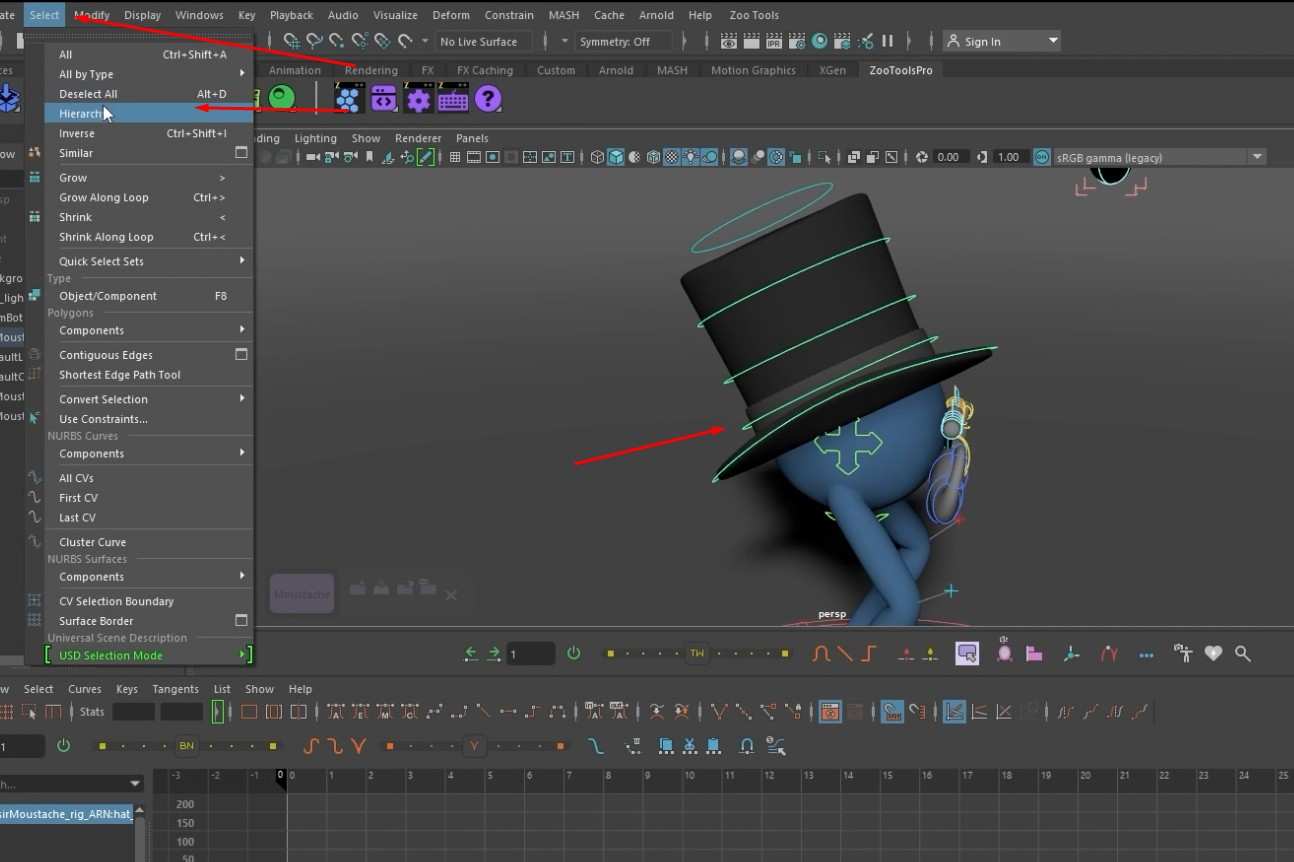
Use the ZooTools view presets in the Scene Browser and import them into the scene to get a better workspace perspective. Turn on the ambient occlusion, light, shadow, and texture after that. For today’s animation and demonstration of the AnimBot plugin for Autodesk Maya, we’ll be using the Moustache Man, just like in the last tutorial
Animating with AnimBot
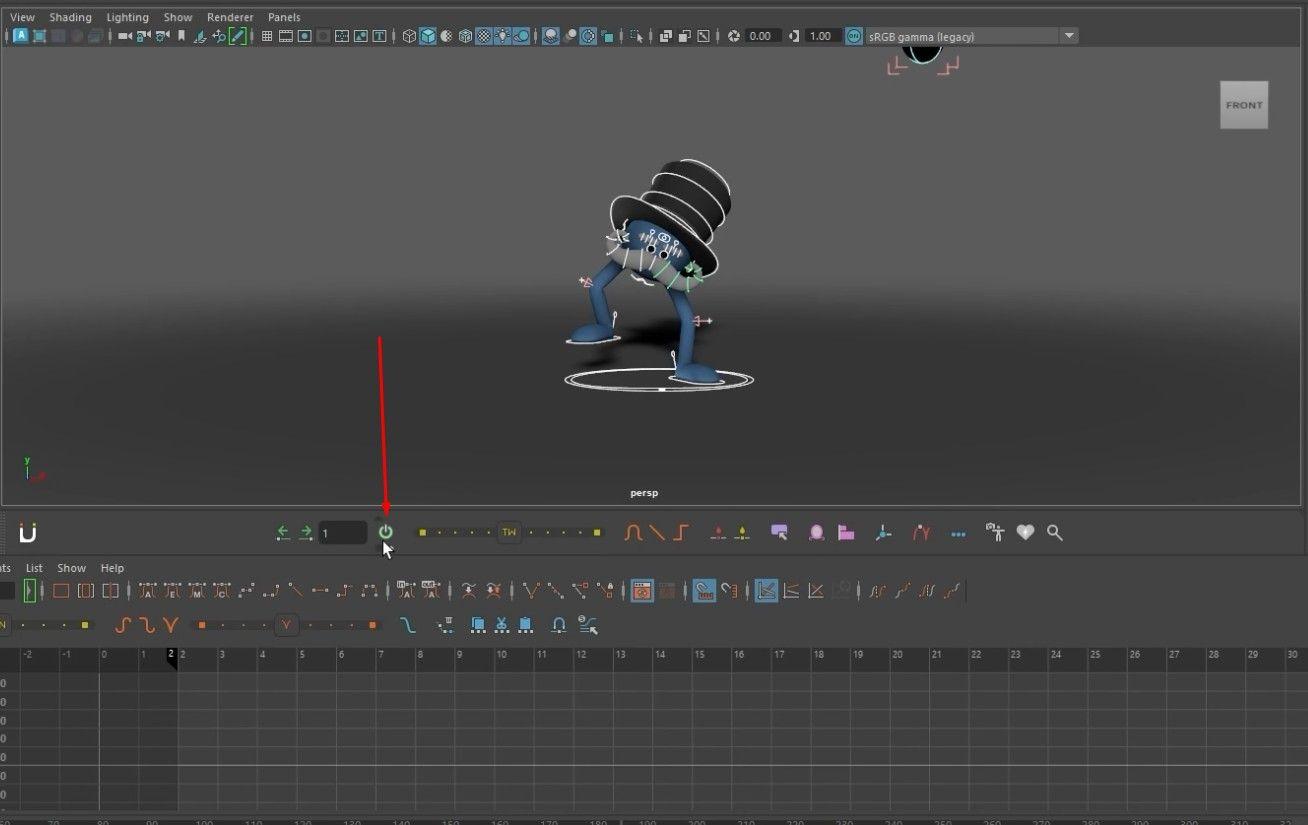
- This plugin adds a lot of useful tools to make animation in Maya easier and more organized, and one such tool is the Reset button.
- If you make a change in the rig and want it to go back to its first state, select the entire rig and click the button.
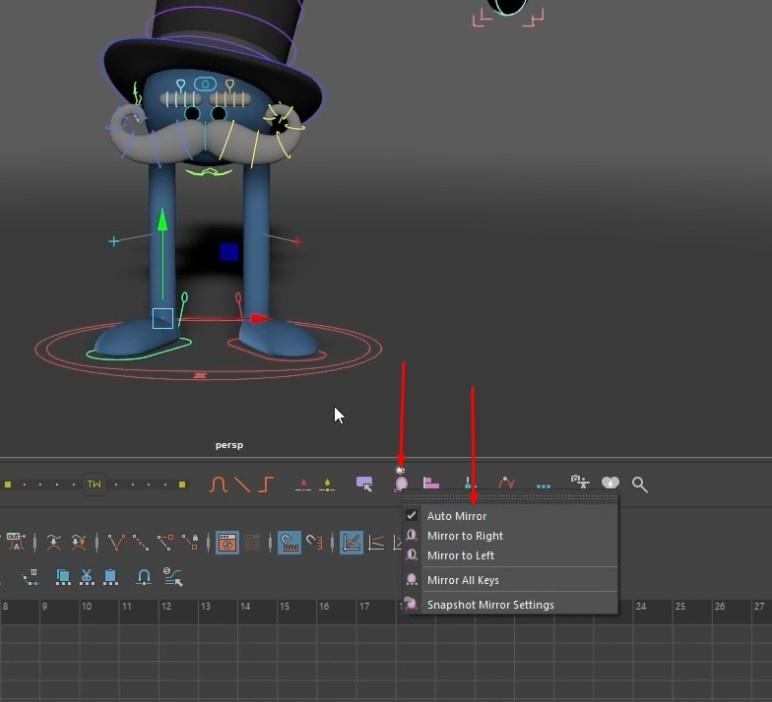
- A tool called Mirror allows you to mirror the movement of one control onto the other.
- Right-click the Mirror icon and tick the Auto Mirror box.
- With complete symmetry, this lets you move both model components.
Setting Keyframes and Animation
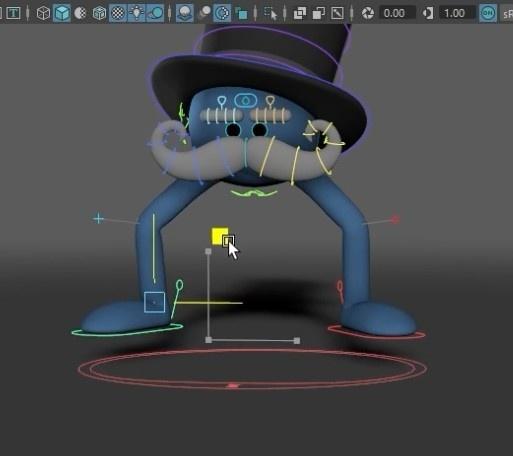
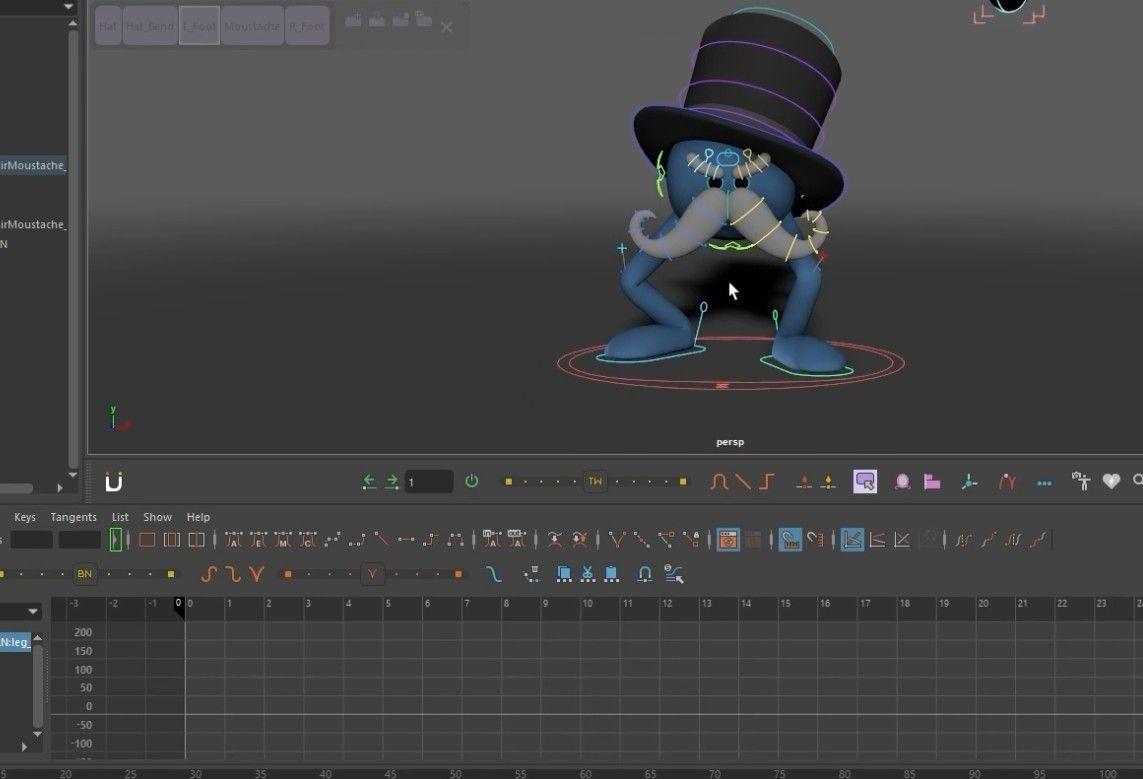
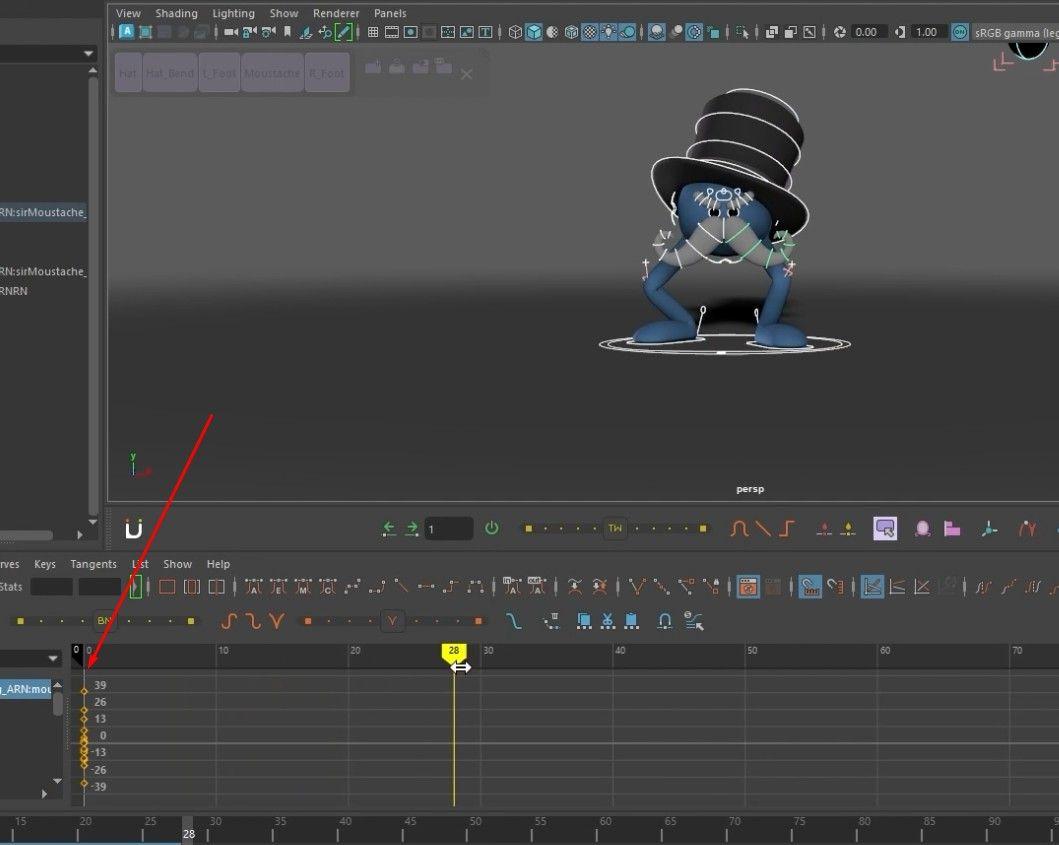
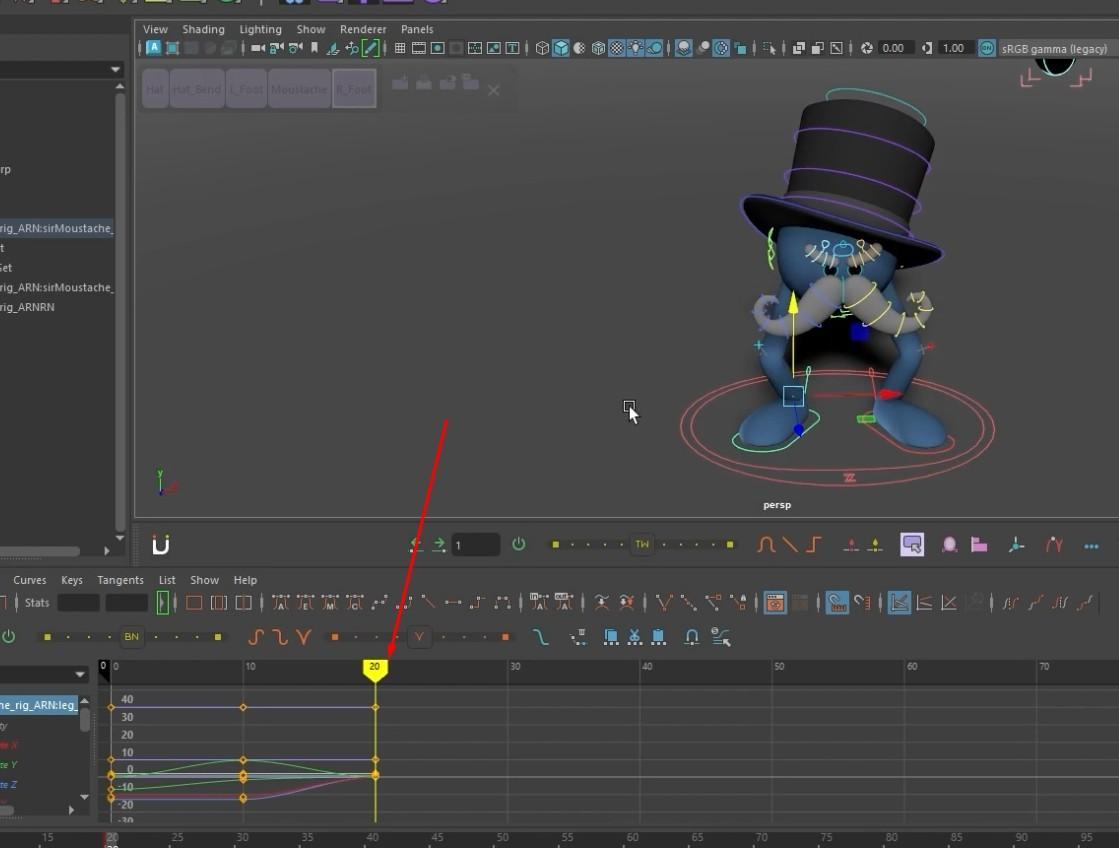
- Position the character so that in the opening frame he would be stomping his feet.
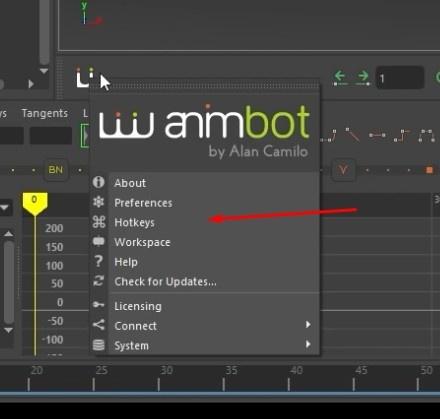
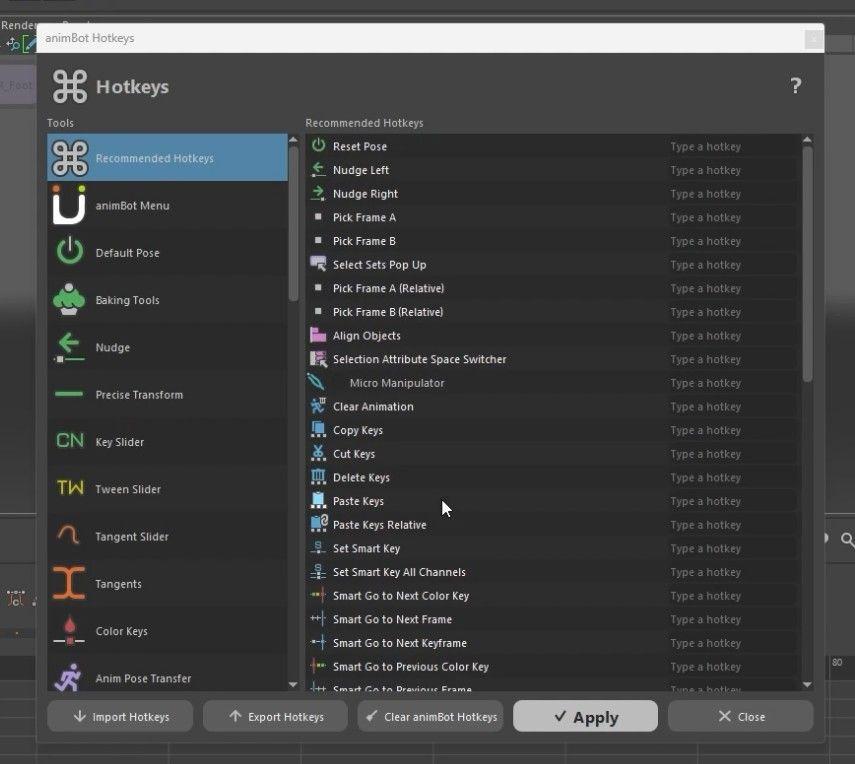
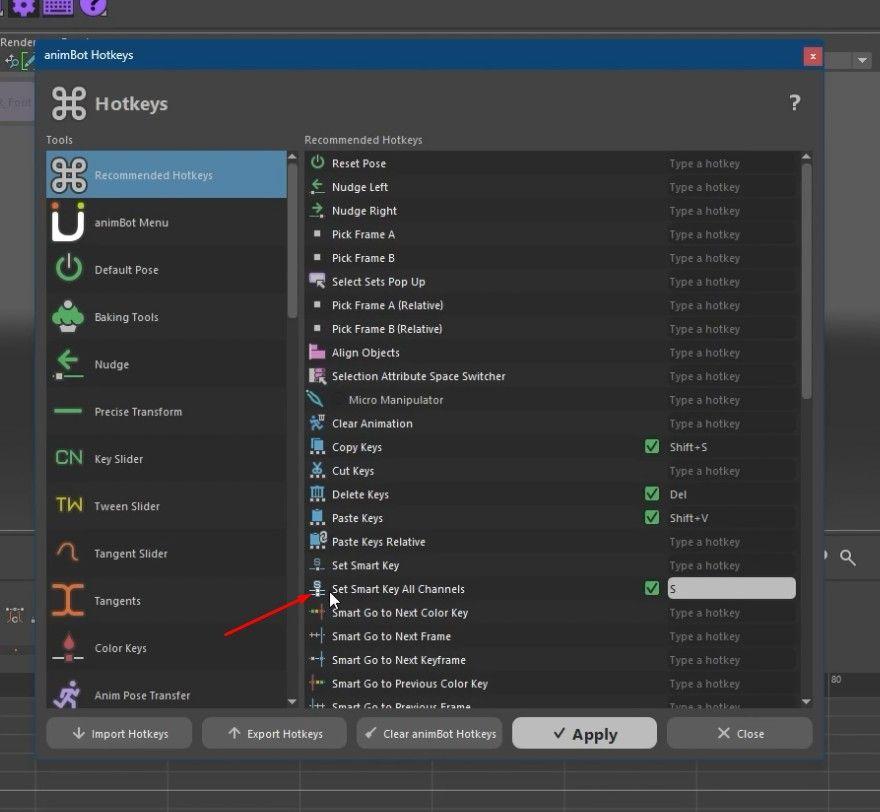
- Before continuing the animation, open the AnimBot Hotkeys to set any hotkey shortcuts that will make the animation progress faster.
- Enabling Set Smart Key All Channels will add keyframes that won’t interfere with the other tangents inside the graph editor, therefore making the workflow smoother.
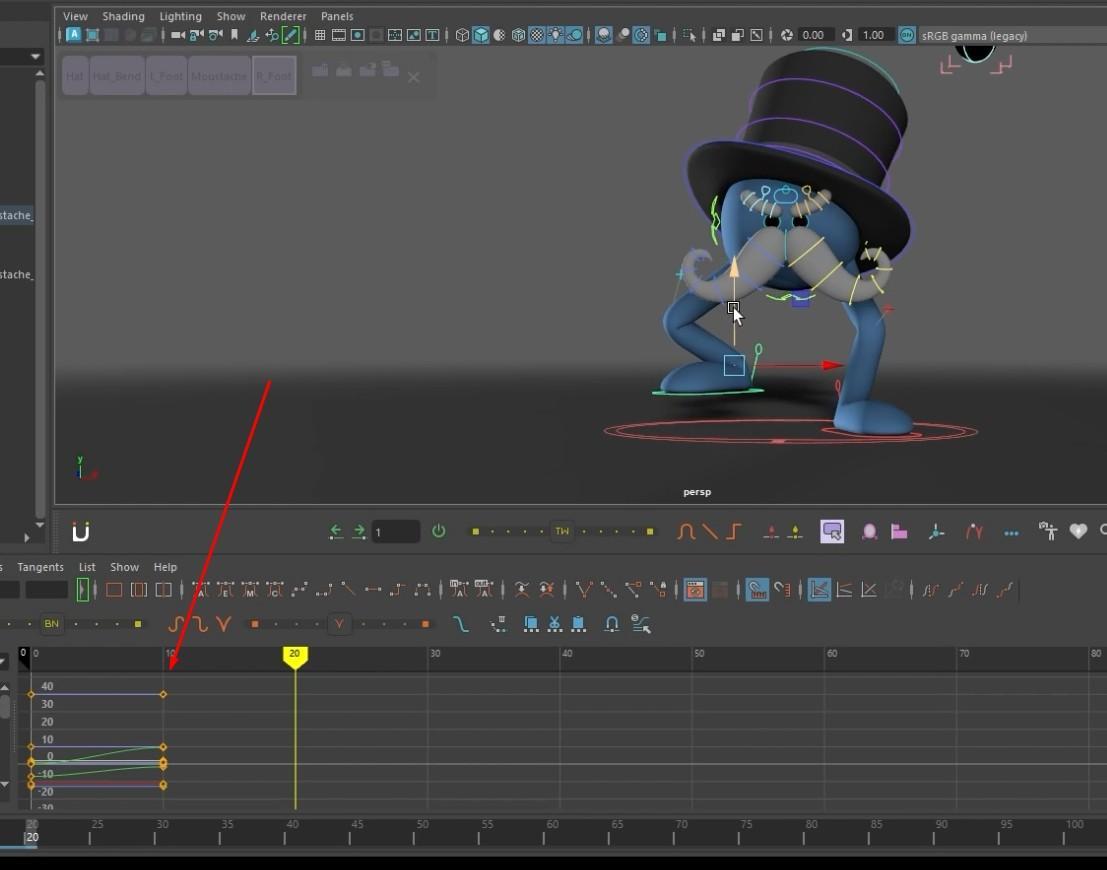
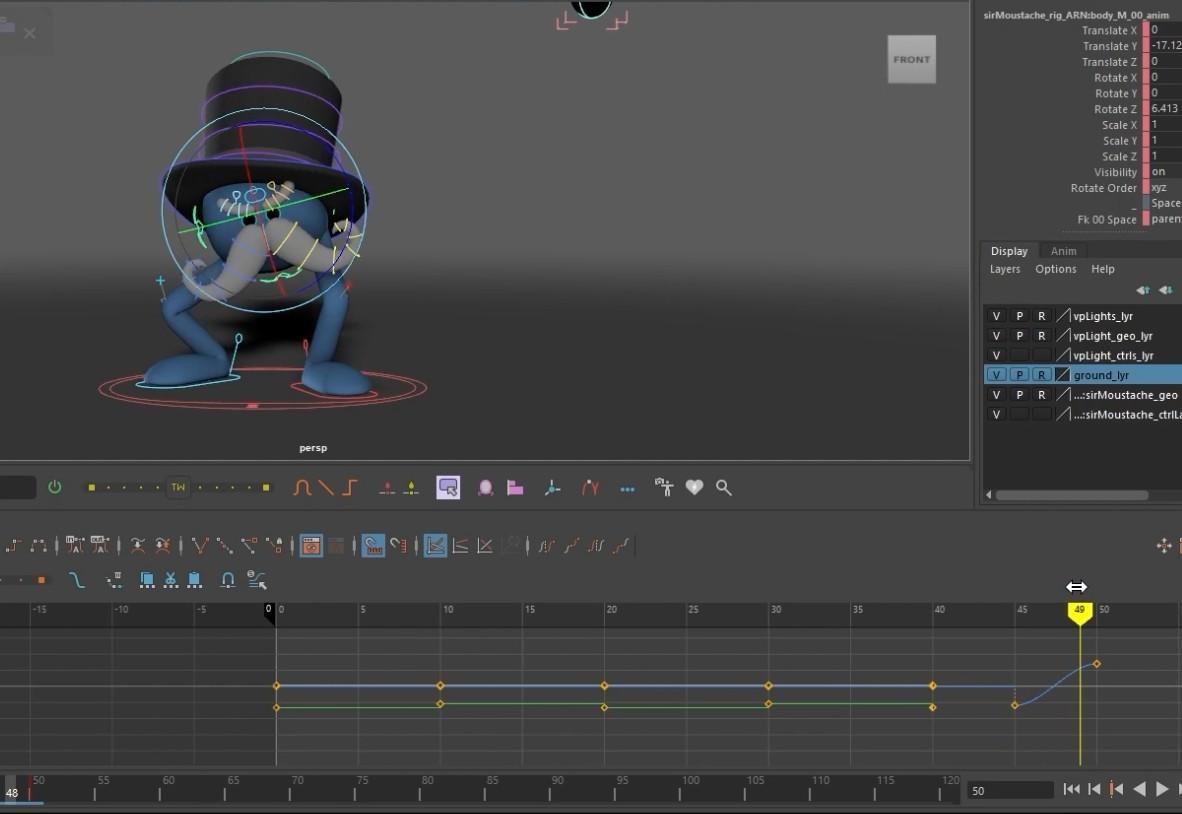
- Following the first setup, create a second frame in which one of the character’s feet is raised. Then, duplicate the first frame and insert it following the second one.
- This isn’t going to be a loop animation where the character just stomps his feet but also jumps forward.
- The animation won’t be loopable.
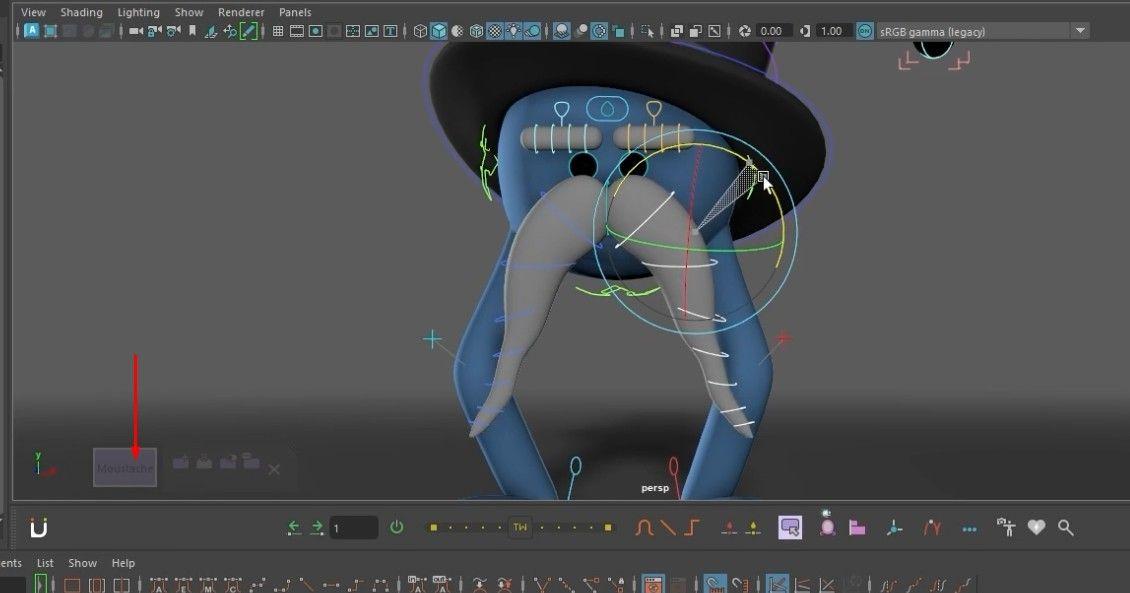
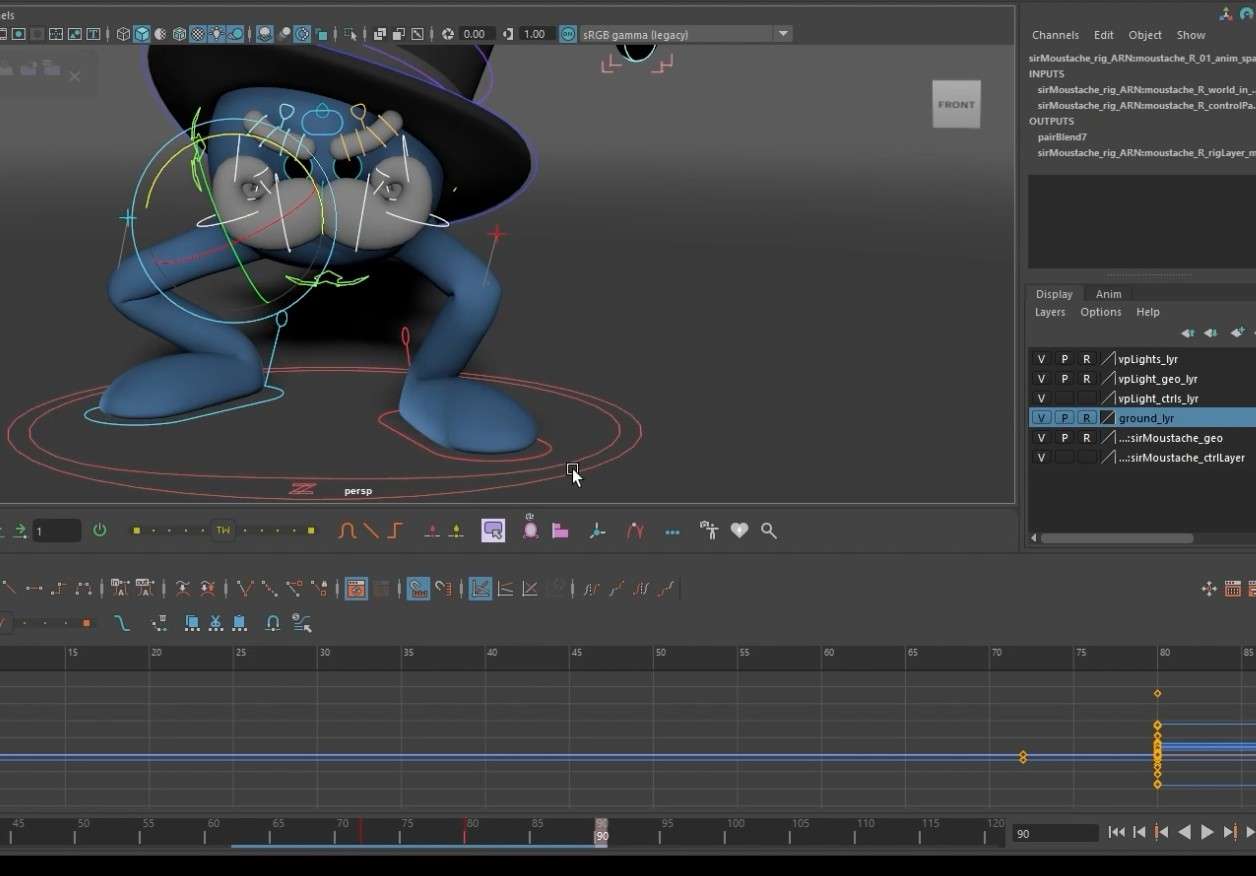
- Make the character’s head sway to and forth to express the rage following the stomp.
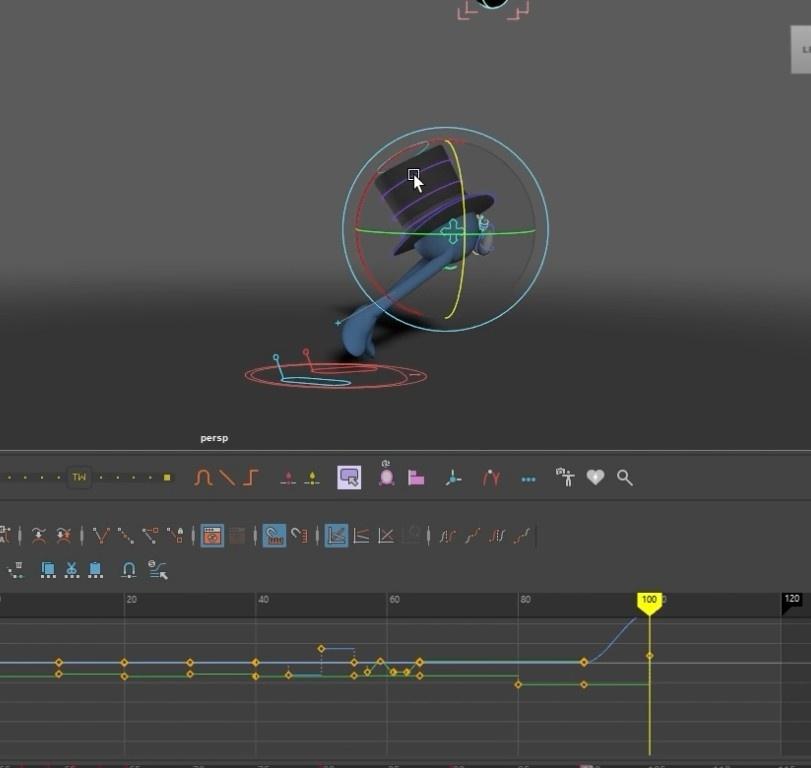
- After the character kneels, make him jump toward the camera in the last frame.
- Add some in-betweens in the animation, making the stomp more fluent and bouncy, making other parts of the character move, and so on.
Camera Animation and Rendering
- The final step is to animate a camera.
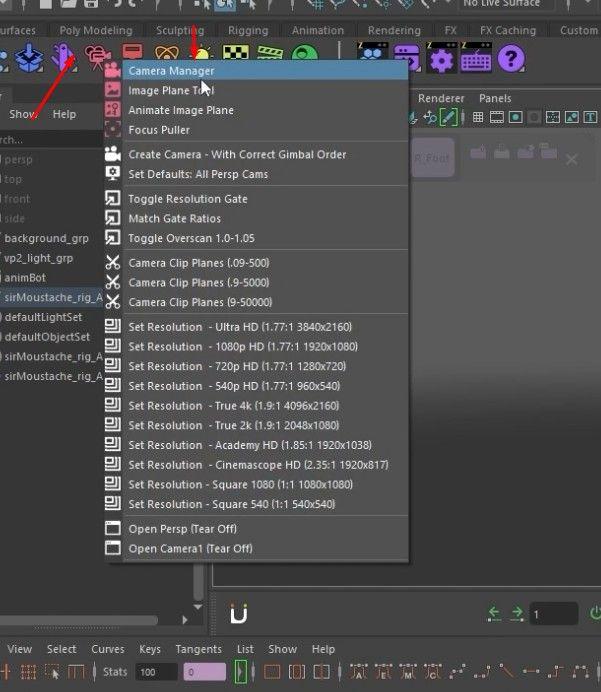
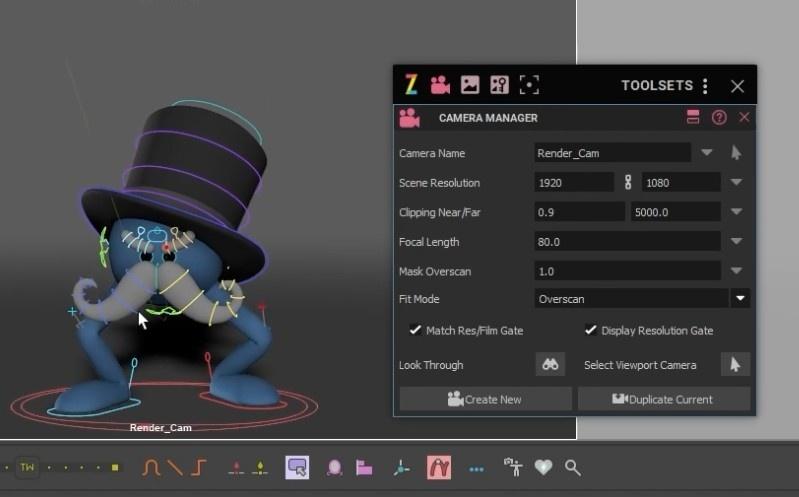
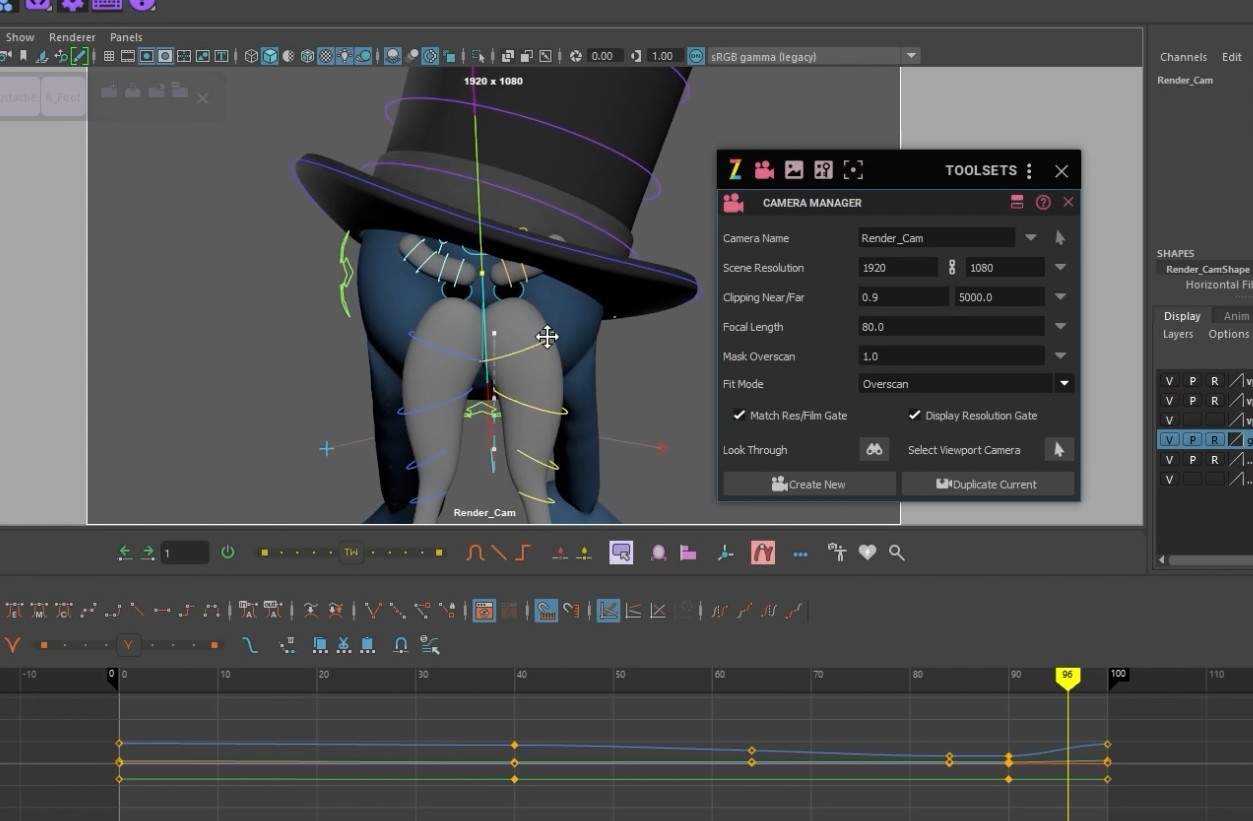
- In the ZooTools submenu, open the Camera Manager window.
- Give the new camera a name and resolution, and make sure that both the Match Res/Film Gate and Display Resolution Gate are turned on before clicking Create New.
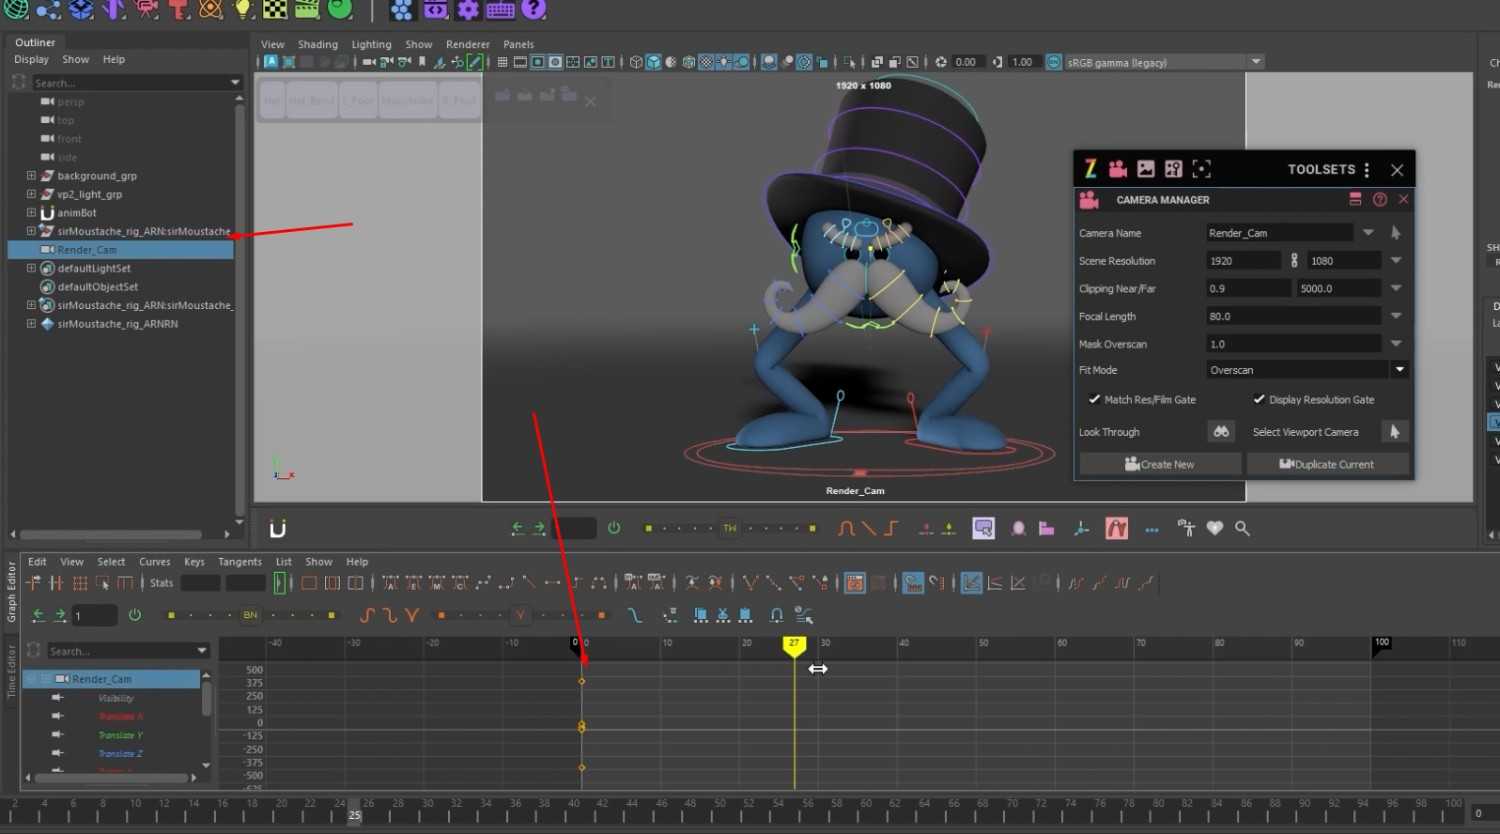
- After the camera has been added, select it from the Outliner and add a keyframe.
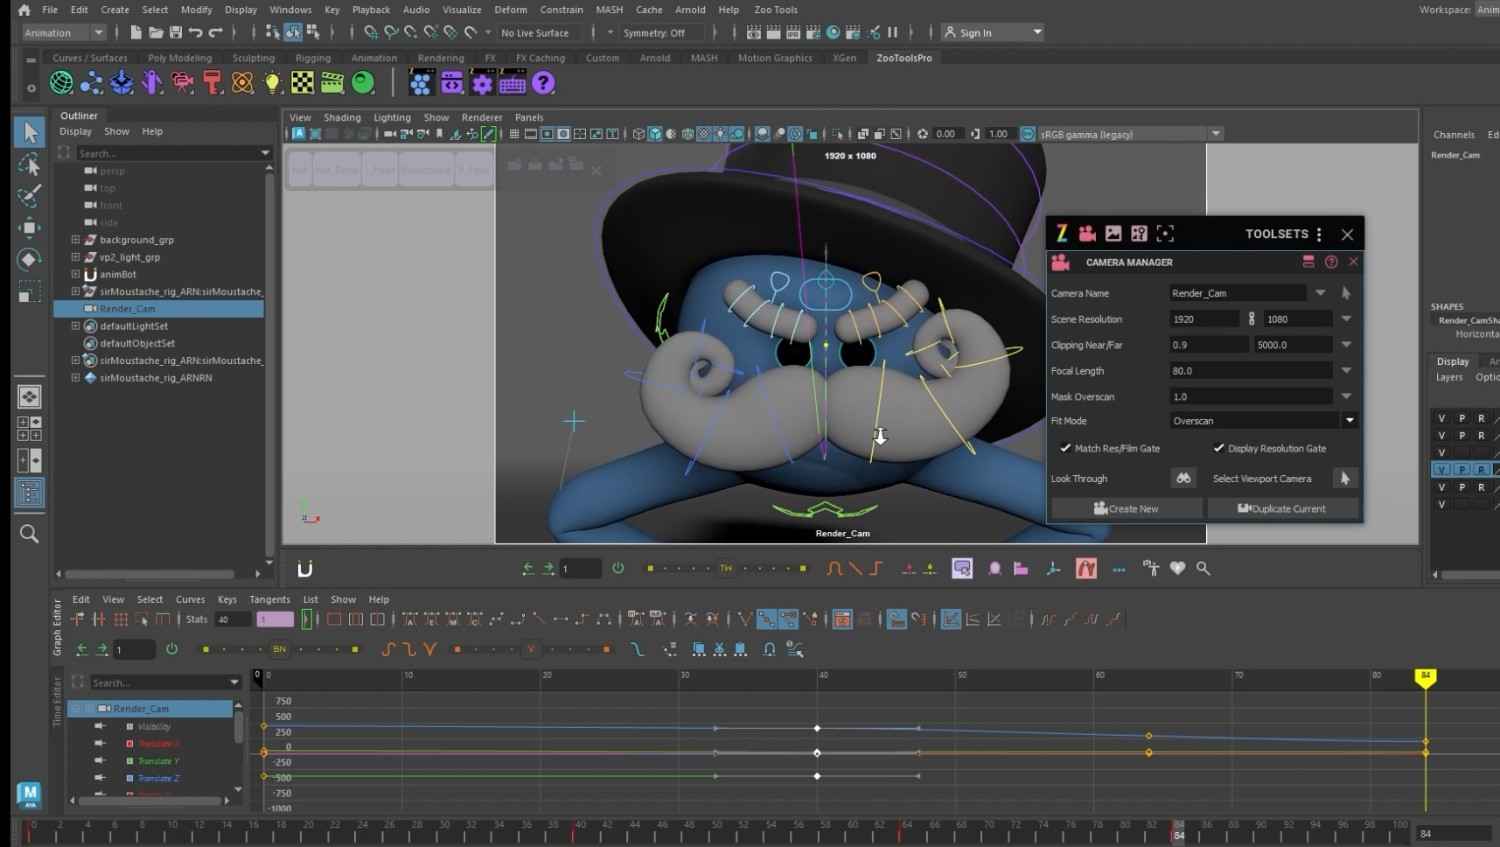
- Animate the camera going slowly towards the character and following it upward when it jumps.
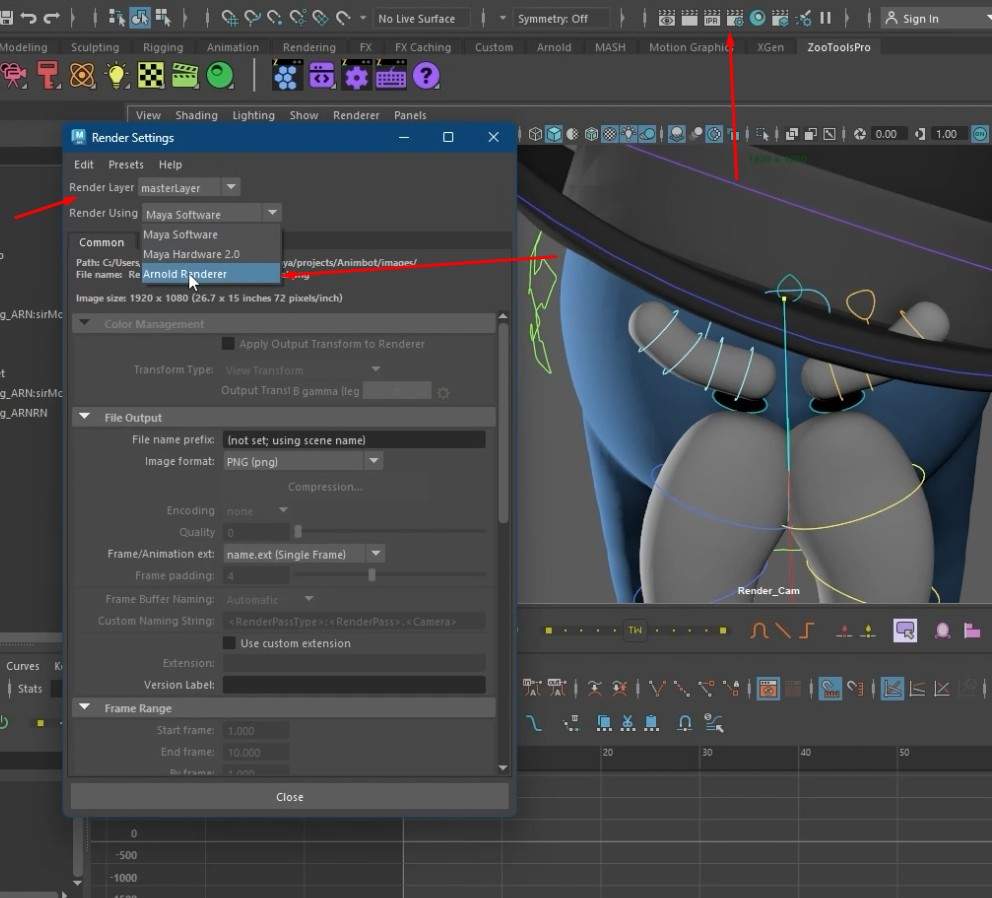
- Open the Render Settings and select Arnold Render as the render method to see the animation in a video player.
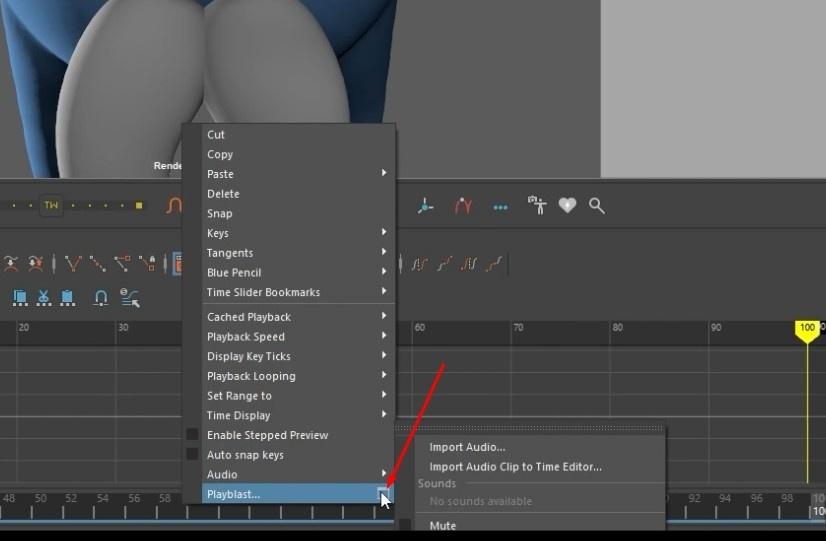
- To access the settings, right-click on the timeline and select the window icon next to the Playblast option.
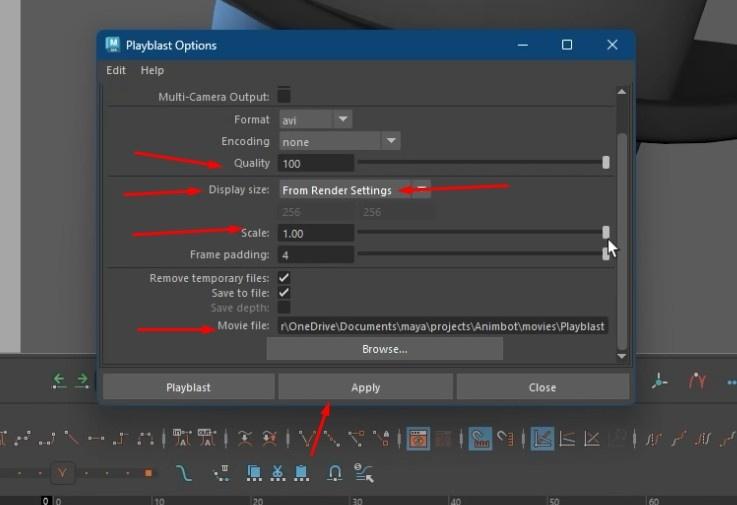
- In the Playblast Options, set the Scale to 1, increase the quality to 100, and choose a Movie File location.
- After selecting Apply, right-click the timeline again and click Playblast.
- After that, the animation will be converted into a video file that any video player may play.
Conclusion: Bringing Your Animations to Life
Mastering advanced animation techniques with AnimBot can enhance your workflow and creativity. This powerful plugin simplifies complex processes like character rigging and camera animation and allows seamless integration of keyframing techniques.
With the knowledge you’ve gained in this tutorial, you are well-equipped to bring your characters to life in Autodesk Maya.
For those aiming to refine their expertise and develop a professional portfolio, you can enroll to our programs that offers hands-on experience and one-on-one mentoring tailored to the needs of aspiring 3D artists.

