Unreal Engine 5 Basics: Learn and Start Creating Quickly
The tutorial targets beginners, teaching game design fundamentals, blueprints, level sequencers, cinematics, character design, and more through progressive levels, culminating in practical application and starting with Unreal Engine 5 Basics.
Unreal Engine 5 Basics to Workflow
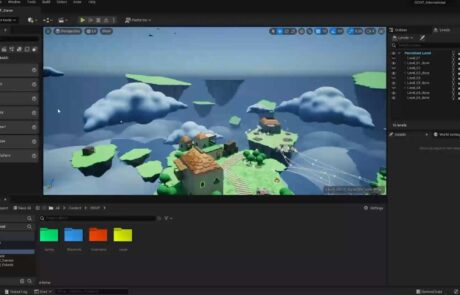
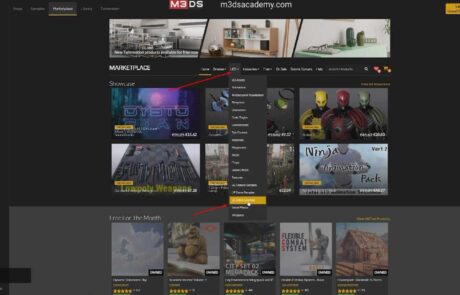
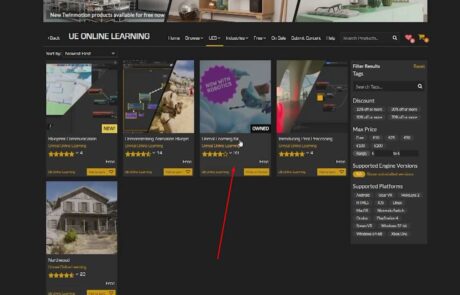
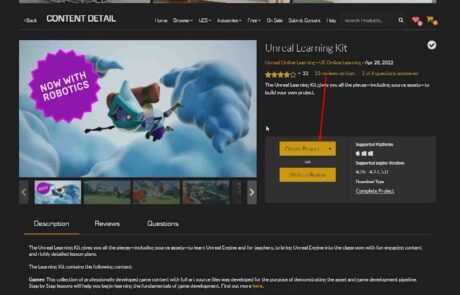
In this tutorial, we’ll walk you through the basics and layout of Unreal Engine 5. We’ll use the Unreal Gaming Kit, available for free in the Epic Games Unreal Engine marketplace. This kit includes a pre-built level layout for students in the Academy Year 2 program.
1. Setting Up Your Project
- Download and Add the Unreal Gaming Kit:
- Go to the Epic Games Unreal Engine marketplace.
- Download the Unreal Gaming Kit and add it to your Unreal Engine project folder.
- We have a pre-build layout of a level given to the students who follow the classes in the Academy Year 2 program.
- Open Your Project:
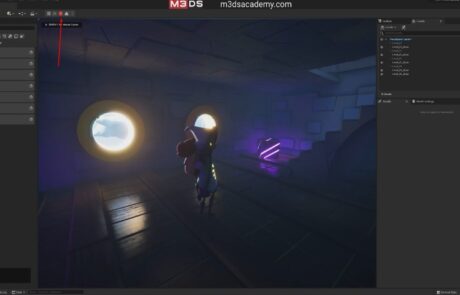
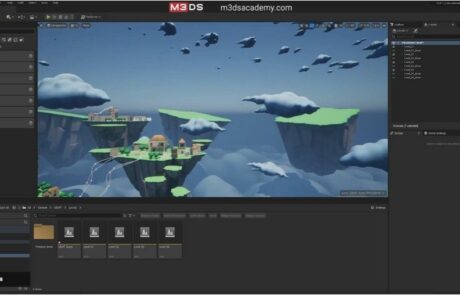
- Launch Unreal Engine and open the project with the pre-built level layout.
2. Managing Your Project
- Saving Your Work:
- Check for a star next to the project name, indicating unsaved changes.
- Click the Save icon to save any changes made to the project.
- Resetting the UI:
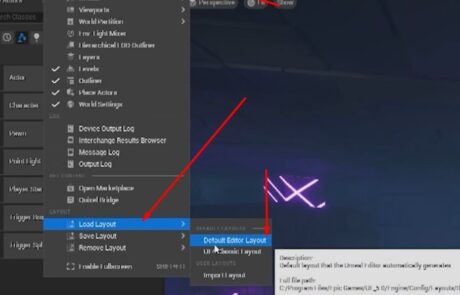
- Click on the Windows tab.
- Select Load Layout and choose Default Editor Layout to reset the UI.
3. Customizing the User Interface
- Adding Sub-menus:
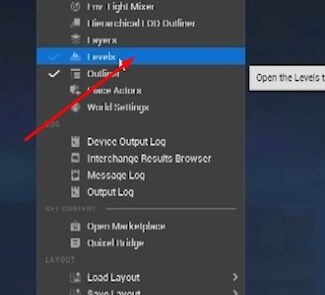
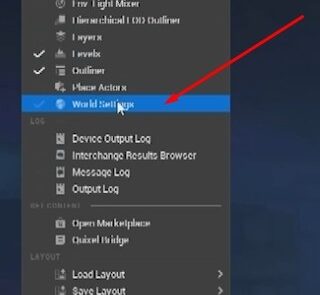
- Open the Windows tab.
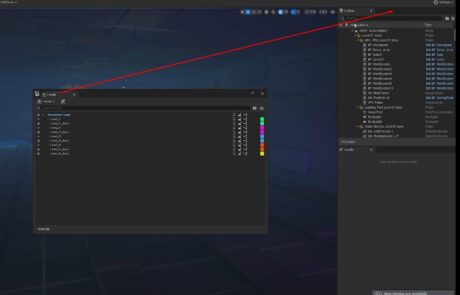
- Drag the Levels sub-menu to the right side of the Outliner.
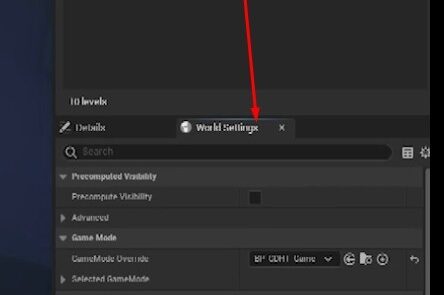
- Similarly, drag the World Settings sub-menu next to the Details sub-menu.
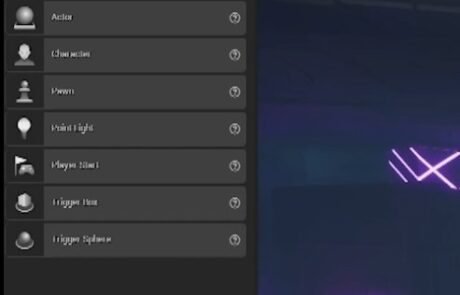
- Adding the Place Actor:
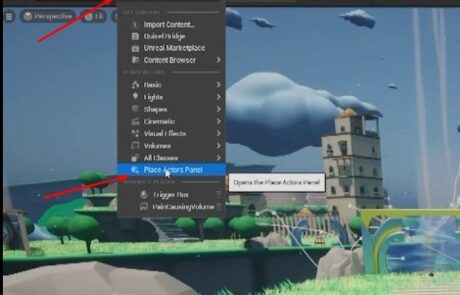
- Click the cube icon below the project name to add the Place Actor window.
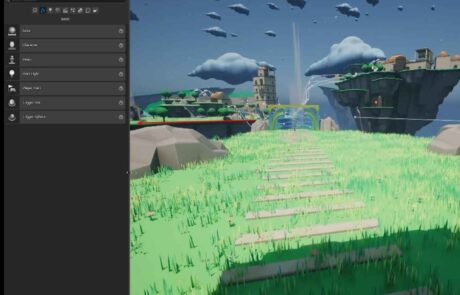
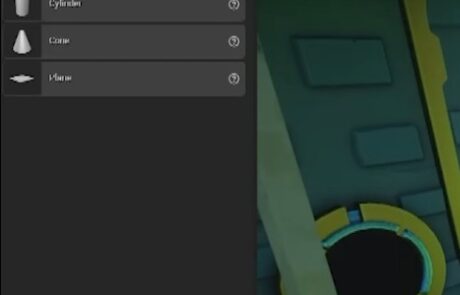
- The Place Actor window will dock on the left side of your workspace.
4. Navigating and Manipulating Objects
- Camera Controls:
- Move the camera direction by holding the right mouse button and dragging.
- Use the E key to ascend and the Q key to descend the camera.
- Object Management:
- Selected objects are outlined in the Outliner.
Use the Details sub-menu to adjust the Location, Rotation, and Scale of objects.
5. Transform Tools and Object Properties
- Transform Tools:
- W: Move tool
- R: Rotate tool
- E: Scale tool
- Pivot and Snapping:
- The pivot points to the World Position by default. Change this by clicking the world icon.
- Toggle snapping by clicking the snap icon. Adjust snapping intensity using the number on each tool icon.
6. Managing Camera Speed and Content Drawer
- Adjusting Camera Speed:
- Use the slider or type in a value manually to change camera speed.
- Scroll with the middle mouse button to increase or decrease the camera speed.
- Using the Content Drawer:
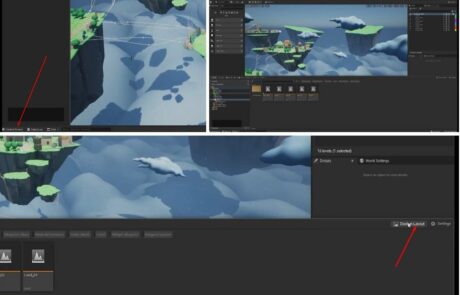
- Open the Content Drawer by clicking the icon on the bottom left corner or using Ctrl + Space.
To keep the Content Drawer open, click the Dock Layout button.
7. Working with Levels
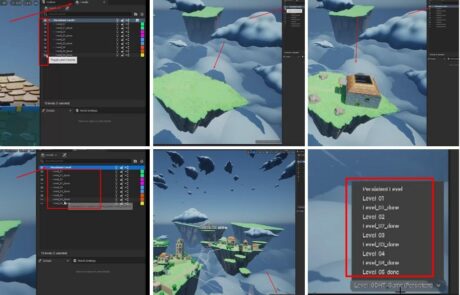
- Layer Management:
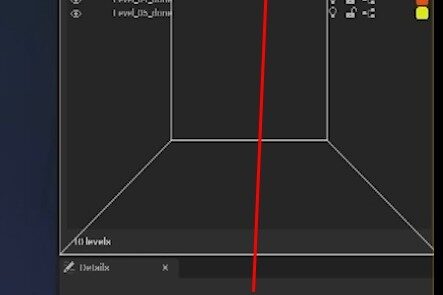
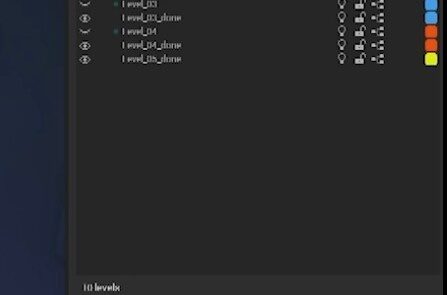
- Use the Layer sub-menu to hide or reveal levels.
- Levels are organized hierarchically, with the main level at the top.
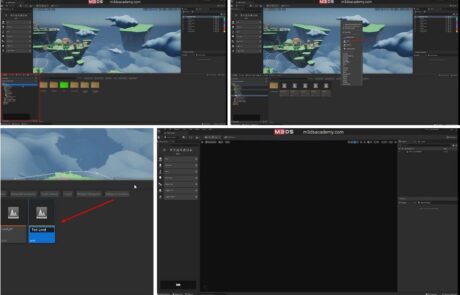
- Creating New Levels:
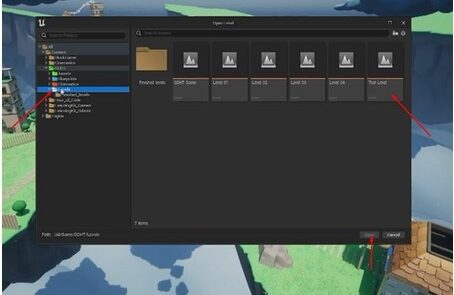
- Open the levels folder in the Content Drawer.
- Right-click in the space and select Create Level.
- Rename the new level to TestLevel.
8. Adding and Managing Levels
- Adding TestLevel:
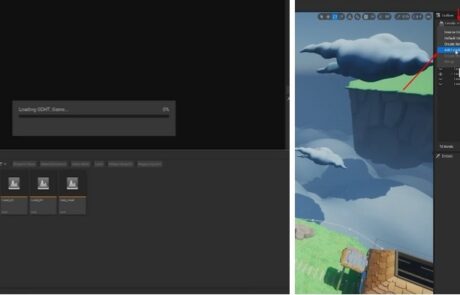
- Open the GDHT level or the main level.
- Click the arrow on the Levels options and select Add Existing to include TestLevel.
- Locate and open TestLevel.
- Deleting Levels:
- To delete a level, select it and press the Delete key.
- Deleting a level is permanent. After removing it from the hierarchy, delete it from the Content Drawer as well
9. Playing and Exiting the Level
- Start Playing:
- Click the Play button in the top left corner to enter play mode.
- Exit Play Mode:
- Press Escape on your keyboard to exit play mode.
- Avoid adding objects in play mode as they will disappear once you exit.
Conclusion: Build On Stable Grounds
Having already learned the basics of Unreal Engine 5, such as how to create a project, work with levels, customize the interface, and move objects around, you are now ready to take on more complex tasks – and with them, greater artistic freedom.But why stop at this point?
Think about what it might be like if not only could you do these things well... but also use your skills to design entire immersive worlds, develop characters so engaging they grab an audience by the shirt-front, or even create gameplay experiences with cinematic flair.
To reach such goals will require expanding both one's toolset (thereby gaining efficiency) as well deepening their own craftsmanship (therefore becoming increasingly proficient).This is precisely where our institution can make a difference for students like yourself!
Ready to unlock your full potential? Our academy programs offer immersive, hands-on learning experiences, while our specialized courses and expert-led masterclasses ensure you’re always growing in the right direction. Whether you’re ready to enroll or simply curious about what’s next, explore our enrollment and financing options or apply online. This is your chance to turn passion into a career—are you ready to make your mark?

