3D Environment Modeling: Master Dragon Skull Sculpting
Are you up for 3D Environment Modeling crash course? Join us and make 3D models of environments using a dragon skull as a case study. Talk about creating high-poly models in ZBrush or Maya so you can make low-poly ones. Stress how important references and experimentation are, explain techniques carefully, say when to split meshes – and give procedural details such as using ZBrush’s noise plugin.
There will also be hints on retopology and UV unwrapping plus assigning shaders in Substance Painter. Learn how to do all the following steps like these: start by making a low-poly model in Maya then sculpt a high-poly version in ZBrush.
Find out ways to optimize your polygon count; use bevels, for example. Discover too how curve tools can help with modelling as well as generating UVs.
Sculpting the Dragon Skull in ZBrush
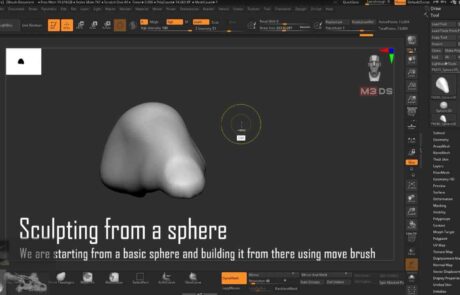
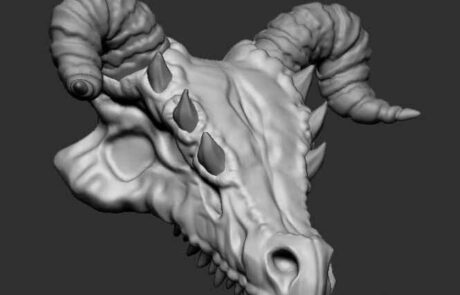
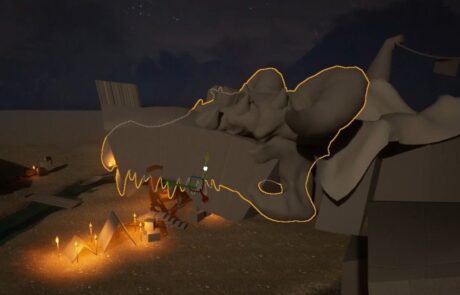
- In ZBrush, all sculptures begin with one of the basic shapes. To create a dragon’s head for this assignment, start by molding a sphere — and don’t forget to switch on DynaMesh.
- Using DynaMesh:
- It’ll come in handy if you need to fix the topology after making major changes to the clay
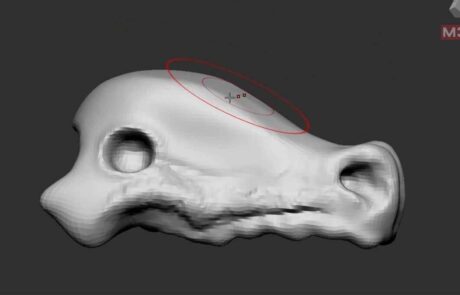
- Building the Shape:
- As you work on building up its shape (still using DynaMesh), here are some tips for specific features:
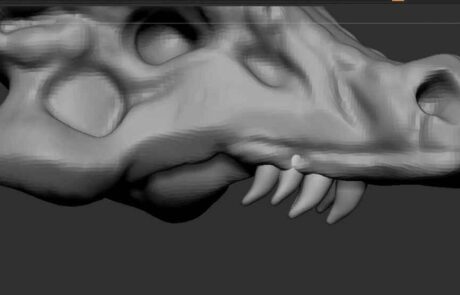
- Teeth:
- Work with shapes you already have.
- Duplicate the teeth and move them around to save time on making a tooth from scratch every time.
- Using DynaMesh:
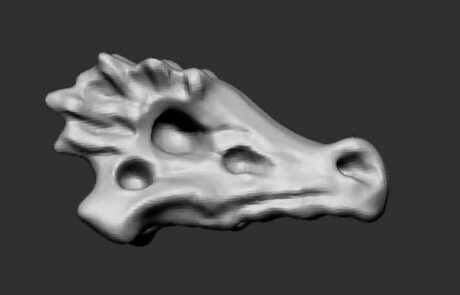
- Horns:
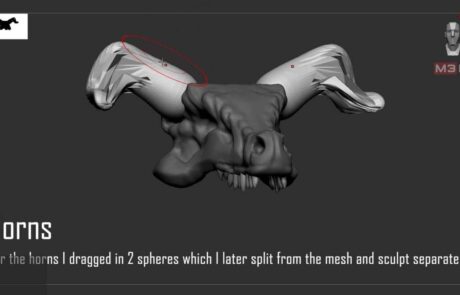
- Horns might look hard to make, but they are only 2 spheres dragged out with the SnakeHook brush and DynaMeshed to fix the topology.
- When sculpting horns or teeth:
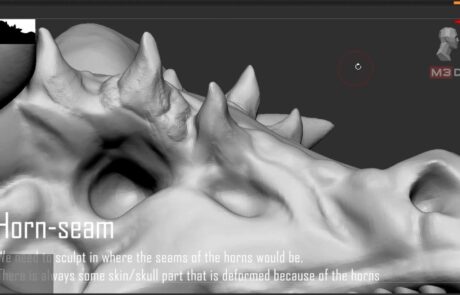
- Make the seams where the teeth or horns are coming out.
- Add more clay build-up around the teeth where the gums would be; this can also apply to the horns.
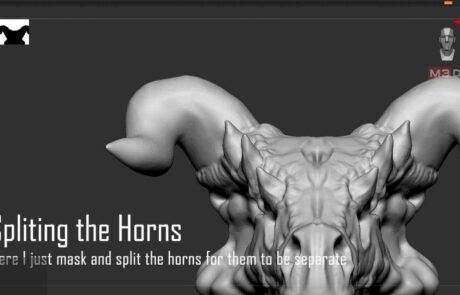
- Splitting Groups:
- To split anything that is grouped, mask one part, then in the subtool, use the SplitHidden tool.
- Adding Details to the Horns:
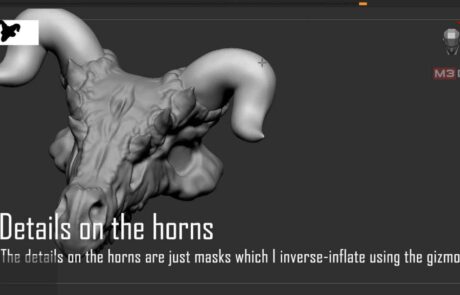
- Once the basic shape for the horn is ready, add details using the mask brush and gizmo tool.
- Mask parts of the horns, then with the gizmo, scale down the masked parts to create the indents between the horns.
3D Environment Modeling: Adding Details and Preparing the Model in Maya
-
- Topology and Details:
- When more topology is needed, switch to using Divisions instead of DynaMesh.
- Holes are easy to make in ZBrush using Booleans.
- Activate Booleans from the top left corner of the UI.
- Use any basic shapes to subtract parts of the sculpture from the layers.
- For higher-quality details, add more Divisions to the model.
- Duplicating and Remeshing:
- Duplicate, ZRemesh, and project details on the duplicate from the original model.
- This ensures a low and high poly model in one mesh instead of retopologizing the model later.
- Topology and Details:
- Adding Texture:
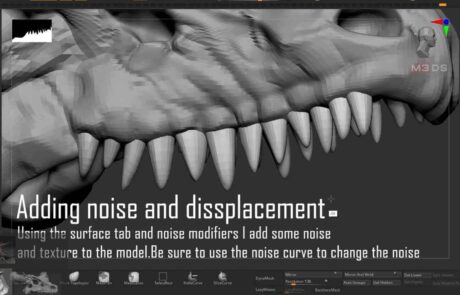
- In the Subsurface tab, use Noise modifiers to add texture to the model.
- Use the noise curve to change the noise.
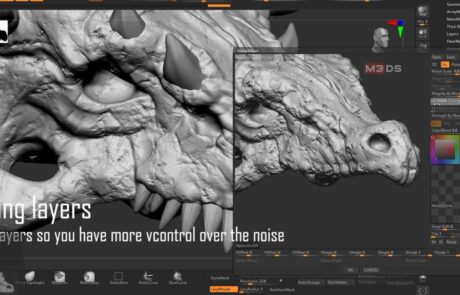
- Layers in ZBrush provide better control over the noise texture.
- Exporting to Maya:
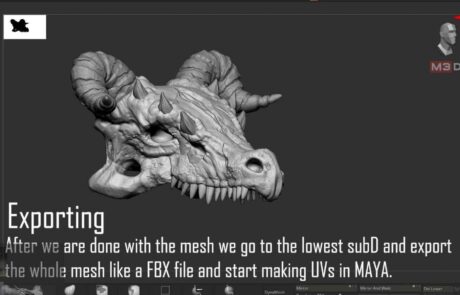
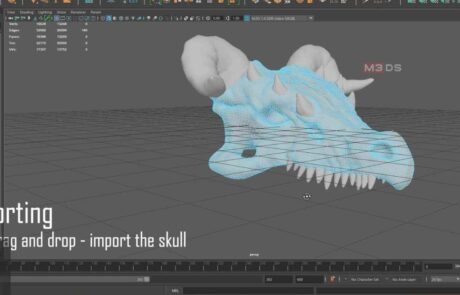
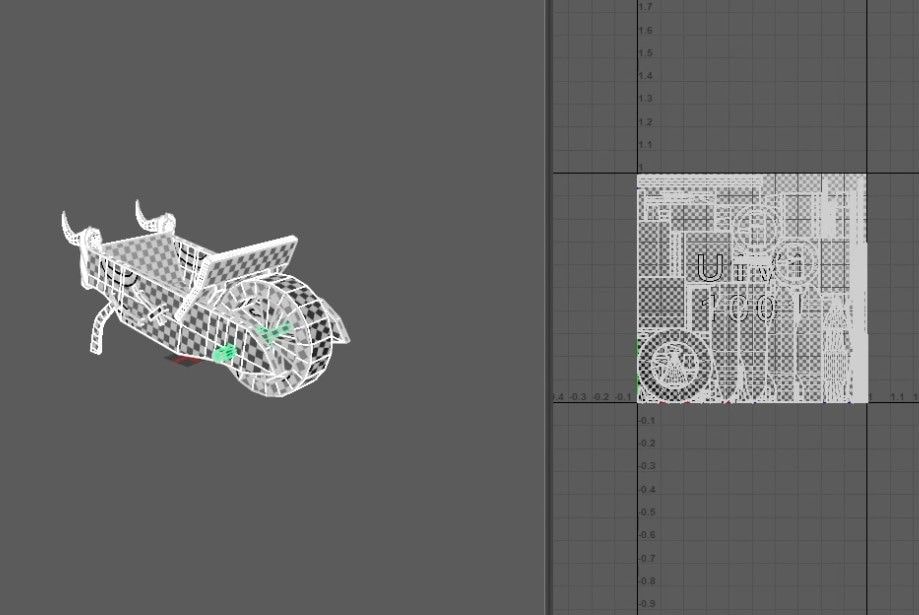
- After finishing the model, export it in the lowest subdivision to open UVs for it inside Autodesk Maya.
- Import the low poly model in Maya by dragging and dropping the FBX file in the scene.
- UV Mapping:
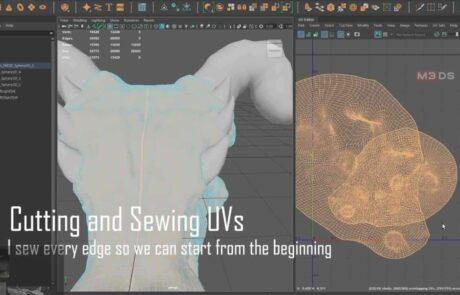
- Open a Planar UV for the skull since there won’t be any UVs shown in the UV Editor.
- Once the UV Shells are shown, start cutting the UVs for the skull using the Cut and Sew tools from the UV tools.
- Shader Application:
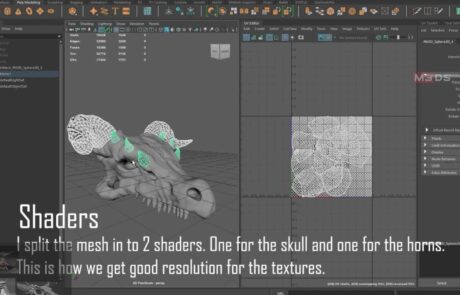
- Depending on the model’s complexity, it can have one or multiple shaders.
- For this skull, add 2 shaders: one for the skull and one for the horns.
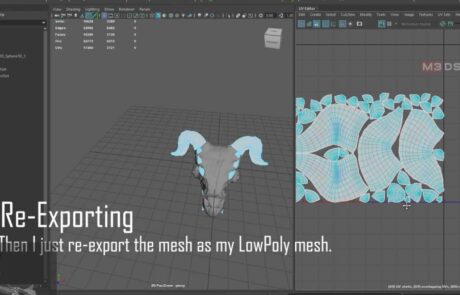
After the UVs and shaders have been made, re-export the low poly mesh.
Low and High Poly
-
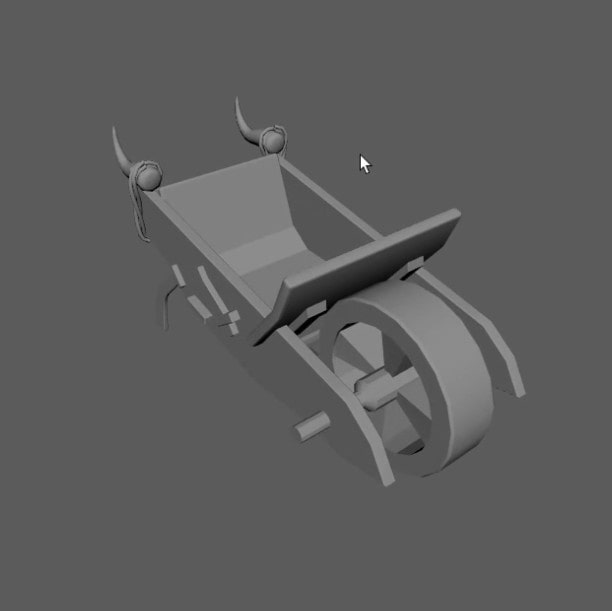
- Certain props will first be created in Autodesk Maya.
- These will serve as our low-poly models – objects with relatively few polygons that also include UVs.
- Each prop crafted within Maya will then be exported individually as FBX files.
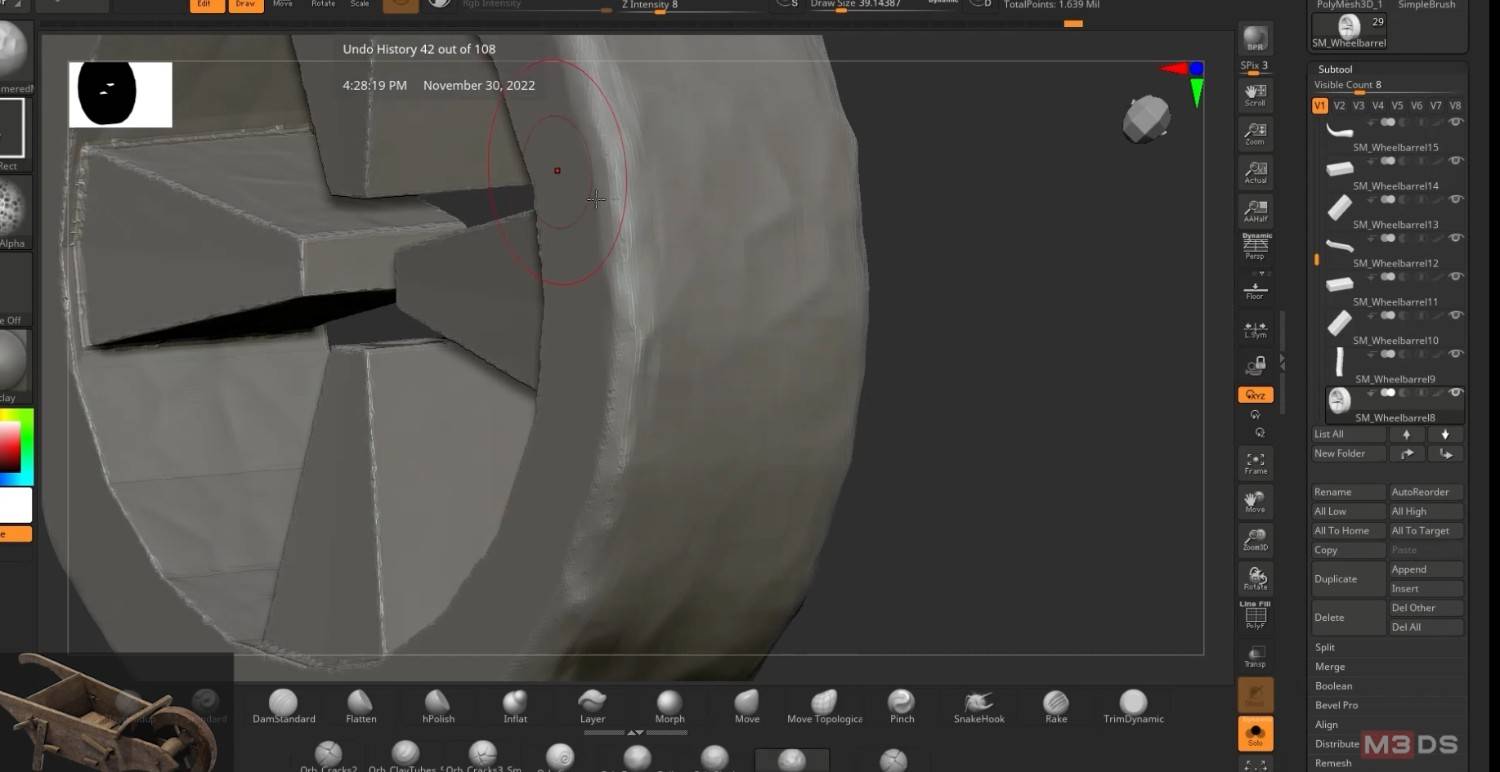
- Our team will use ZBrush to open these files and continue working on them: now making high-poly versions.
- The process involves adding more topology (additional vertices) to the model, providing extra geometry needed for details.
- Without sufficient topology, brushes in ZBrush cannot produce strokes of good quality.
Sculpting Cloth
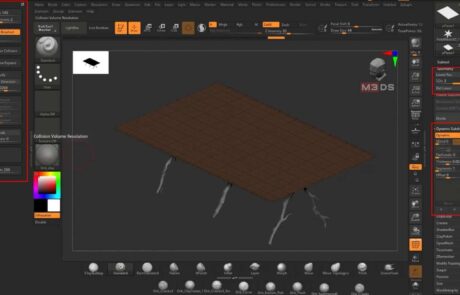
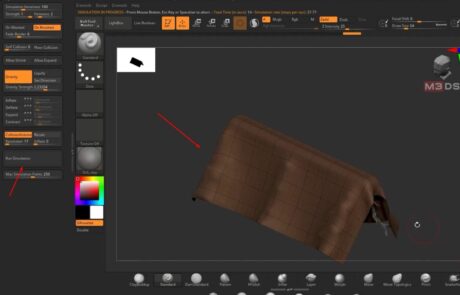
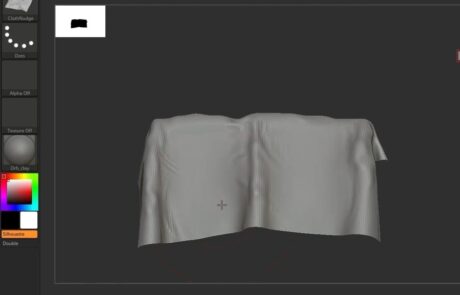
- To sculpt cloth in ZBrush, harness its gravity simulation.
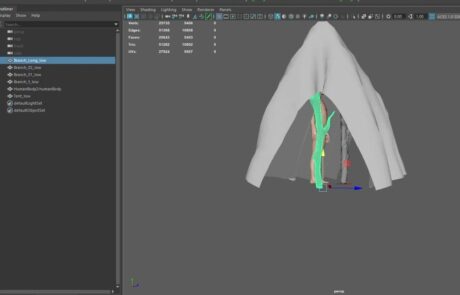
- Position a plane over the object you wish to clothe; after adding divisions, employ Dynamic subdivisions so that the resulting garments possess heft—i. e., they are not merely a surface.
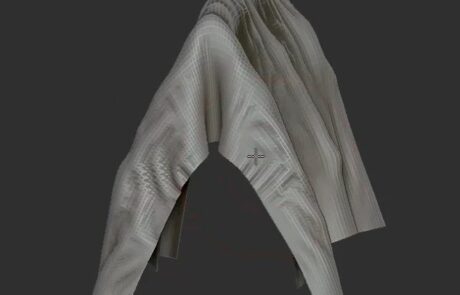
- This step also permits the creation of fine points via custom cloth brushes once simulations have been run.
- Head to the Dynamics palette, dial in some Gravity (and other settings if you like), then press “Simulate.”
- If at any point during this process, things start looking good and you want them to stop changing, just hit Escape.
- Don’t worry if after running simulations there isn’t time left for detailing with special brushes: an ordinary one will do the job.
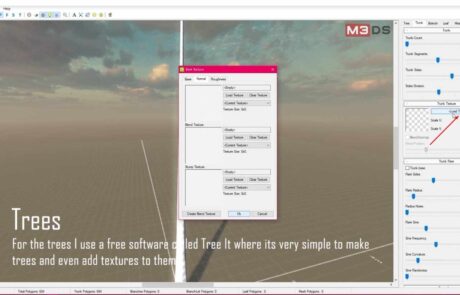
Tree It
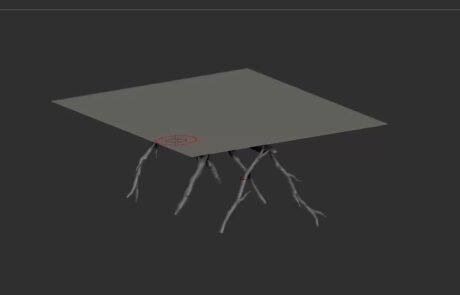
- Maya and ZBrush are both good for making trees, but there’s another option if you want to create 3D trees.
- It’s software called Tree It.
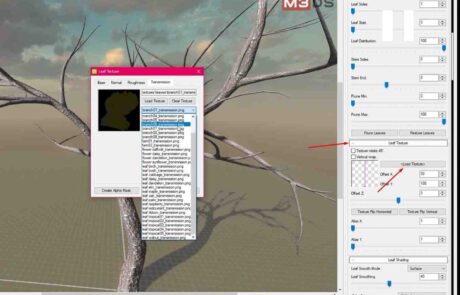
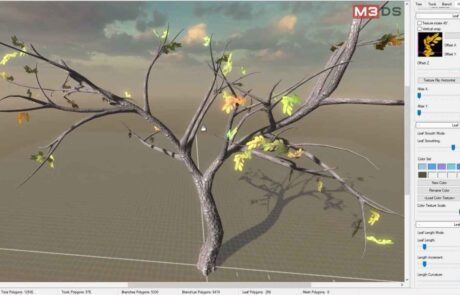
- Tree It lets you make trees and decide things about how they look such as their color, shape, and size.
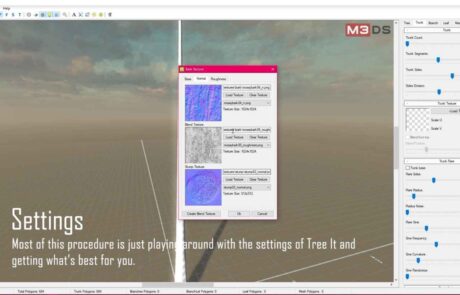
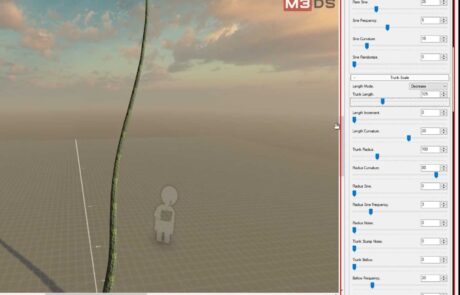
- The controls are simple to use – most of them are just sliders that you move one way or another until you get the effect you’re after.
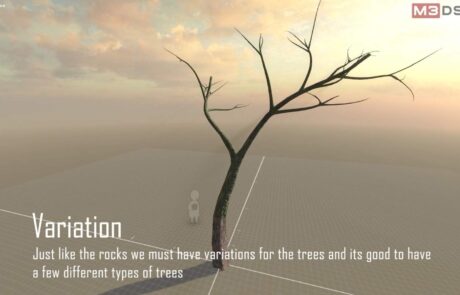
- Don’t forget: if all the trees in a computer-generated scene are identical it looks fake. So have a go at creating lots of different types of trees – at least four or five.
- It’s not only the overall style of the tree that you can alter.
- Tree It also enables you to choose different kinds of leaves for your tree or trees.
- You can further manipulate these by changing their color (s) and deciding how big or small they should be.
- Each time you finish working on a tree, export textures (surface qualities) as well as the model itself because.
Scaling
-
Just like how we scaled the block out, we need to scale the models before importing them inside of unreal.
-
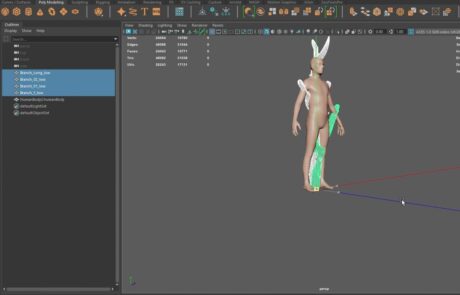
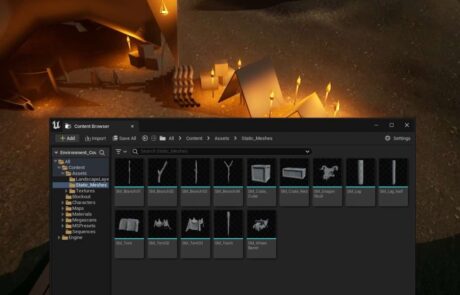
Add a Male Character model as a scale reference from the Content Browser.
-
Make sure that everything is in the middle of the grid before exporting as well.
-
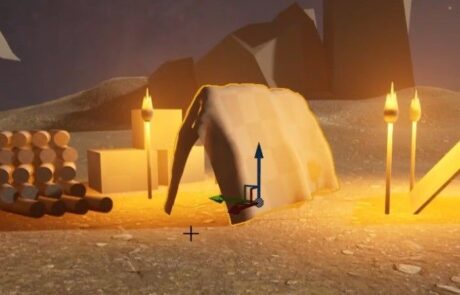
Once everything has been scaled and exported, import them inside the Unreal Project to replace the blockout.
-
Move the objects to the position where the blockout is then delete it.
Conclusion: Essential 3D Environment Modeling Skills
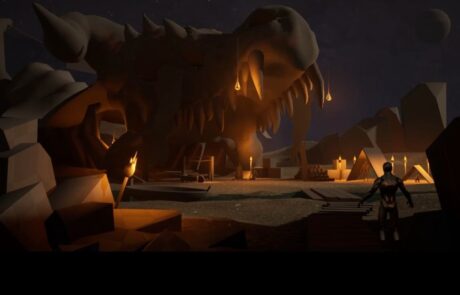
Completing this 3D environment modeling tutorial is a big achievement as it teaches you all aspects of making lifelike dragon skulls in 3D. With these skills under your belt, get ready to design detailed environments that pop off the screen. Here’s what you need to know: First create a simple model with Maya — don’t worry about fine details right now. Use ZBrush for intricate work like textures or patterns; make features look real with this software. To make your model look amazing put UVs on it. Then use Substance Painter to add shaders. Sometimes blend different techniques! Additionally, learn how to create game-ready assets with Tiki Tandems. This will help make things look even more realistic. Don’t miss out on our article related to environment designers exploring their roles and responsibilities.
Look at things in real life while you work if possible (references). And never be afraid to experiment! If you want to learn more: explore our Game Development Academy. Learn more about the requirements and conditions of enrollment before entering any program. When you enroll full-time for years there are lots of extras including one-to-one tuition. Don’t miss out on our courses and masterclasses for unrivaled expertise in specific software or skills. Believe in yourself! Join us today and make your screen world come to life.

