
Creating a convincing 3D asset involves much more than building the shape of a model. Even a highly detailed mesh can look flat or artificial if its surface does not react to light in a believable way. This is where PBR texturing becomes important.
PBR, or Physically Based Rendering, is a material and rendering approach designed to approximate how surfaces interact with light in the real world. It is widely used in game development, VFX, animation, product visualization, and other areas of 3D art.
For artists, learning PBR texturing means learning how to describe what a surface is made of, how it reflects light, and how small surface details affect its appearance.
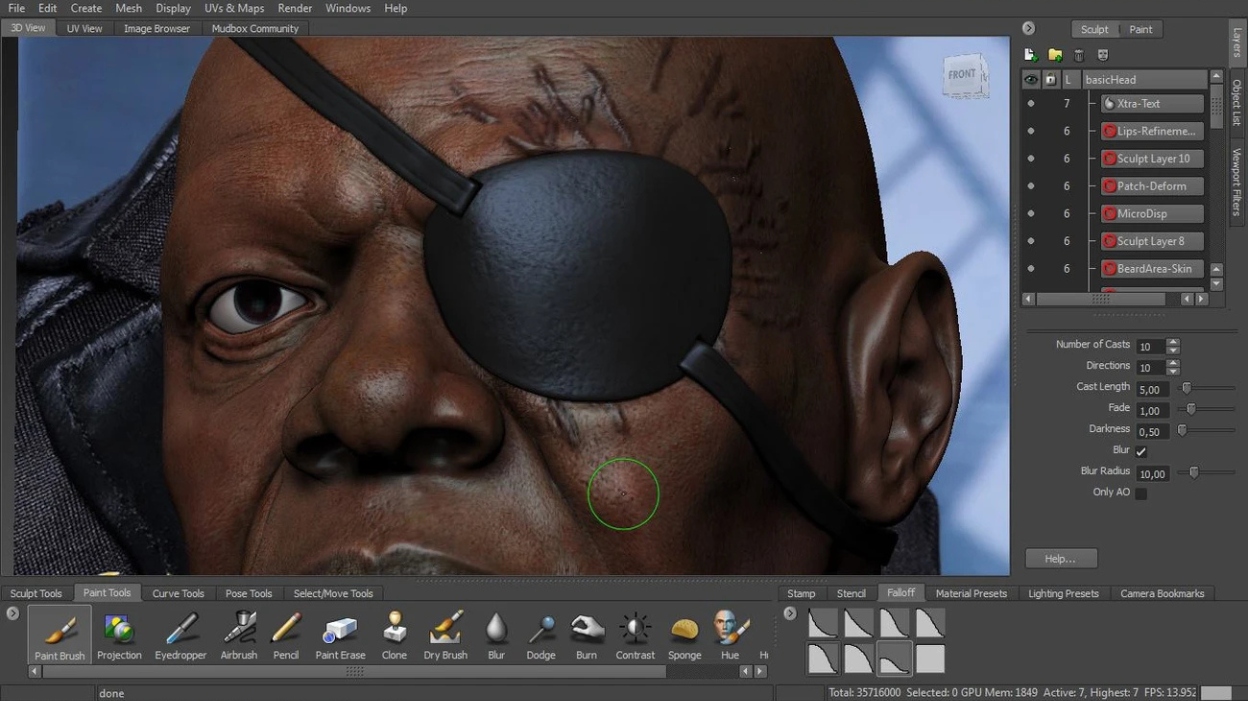
Credit: www.autodesk.com
What Is PBR Texturing?
PBR texturing is the process of creating texture information that defines how a 3D surface should look and respond to light.
Instead of simply painting an image onto a model, PBR uses different types of texture data to describe material properties. A surface can have a specific color, reflectivity, roughness, and fine surface detail. The rendering system uses this information to calculate how light should interact with the material.
For example, polished metal reflects light strongly, while unfinished wood scatters light more broadly. PBR allows artists to represent these differences using measurable material properties.
Want to put your PBR knowledge into practice? Learn to create detailed, realistic, and game-ready materials with our Substance Painter Course.
Types of PBR Texture Maps
A PBR material can contain several maps, with each one controlling a specific aspect of the surface. The exact maps used can vary depending on the software and rendering pipeline.
Base Color
The Base Color map defines the main color information of the material without baked-in lighting or shadows. For non-metallic materials, it primarily represents the diffuse surface color. For metals, the Base Color also determines the color of the reflected light. It does not define how rough or glossy the surface is.
Metallic
The Metallic map tells the renderer whether a surface behaves as a metal or a non-metal. Most surfaces use metallic values of either 0 for non-metals or 1 for metals. Intermediate values are typically used at transitions between metallic and non-metallic regions, such as the boundaries between exposed metal and paint or rust.
Roughness
The Roughness map controls the sharpness of a material's reflections. Low roughness creates clearer, sharper reflections, while high roughness spreads the reflection and produces broader, blurrier reflections and a more matte appearance. This helps distinguish polished steel from brushed metal or unfinished wood.
Normal
A Normal map adds the appearance of small surface details without requiring those details to be physically modeled into the geometry. It can represent features such as scratches, grooves, small dents, or surface patterns. Because a normal map changes the way the surface is shaded rather than the actual geometry, it normally does not affect the object's silhouette. The geometry remains relatively simple while the rendered surface appears more detailed.
Ambient Occlusion
An Ambient Occlusion map represents areas where surfaces are close together and can receive less ambient light. It can help emphasize contact areas such as the space around mechanical parts, seams, corners, and areas where two surfaces meet.
Its exact role can vary depending on the rendering pipeline, so it should be used carefully rather than treated as a substitute for proper lighting.
Height and Displacement
Height maps store information about surface elevation and can be used to create additional depth. Depending on how the height information is used, it may simulate depth through bump or parallax techniques, or physically modify geometry through displacement.
These maps are useful for larger surface details that need more depth than a standard normal map can provide.
Related Articles:
Best 3D Modeling Online Courses for Beginners
How to Become a 3D Environment Artist
Unreal Engine vs Unity: Which Should You Learn
How Does PBR Texturing Work in 3D Art?
Creating a PBR material is usually part of a larger 3D asset production process. PBR texturing workflows can vary depending on the project, but the following steps outline a common approach.
1. Prepare the 3D Model: The model should have clean geometry and appropriate topology for its intended use. The required level of detail depends on whether the asset is being created for a game, animation, visualization, or another purpose.
2. Create the UV Layout: UV unwrapping converts the model's three-dimensional surface into a two-dimensional layout. This gives texture information a defined location on the model. A good UV layout helps reduce stretching and makes efficient use of available texture space.
3. Bake Information When Required: For many game assets, artists create a detailed high-poly model and transfer important surface information to a lower-poly version through baking. This can produce maps such as normal and ambient occlusion maps while keeping the final model suitable for real-time rendering.
4. Create the Texture Maps: The artist then creates the required PBR maps using texture-painting or material-authoring software. At this stage, surface details, colors, wear, roughness variation, and other material characteristics are developed.
5. Build and Test the Material: The maps are connected to the appropriate material properties, and the asset is tested under different lighting conditions. This stage helps artists identify problems such as excessive glossiness, incorrect reflections, or surface details that are too strong.
Why Is PBR Important for 3D and Game Art?
PBR is particularly useful because modern 3D assets are rarely viewed under only one lighting setup.
A game prop might appear outdoors in bright sunlight, inside a building, under artificial lights, or in a darker environment. A material created with appropriate physical properties can respond naturally as the lighting changes.
PBR also helps artists maintain consistency across large collections of assets. When different props use the same material principles, they are more likely to look as though they belong to the same environment.
For game artists, this makes PBR knowledge especially useful when creating game-ready assets for engines such as Unreal Engine, where materials need to respond correctly to lighting during gameplay.
Build stunning Unreal Engine environments that look great and run smoothly. Learn practical optimization techniques for better performance and game-ready results.
Common PBR Texturing Mistakes
- Incorrect metallic values: Non-metallic surfaces should not automatically be treated as metal simply because they have strong highlights.
- Unrealistic roughness: Making every surface extremely glossy can make materials look artificial.
- Excessive normal strength: Strong surface details can make small features appear exaggerated.
- Poor texture scale: Surface details should match the physical size of the object. Scratches that are too large can make a realistic asset look miniature or stylized unintentionally.
- Inconsistent material values: Similar materials should maintain logical properties across the asset.
- Ignoring references: Real-world reference images can help artists judge color, surface variation, wear, and roughness more accurately.
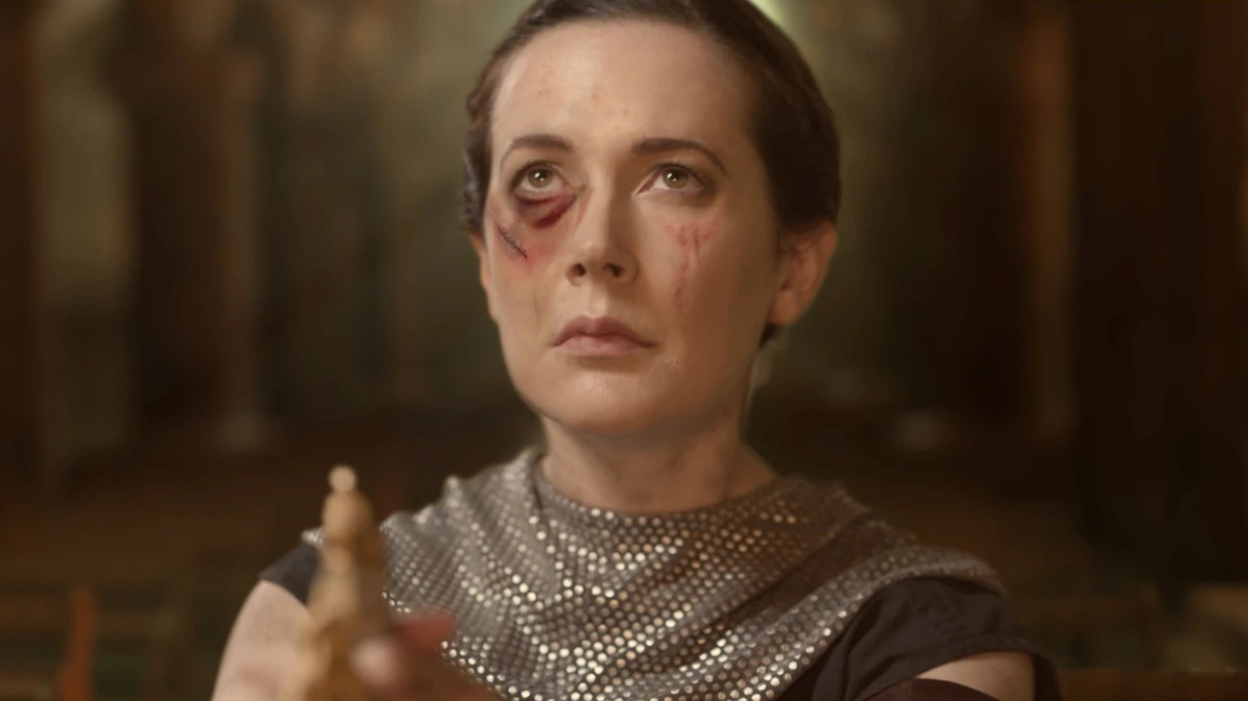
Credit: www.autodesk.com
Take Your PBR Texturing Skills Further with M3DS Academy
Learning the principles of PBR is only the beginning. Creating convincing materials requires practice across modeling, UV mapping, texturing, baking, material creation, and presentation.
At M3DS Academy, our 3D art programs cover these areas as part of a practical asset-production workflow. Students work with industry-standard tools such as Substance Painter, Autodesk Maya, ZBrush, and Unreal Engine while developing projects that bring different stages of the 3D pipeline together.
Our training also includes 1-on-1 mentorship, daily feedback, and project-based learning, giving students opportunities to practice their skills and improve their portfolio work.
If you want to build stronger PBR texturing skills and learn how materials fit into a complete 3D art workflow, explore M3DS Academy's 3D art and game development programs.